Did you know it’s possible to grow your own mushrooms? Mushrooms are one of those crops that aren’t talked about much in the vegetable garden world, but with the right care, mushrooms are a perennial that will come back every year, feeding you and your family for multiple years.
A Quick Summary
Wine cap mushrooms are known as the garden giant because these mushrooms can grow quite large if you allow them to! Mushrooms are a perennial food crop, when cared for properly, which makes them a great investment. Mushroom spawn is super affordable to buy, they’re simple to plant and doesn’t require a lot of maintenance.
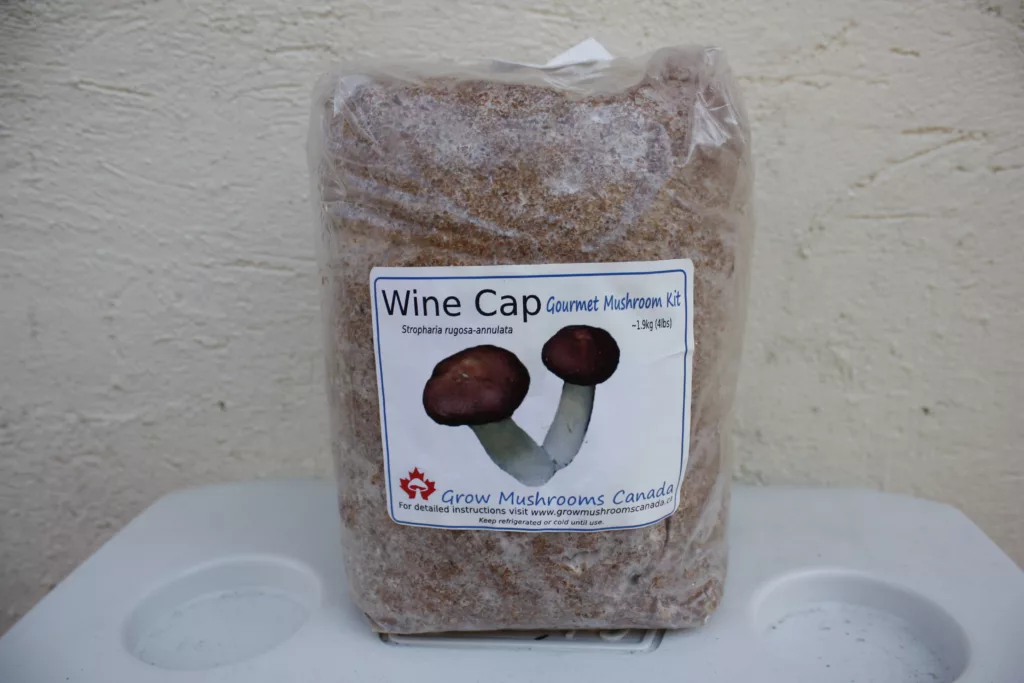
We used mushrooms from Grow Mushrooms Canada, as they gifted us some bags of spawn to try out. If, by the end of this article, you want to grow your own mushrooms, you can save 5% using the code ‘Urbangardening’. This will save you an additional 5% off of any other promotions they have running on their website and is good for their mushroom kits!
Planting Location
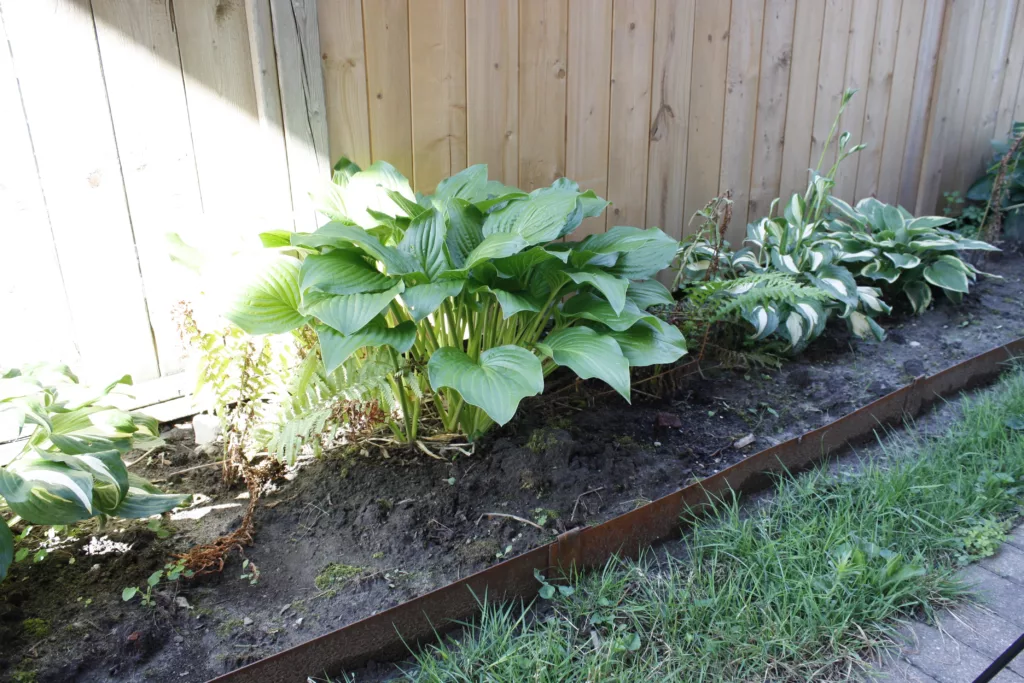
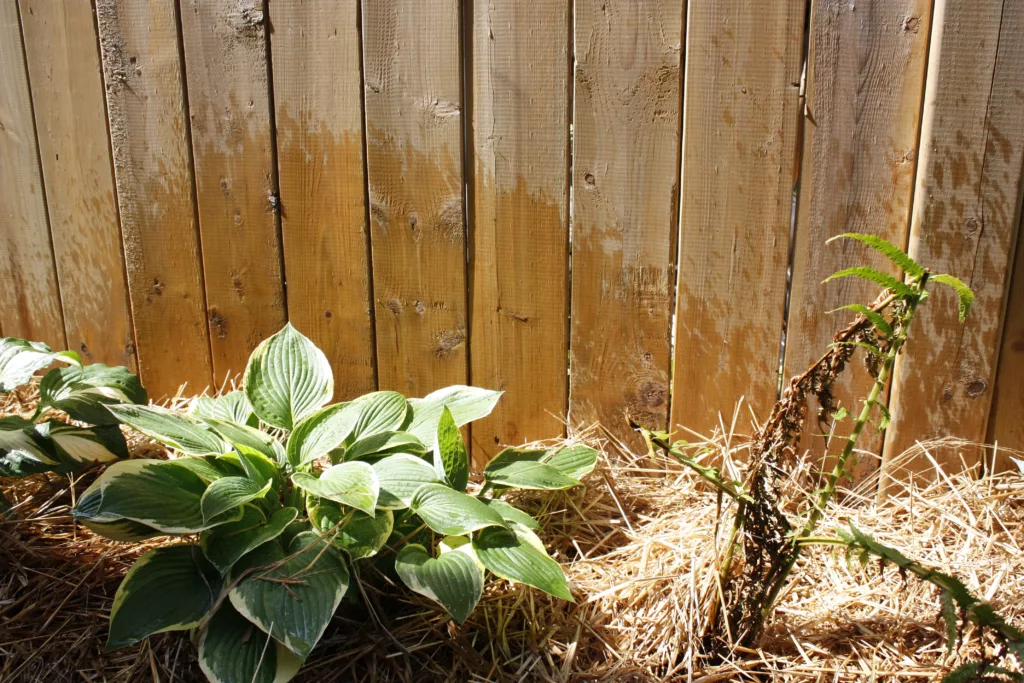
Mushrooms grow best in shady areas. Choose a location that gets a good amount of shade, under a perennial garden or under berry bushes. You’ll want to avoid planting under cedar trees, or with cedar chips for mulch as cedar has anti-fungal properties which will stop your spawn in its tracks!
What You Need to Plant Your Mushrooms
You don’t need much to grow mushrooms! All you need is a substrate such as woodchips or straw and the mushroom spawn.
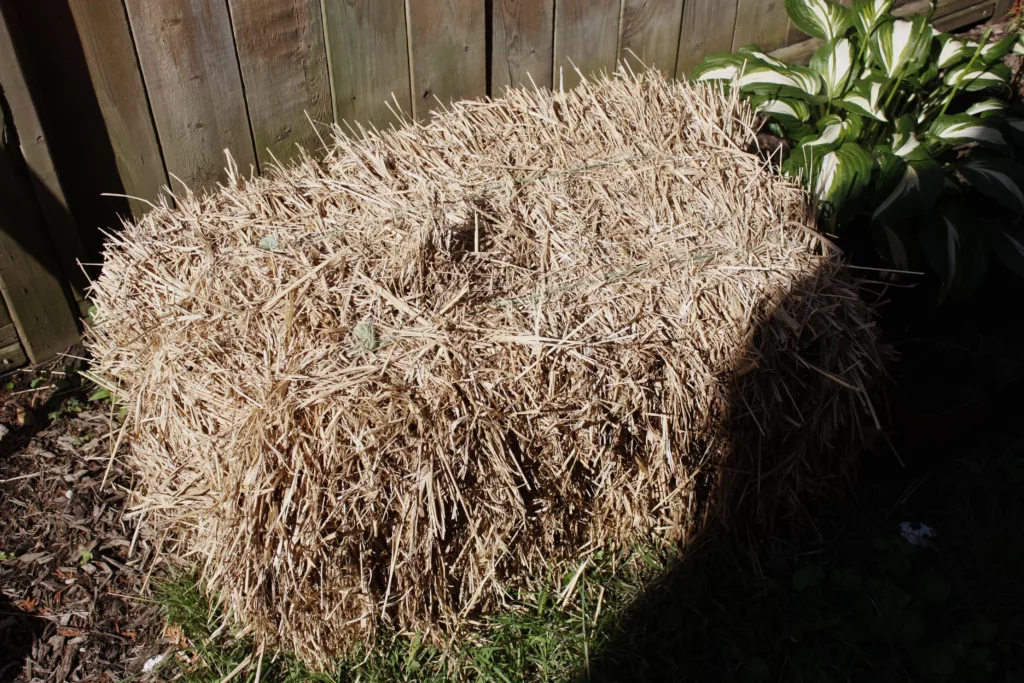
Two things you want to avoid using are hay and cedar woodchips. Hay is more likely to have seeds in it that will compete with the mushrooms. Cedar wood chips have anti-fungal properties that will compete with the mushroom spawn.

If you’re local to Ottawa, we used switchgrass from Strathmere Farm. Switchgrass is a native perennial in Canada so we love supporting local businesses that are actively working on becoming more sustainable. If you can find switchgrass in your area, we can confirm that it works well as a substrate.
How to Plant Wine Cap Mushrooms

Planting the mushrooms is really simple. Wine cap mushrooms can actually be planted before your last frost date and can handle the cool weather, however if you get your mushroom spawn and aren’t quite ready to plant them, store them in the fridge until you’re ready to plant.
The Lasagna Method
Wine cap mushrooms get planted using the lasagna method. This means you rotate between your substrate and the mushroom spawn. The first step is to remove weeds from the location you’re planting the mushrooms. Then, put down your first layer of straw or woodchips – around 5-10cm in depth. Water the substrate well.
Next is to crumble the spawn up and place it on the straw or woodchips. One package of mushroom spawn will cover one square metre of garden space. You can spread the spawn out thinner, it will just take longer for the mushrooms to colonize your garden and grow.
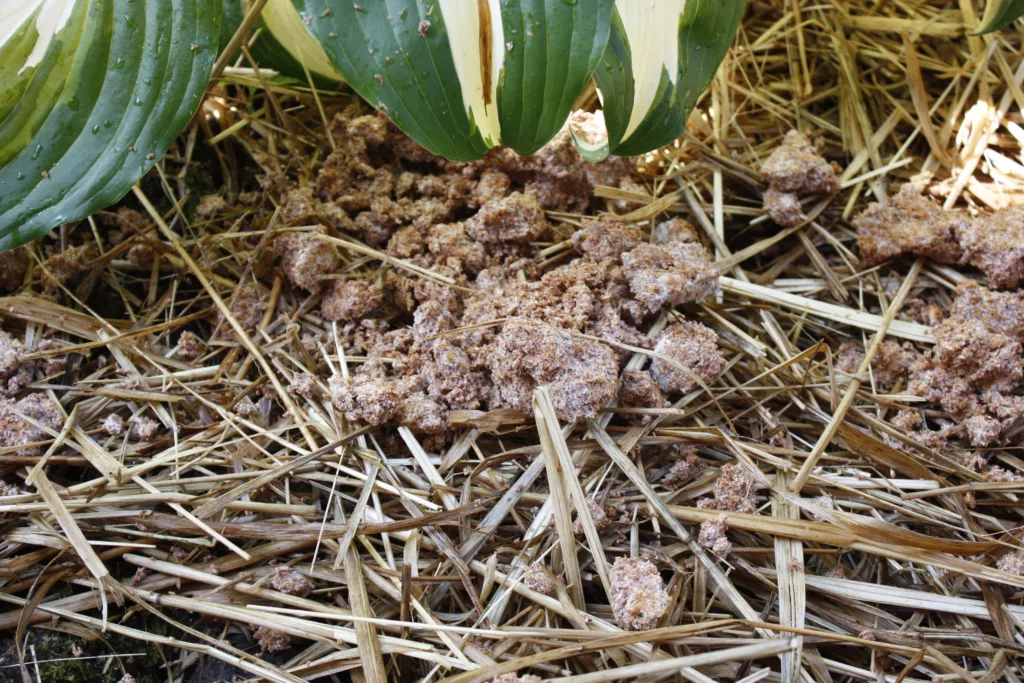
The next layer is another 5-10cm of substrate on top of the spawn. Depending on the area you’re planting in, you can be done at this layer, or you can continue with more layers, ending with a layer of substrate on top. The thicker the top layer, the better. This will help keep the spawn from drying out.
Once you’re done your layers, give it another good watering. Starting your mushroom spawn off with well watered substrate will help it colonize, which means you’ll get mushrooms sooner!
Caring for Wine Cap Mushroom Spawn
Caring for your wine caps is really simple. Water the garden daily (unless it rains) for the first week or two and then you can switch to your regular watering schedule for the perennial garden.
A week or two after planting the spawn you can lift up the mulch to see if there is any growth. You should see white growth under the mulch – this is your mushrooms growing!
Continue your garden learning:
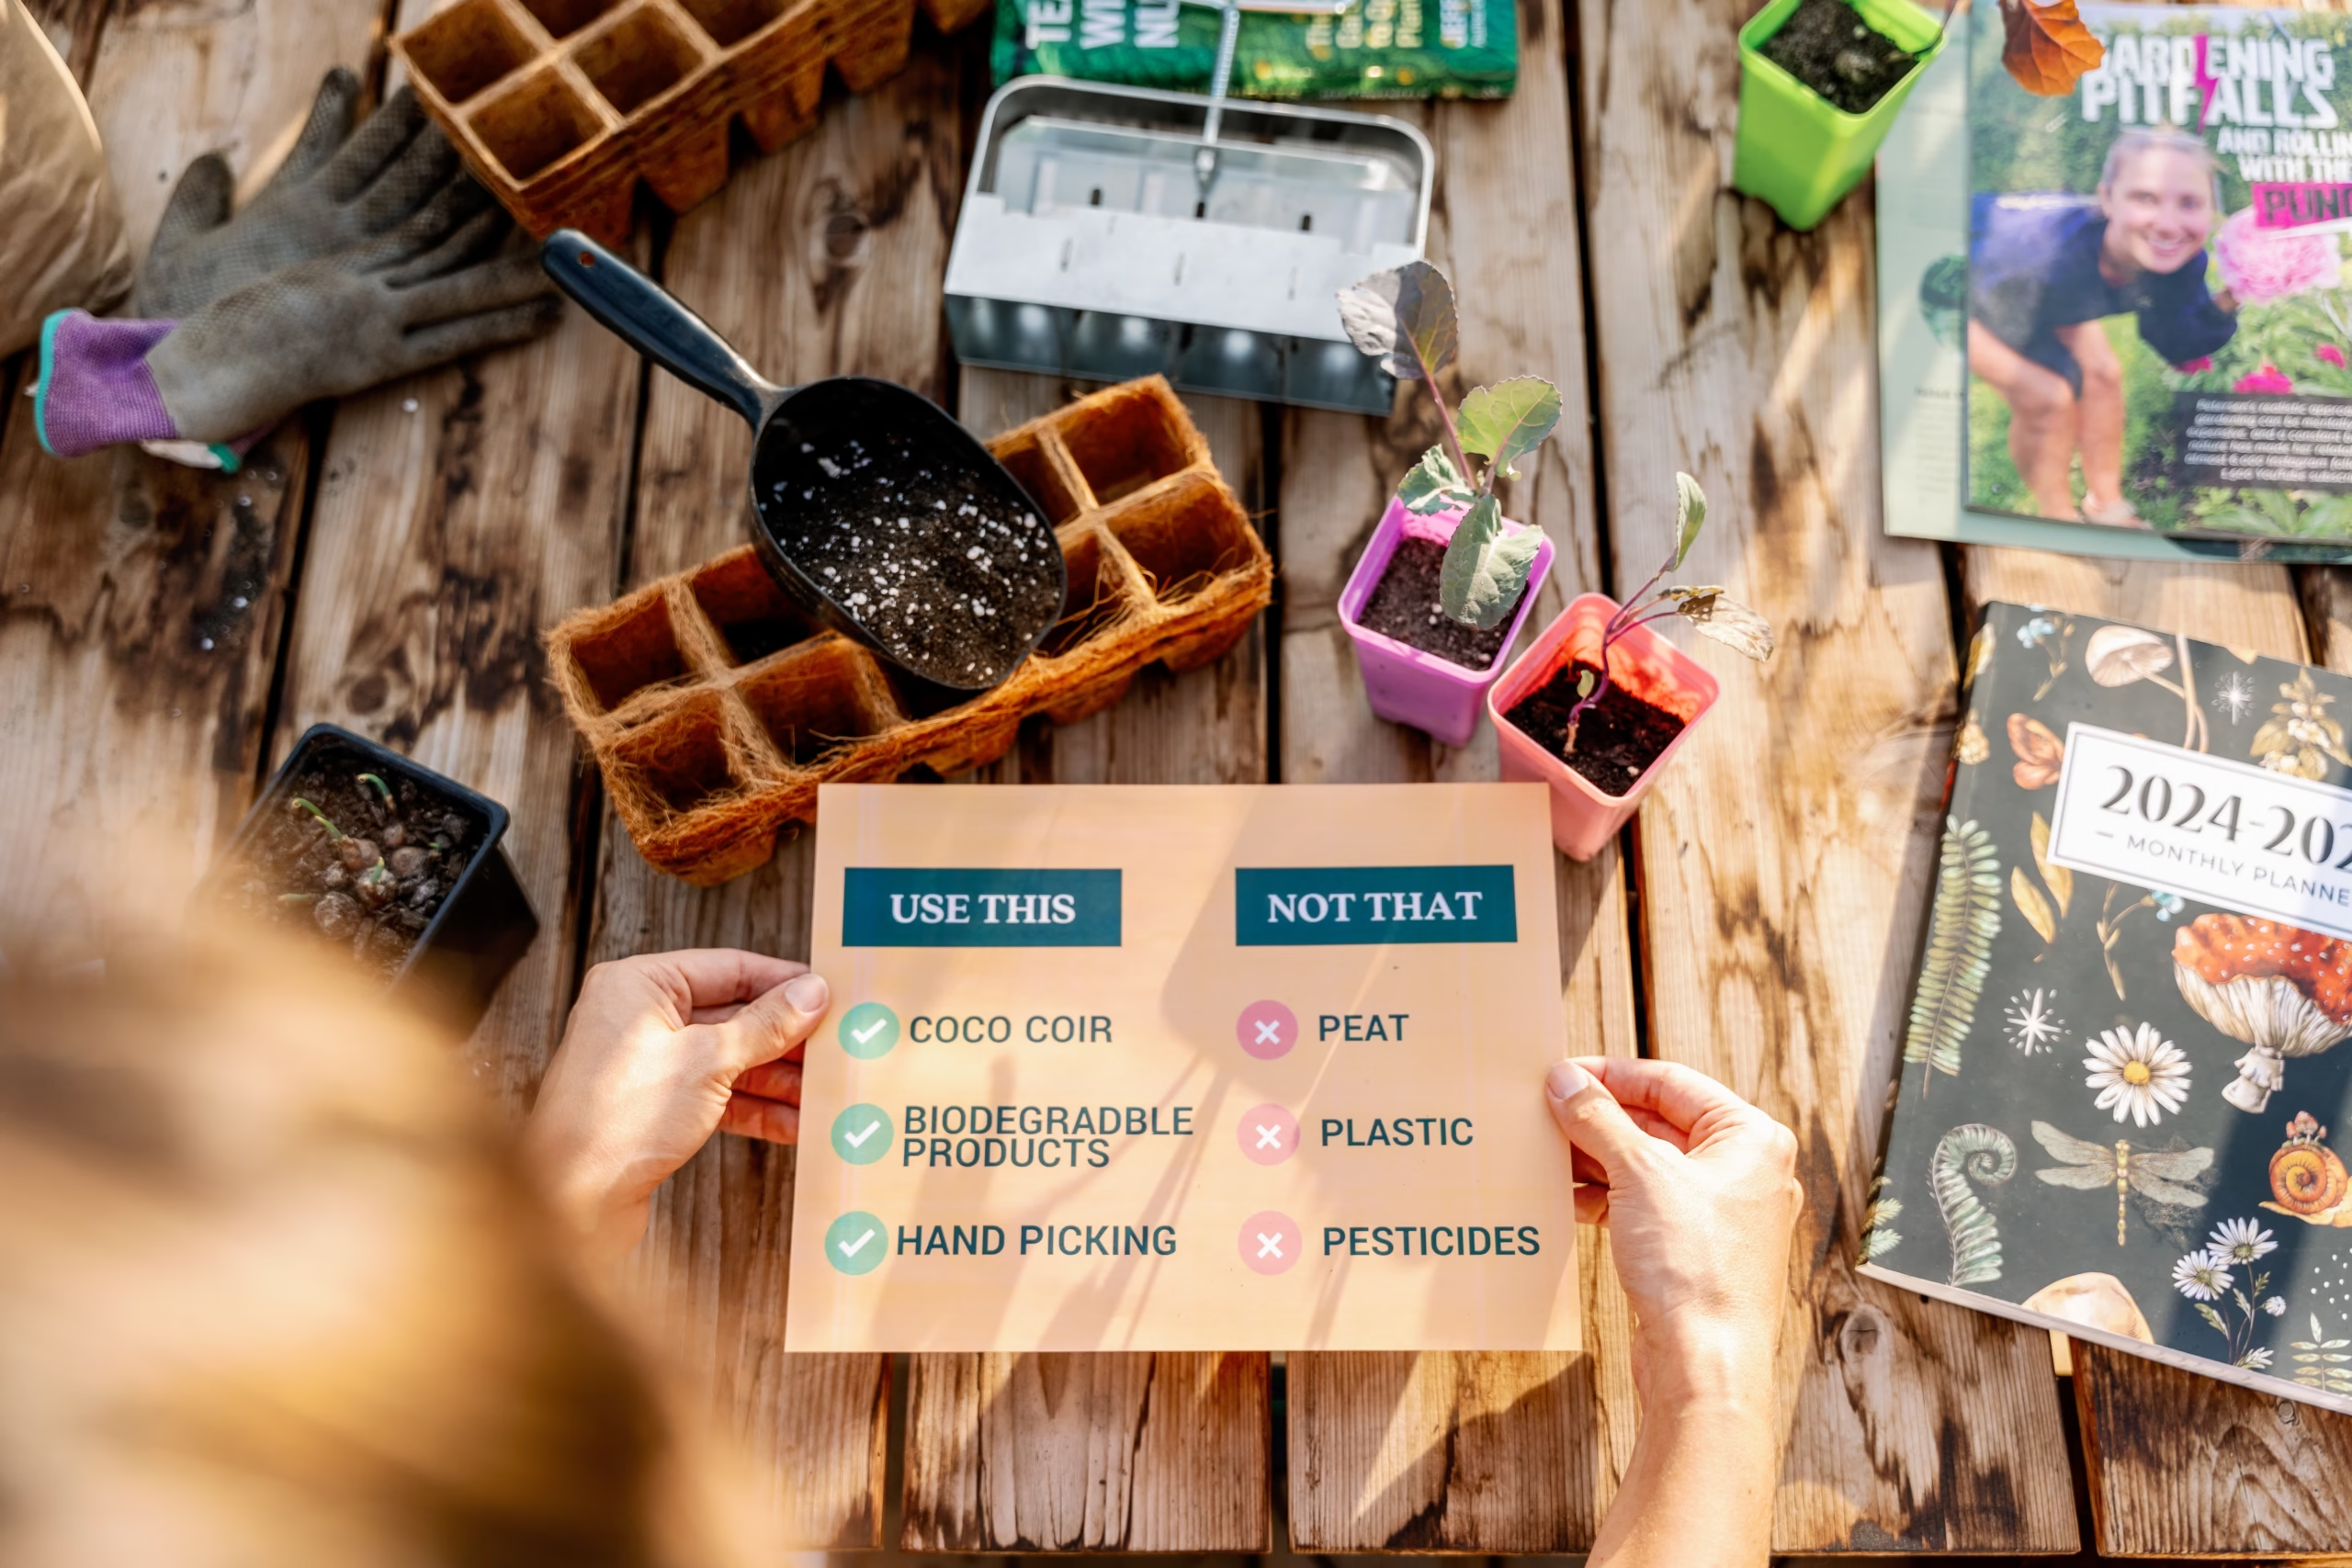
- 8 Tips to Build Healthy Soil (When Yours Sucks)
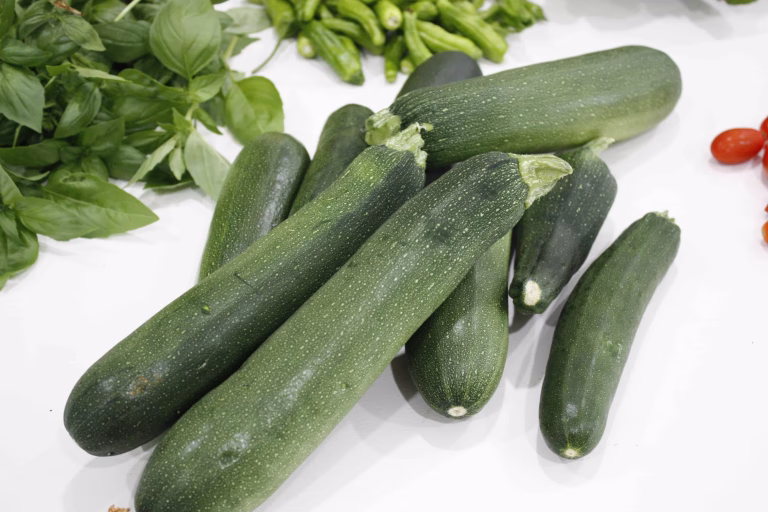
- Drowning in Zucchini? Here are 11 Ways to Use Your Harvest!
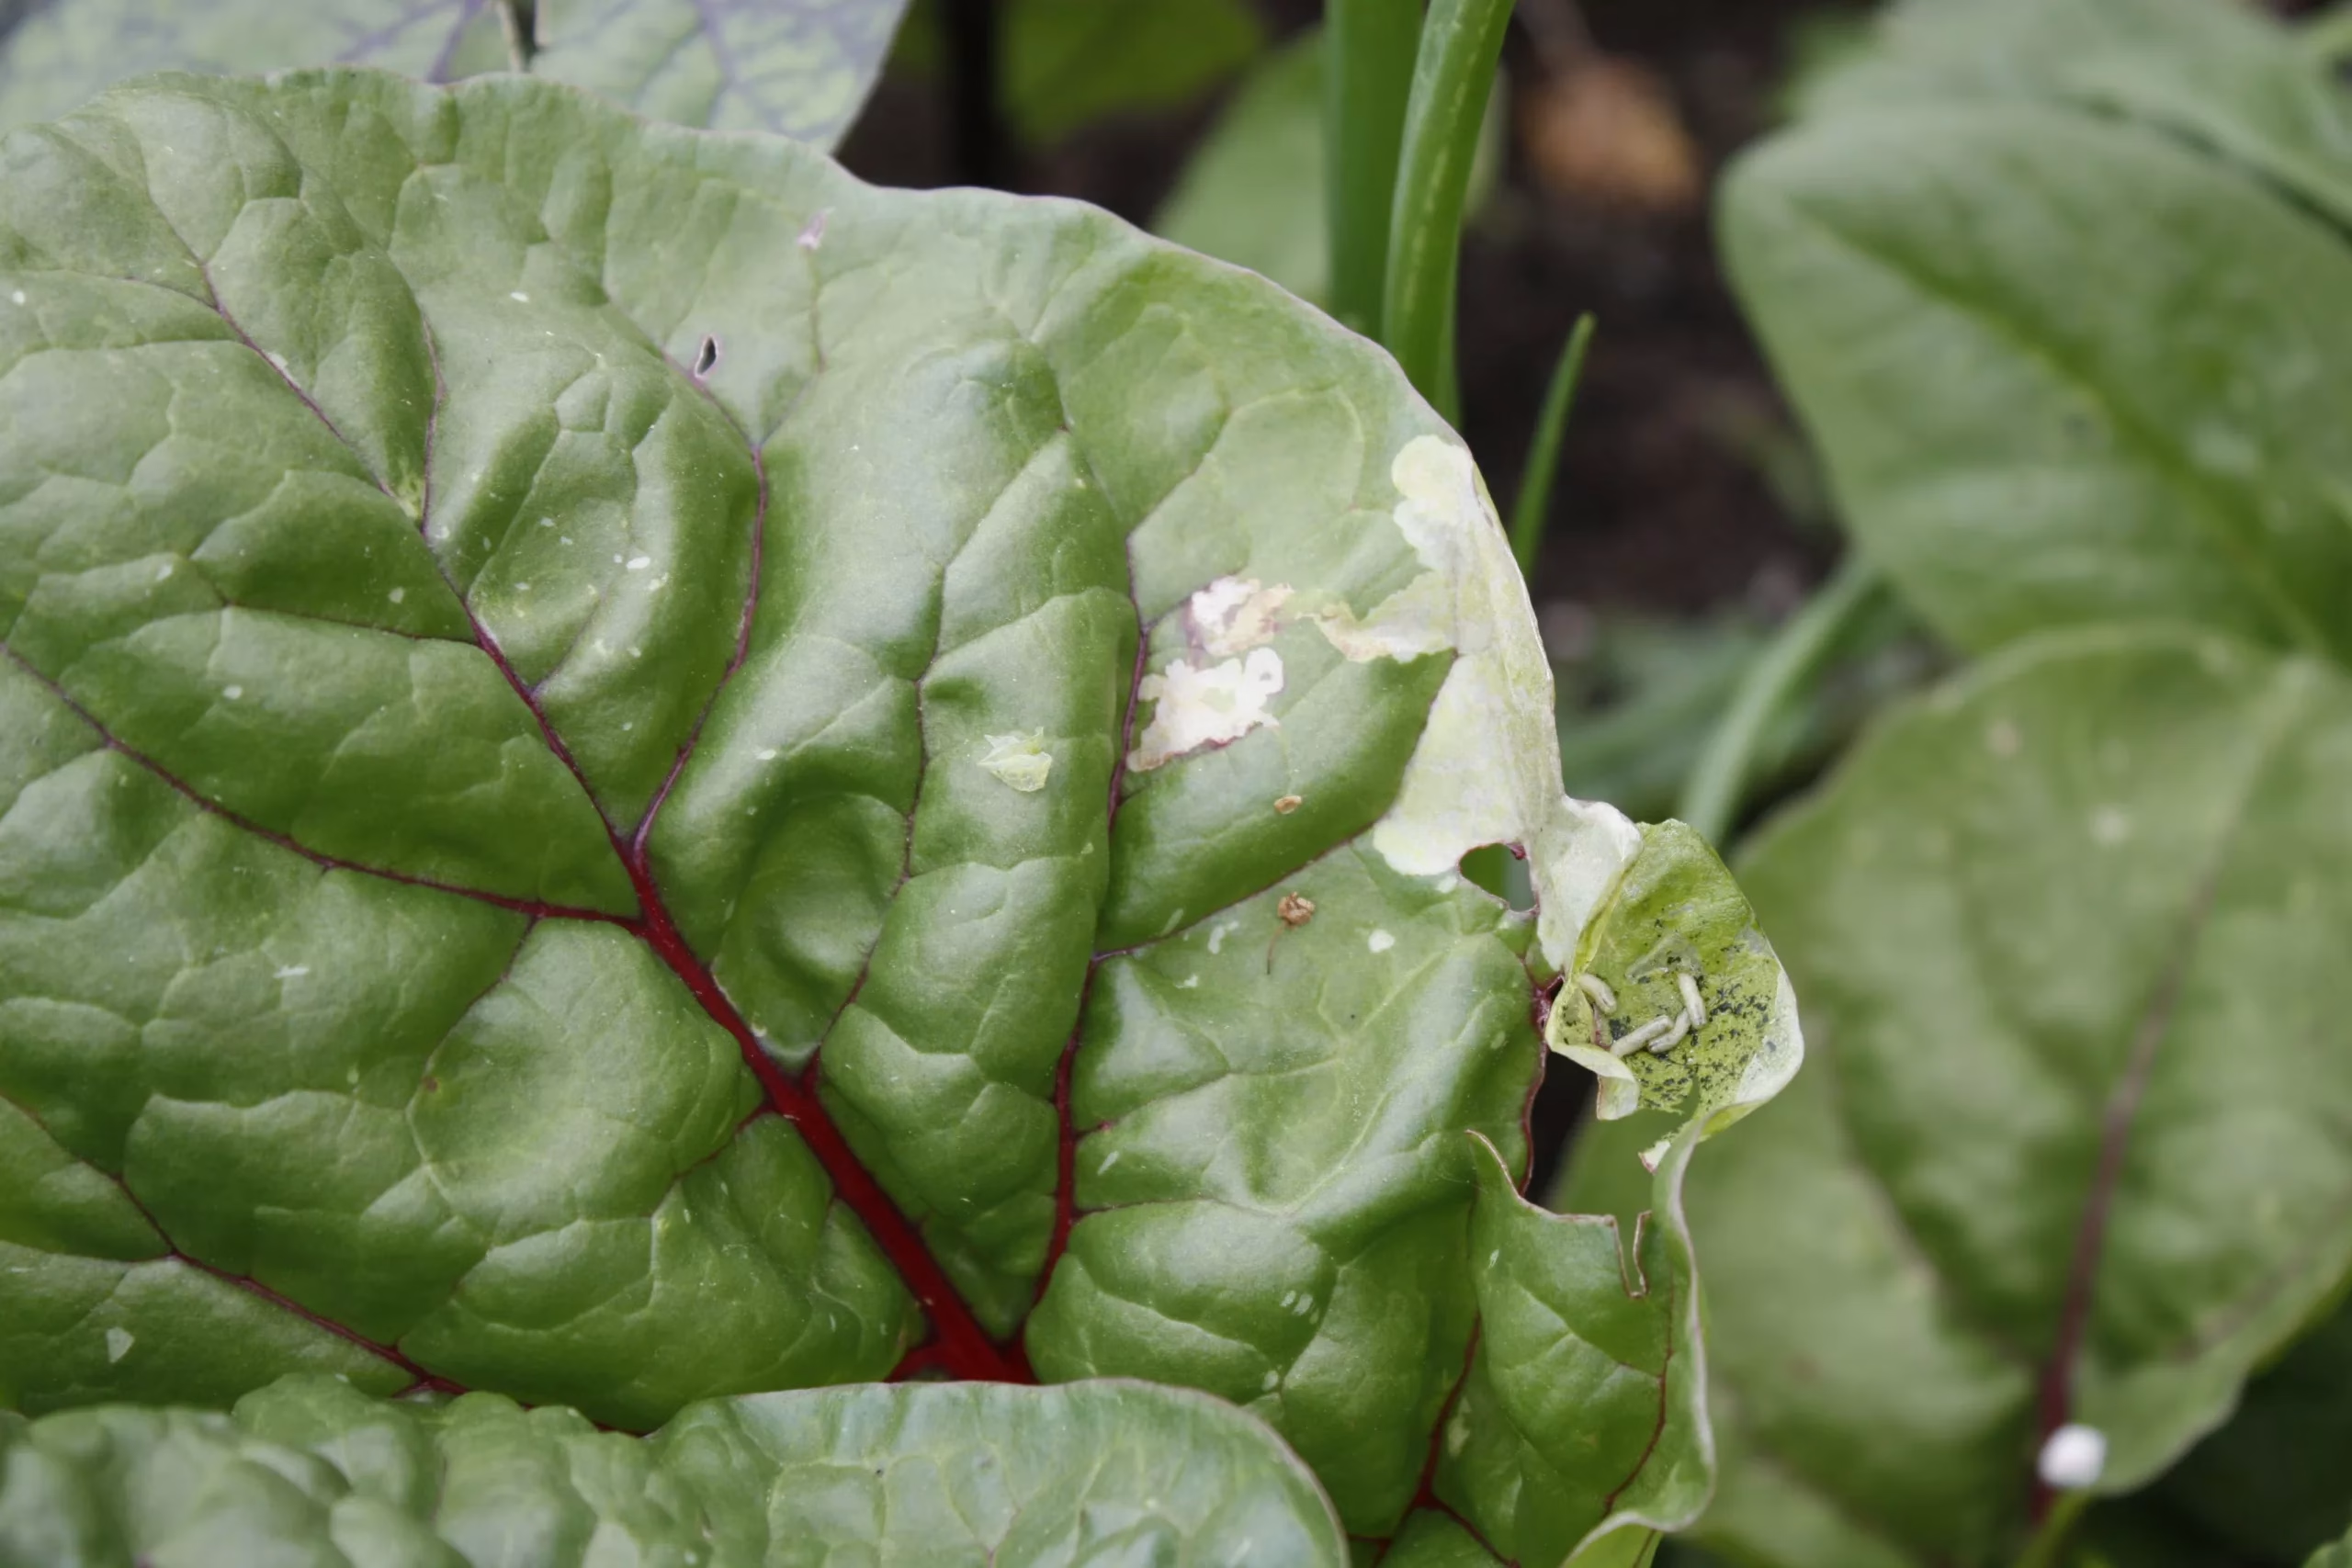
- 6 Spring Garden Pests You Should Know
- Are Organic Chemicals Safe To Use in a Home Garden?
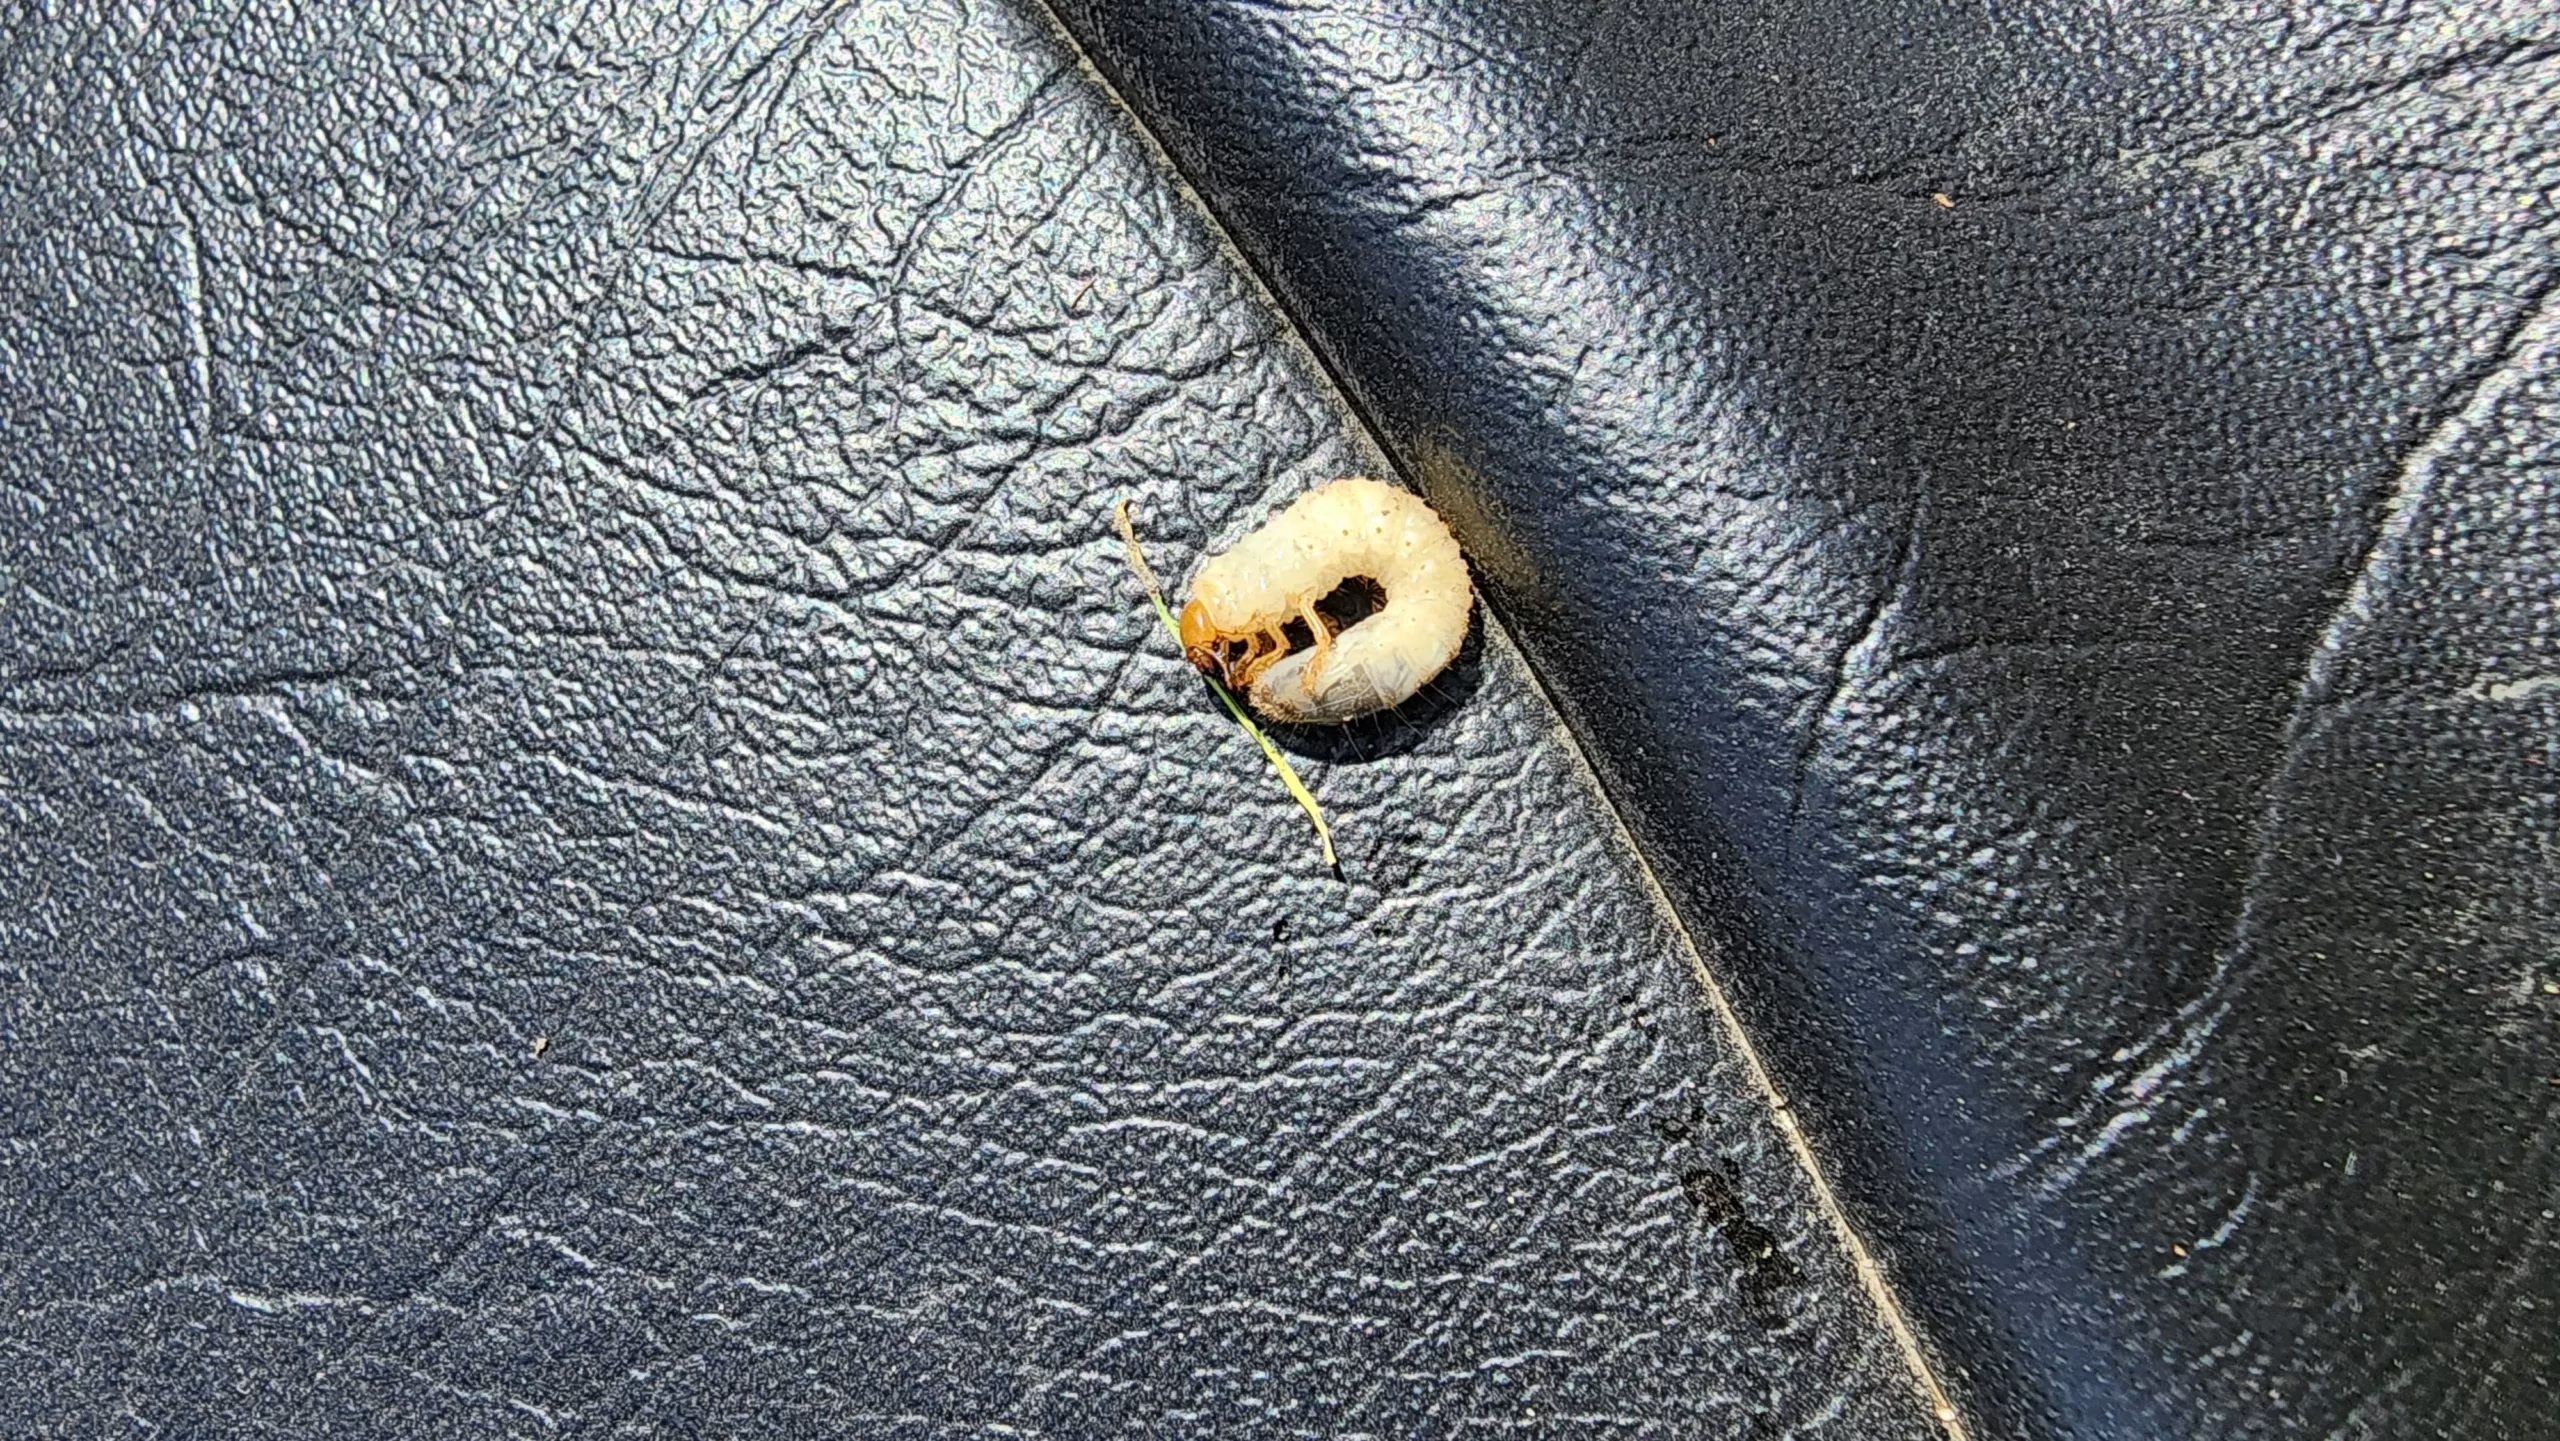
- Save Your Lawn: How to Control Lawn Grubs
Harvesting
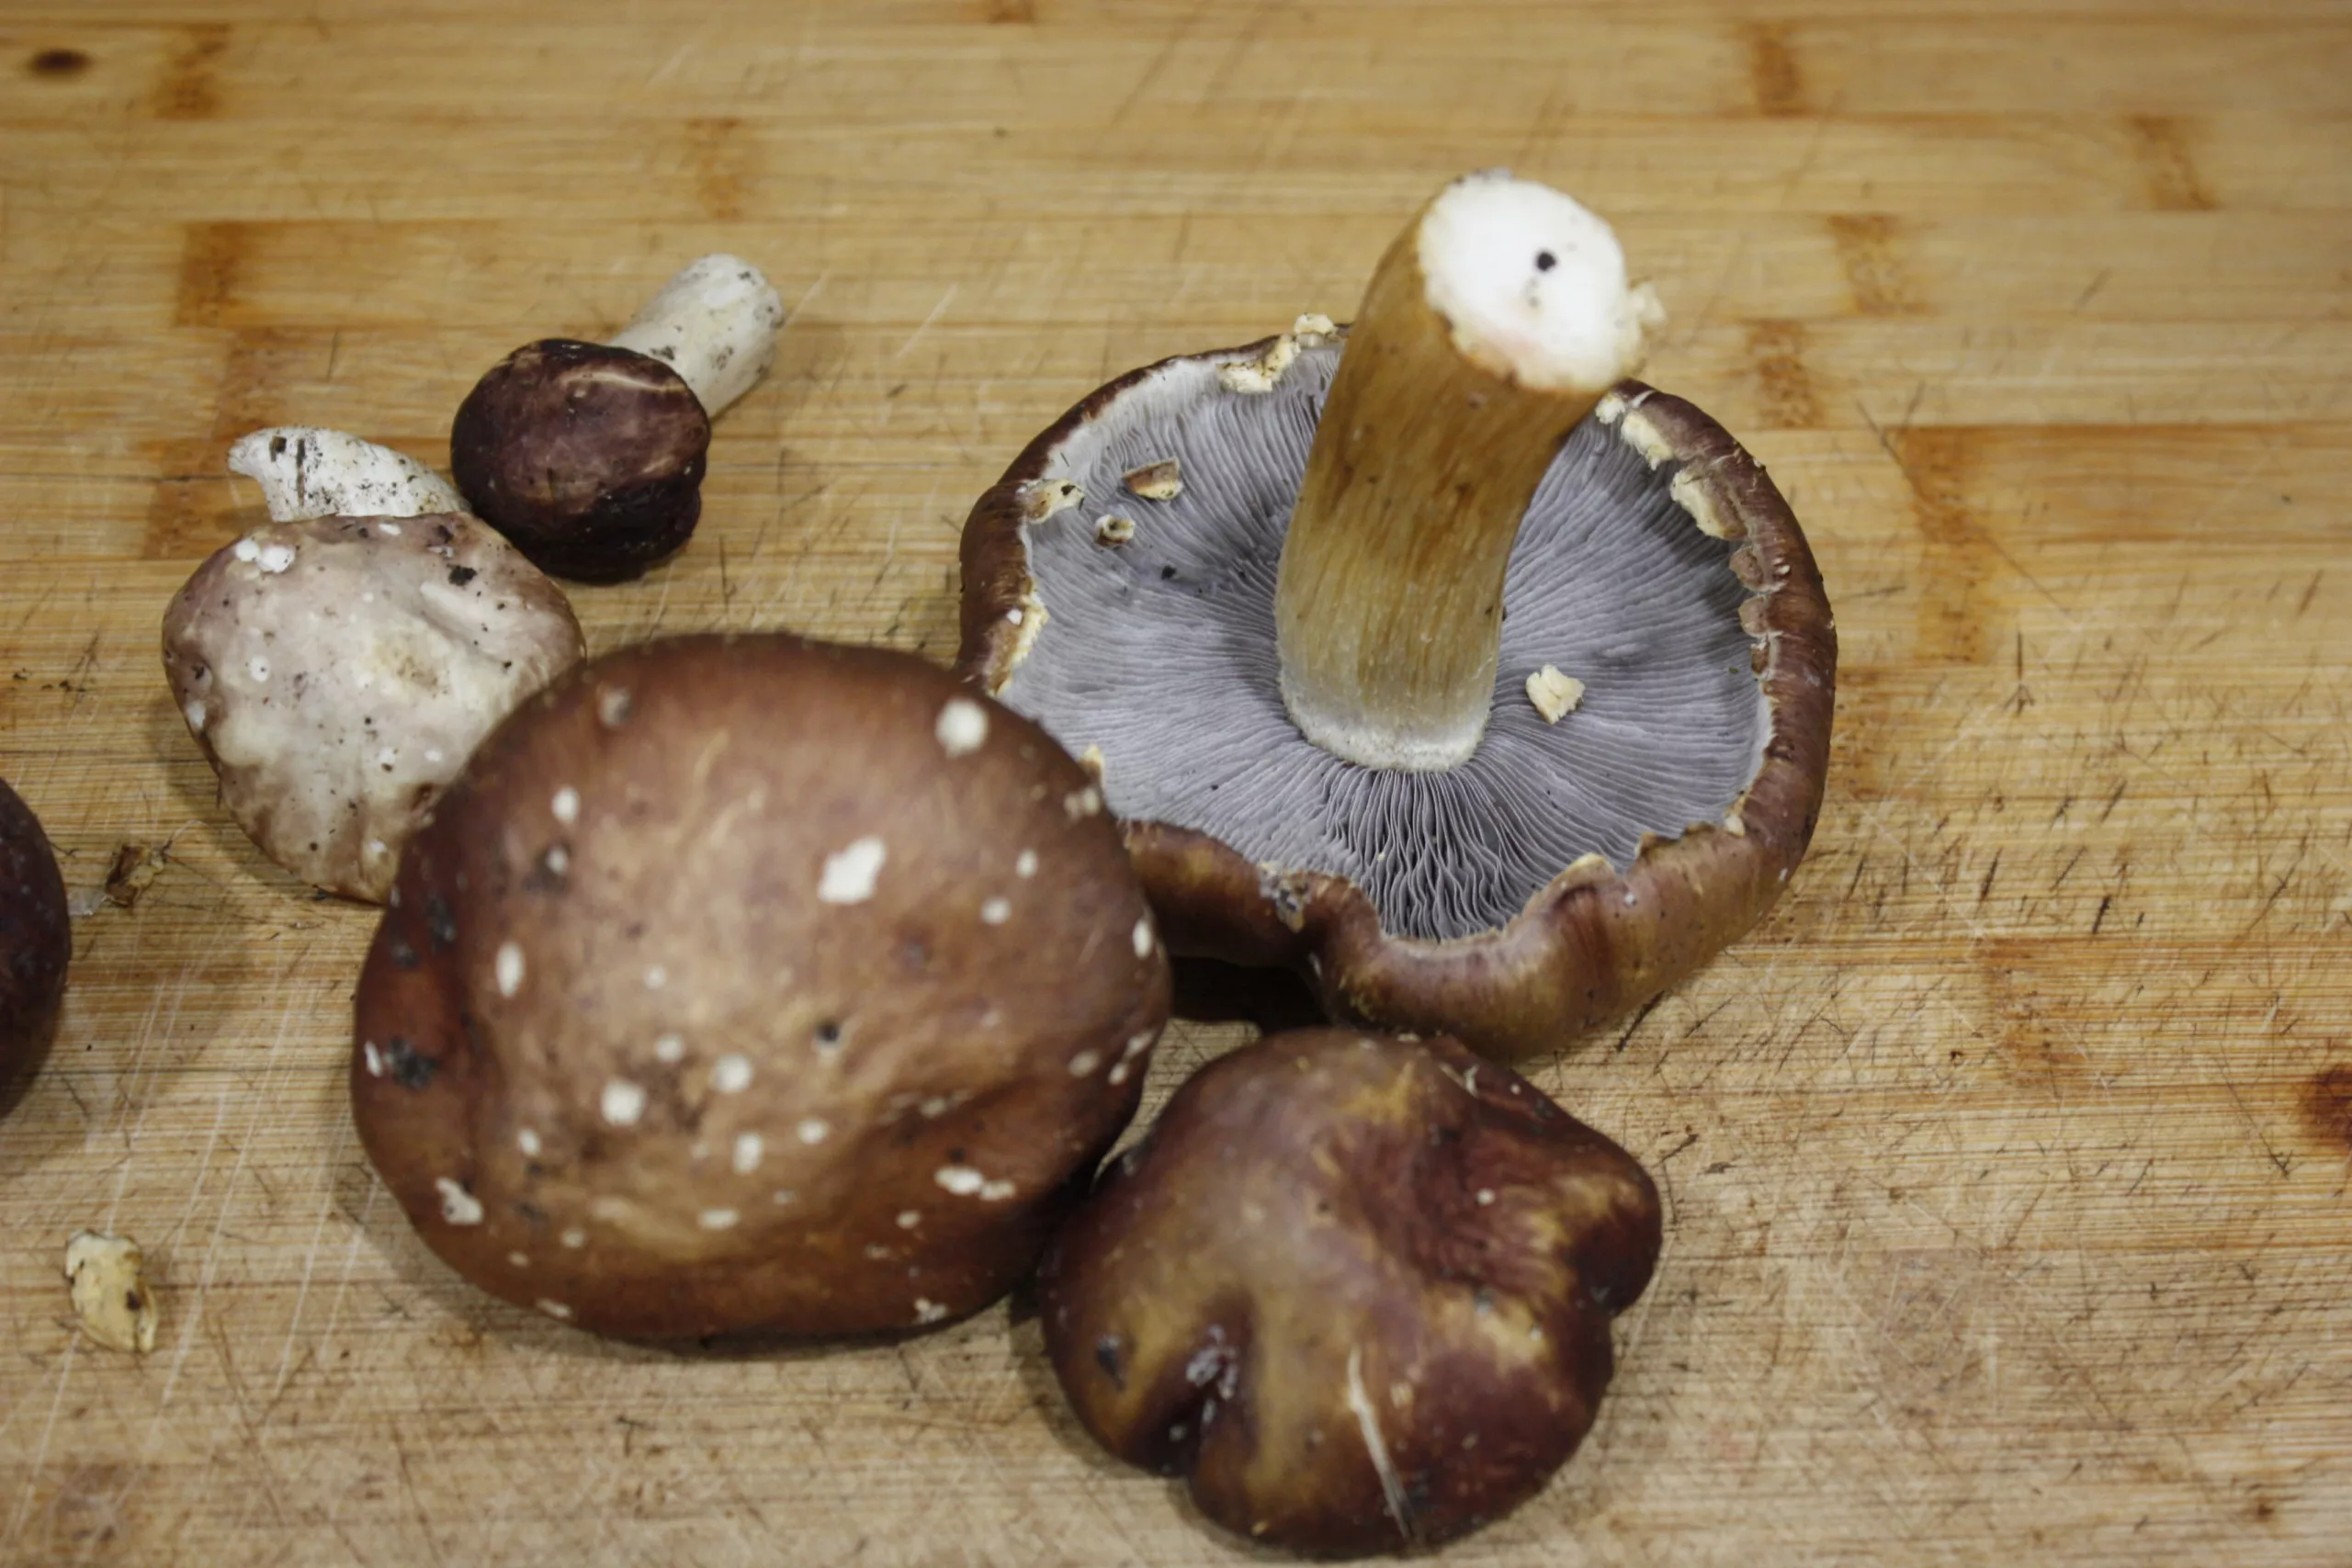
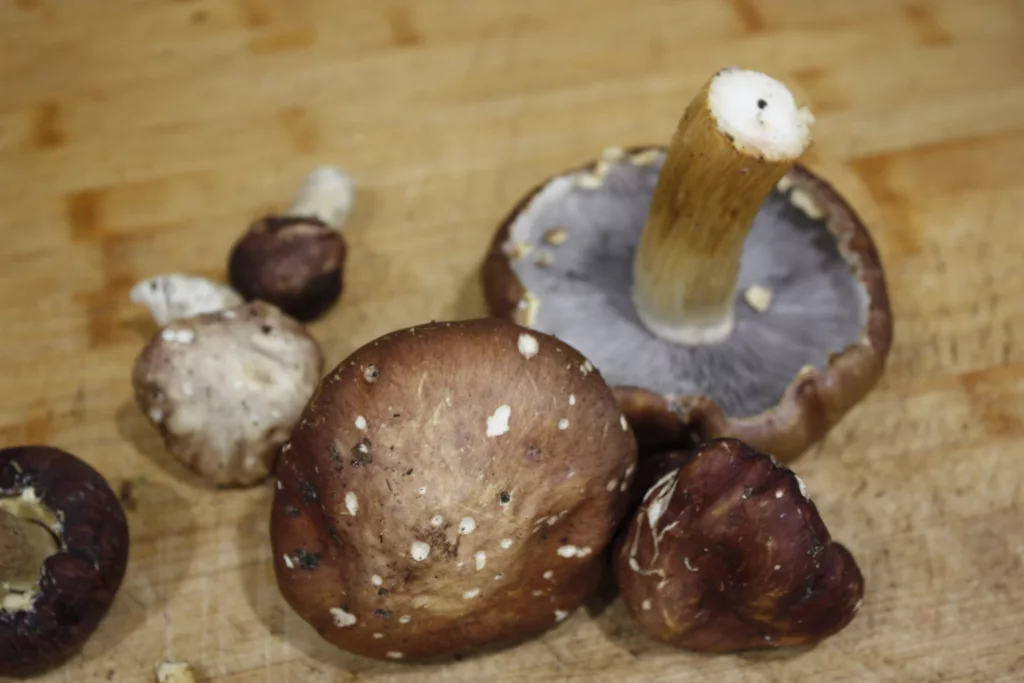
Mushrooms grow super quick, so as soon as you see any growth you’ll want to check on them daily. You can harvest them small when the cap is still curled (like in the photos below) or you can wait until they get to the same size as a portobello. To harvest them, you can either pluck them out of the garden by hand, or you can cut the stem at the base. Review this article on how to safely identify wine cap mushrooms if you’re unsure that the mushroom growing is the right variety (since mushrooms of all kinds will naturally grow in your garden).
Ways to Enjoy Wine Cap Mushrooms
Wine cap mushrooms can be enjoyed the same way you would use other white or portobello mushrooms. You can slice and sauté them, make soup or even dry them out for later.
How to Identify Wine Cap Mushrooms
With all mushrooms, it’s important to properly identify what has grown and confirm it is, in fact, your wine cap mushrooms. Because mushrooms grow all over, other mushrooms can take up home in the garden where you planted your spawn.
One year when I planted wine caps at my last home, the only mushrooms that did end up appearing in the garden were a different variety. I ended up with a type of Parasol mushroom, where some are edible, while others are definitely not, so it’s important to properly identify what you’re harvesting and eating. To learn more about proper identification, you can check out this article from Grow Mushrooms Canada.

How to Care for Mushrooms Year After Year
Mushrooms feed on the substrate in order to grow, so it’s important to add new woodchips or hay each year to your mushroom garden. This will allow them to continue to grow. Adding mulch in the spring and fall will help ensure that they have food all year round, which means mushrooms for you year after year!