Quick pickling is our favourite method for pickling food. Why? Because it’s quick!
This method works for more than just cucumbers/pickles but today’s recipe is all about the classic pickle.
This recipe has been passed down by my grandmother and I’m so excited to share it with you. It’s a small reminder of the woman she was. I love the idea that her pickles will travel to other homes and be enjoyed by so many. But before we get into the recipe let’s go over a few items!
Quick pickling is the same as refrigerator pickles. It’s a method of pickling food that doesn’t require any fancy equipment or knowledge. No water bathing and no boiling jars. It takes just 10 to 15 minutes to make them which is why they’re called quick! Here’s how simple it is: fresh vegetables are placed in the jar with seasonings, you boil a brine with just a few ingredients and then the brine is poured over them. That’s it!
In this method, the jars won’t seal, and they must be stored in the fridge since they aren’t shelf stable.
• It’s quick
• It requires no fancy equipment
• No boiling jars in water
• It’s super simple to do
Traditional boiled/canned food can last on a shelf for years. But because this process doesn’t require the seal to be formed, this type of pickling doesn’t last as long. Also, the pickles must be refrigerated at all times so it’s important to keep them in the fridge. From what I’ve seen online, many websites suggest that quick pickles will last a few months. Personally, we pickle 12 jars of cucumbers, 1 for each month, to last us a full year until next pickling season. We have only had one instance where a jar fizzed upon opening that we had to throw out. However, we always do a smell test of the jars as they age to ensure they still smell fresh. It’s important to always trust your gut, and if they smell or taste weird – err on the side of caution and throw them out.
The fun thing about learning to pickle is you can play with the ingredients, flavours and shapes. It’s a great way to preserve your harvest and have food long past the growing season.
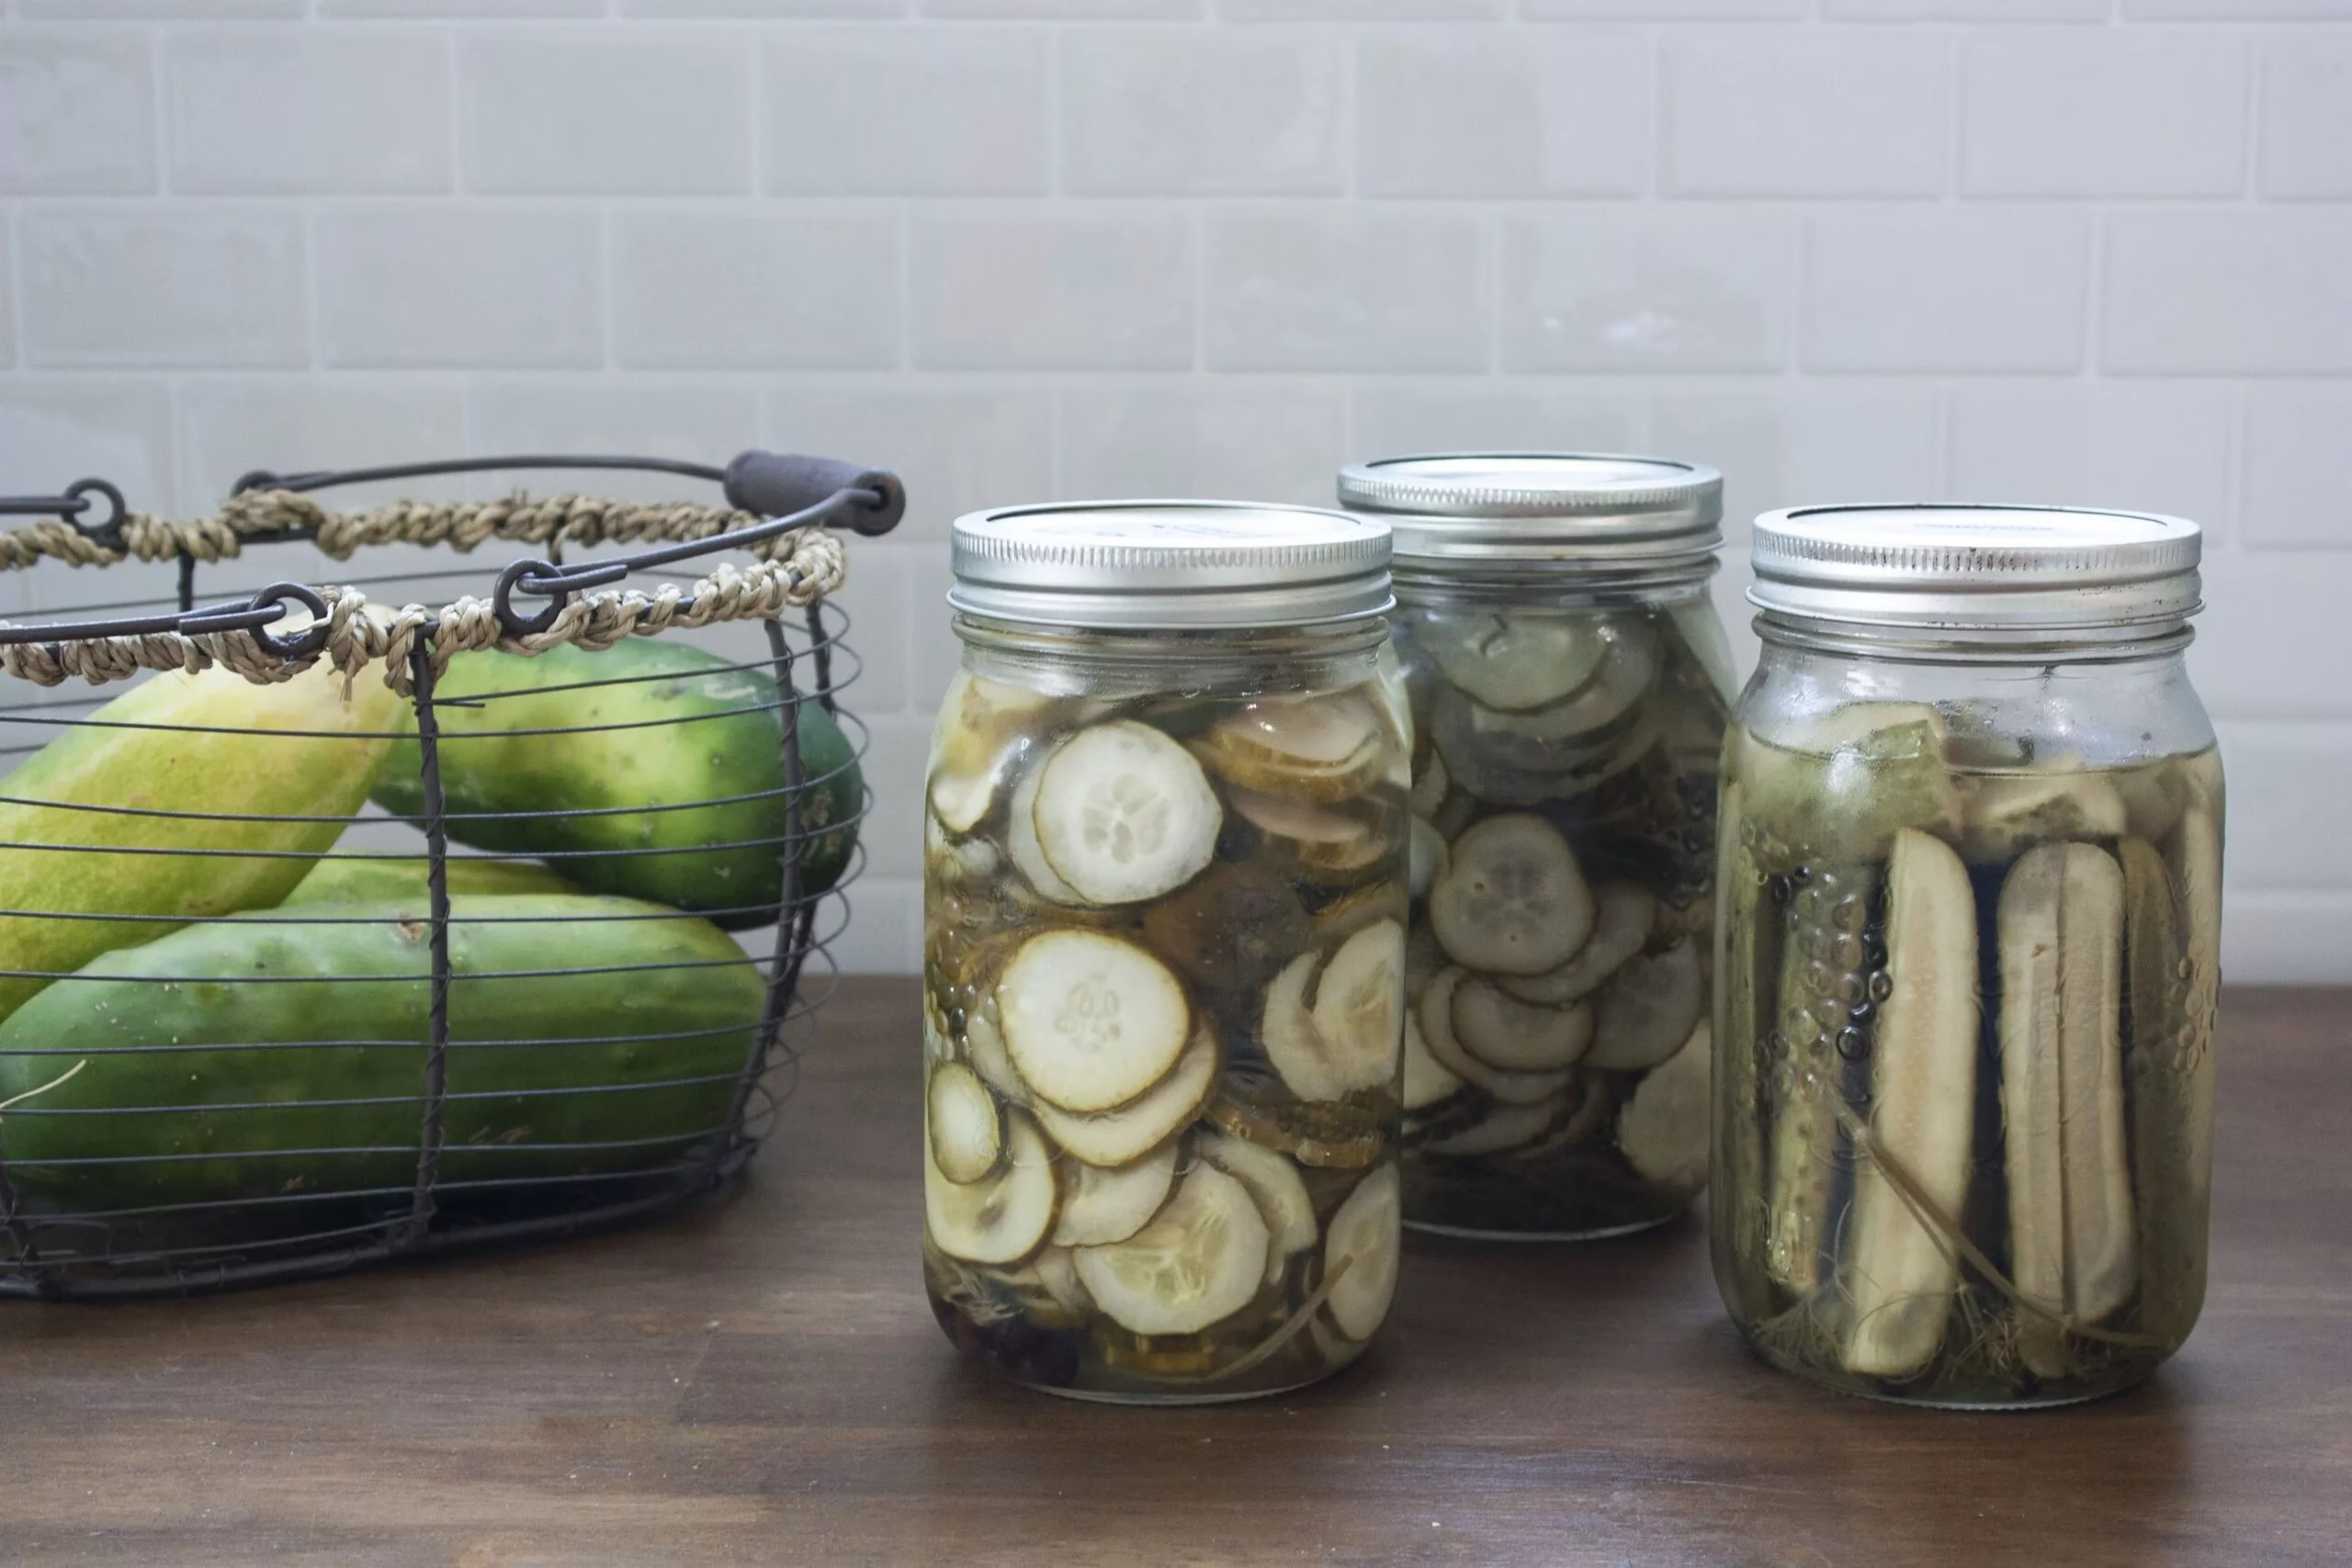
Depending on the size and variety of your cucumbers, you can pickle them whole, cut into wedges or slice them. The recipe that I’ll be sharing below has less vinegar than some other pickle recipes have so this is a milder pickle. But if you love a good tang, you can always switch up the brine and find one that you like.
We grow our own cucumbers to pickle, but you can find pickling cucumbers at the farmers market and in the grocery store in mid to late summer. Technically you can pickle anything you want (not just cucumbers) so you don’t have to use pickling cucumbers. However, larger or more watery cucumber varieties will turn to mush in the jar which is why pickling cucumbers are the best choice. My favourite pickling variety to grow is Chicago. I’ve grown it for multiple years and it has always reliably produced for me. Growing your own cucumbers allows you the ability to grow your favourite variety that gives you the best flavour or crunch.
Our blog is reader supported. Some links in this article are affiliates that earn us a small commission at no extra cost to you
In addition to growing your own cucumbers, you can also grow your own dill for this recipe if you wish! You can use both the stalks of the dill plant, and even the flowers if your dill is in bloom.
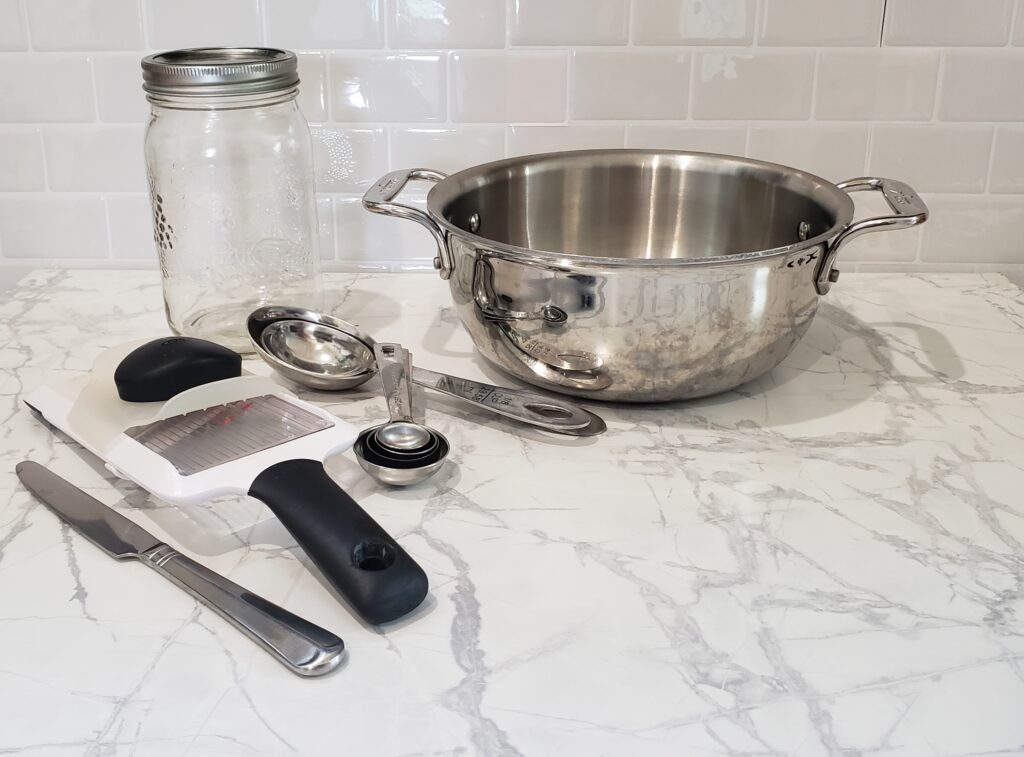
*the mandoline is only required if you wish to cut your cucumbers into sandwich style pickle slices. If you do use the mandoline be very careful as they are extremely sharp. We always use the safety handle on it, and if required, a safety glove.
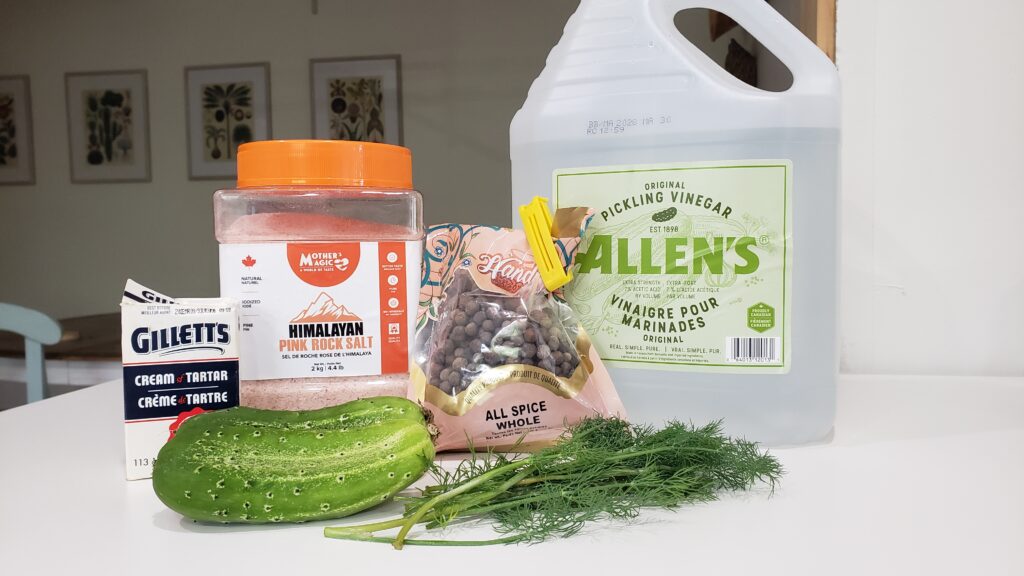
Here are the ingredients required to make these pickles:
• Cucumbers; whole, sliced or wedged
• Fresh dill stalks or flowers
• Whole allspice*
• Coarse salt
• Cream of tartar
• White vinegar
• Water
*whole allspice can be difficult to find at grocery stores. If you have an Indian supermarket nearby you’ll likely find it there, otherwise it will be online (the more expensive alternative)
The allspice really shows its flavour in this recipe, so you’ll want to make sure you enjoy it. Also, the vinegar to water ratio is lower, giving it a milder flavour. My family isn’t huge fans of pickles but likes this variety because of the lower vinegar content!
Make sure that the jars are freshly cleaned before using them. This recipe will use four 1L jars. To sanetize the jars, either wash them in the dishwasher or you can pour boiling water into them.
For the Cucumbers
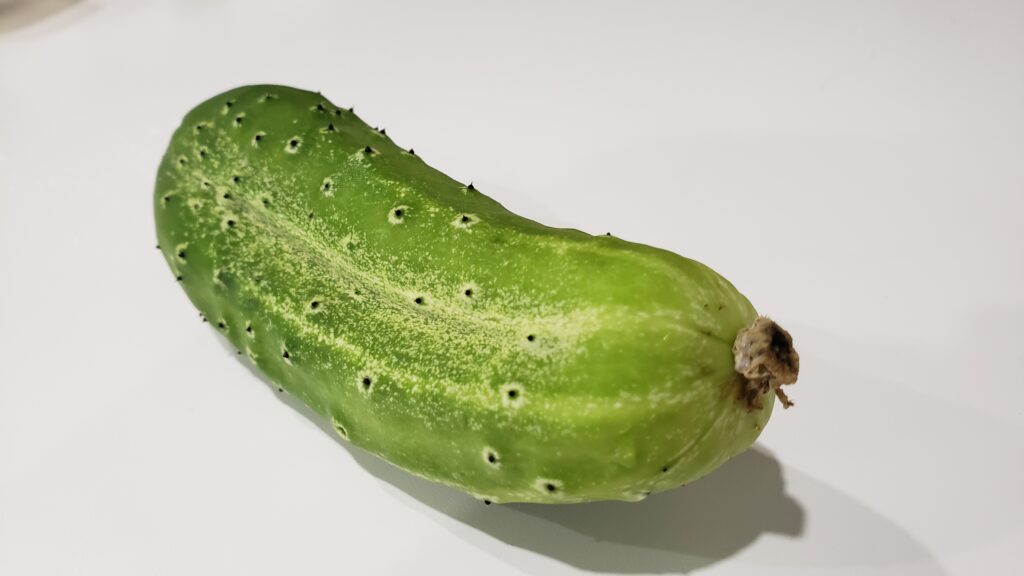
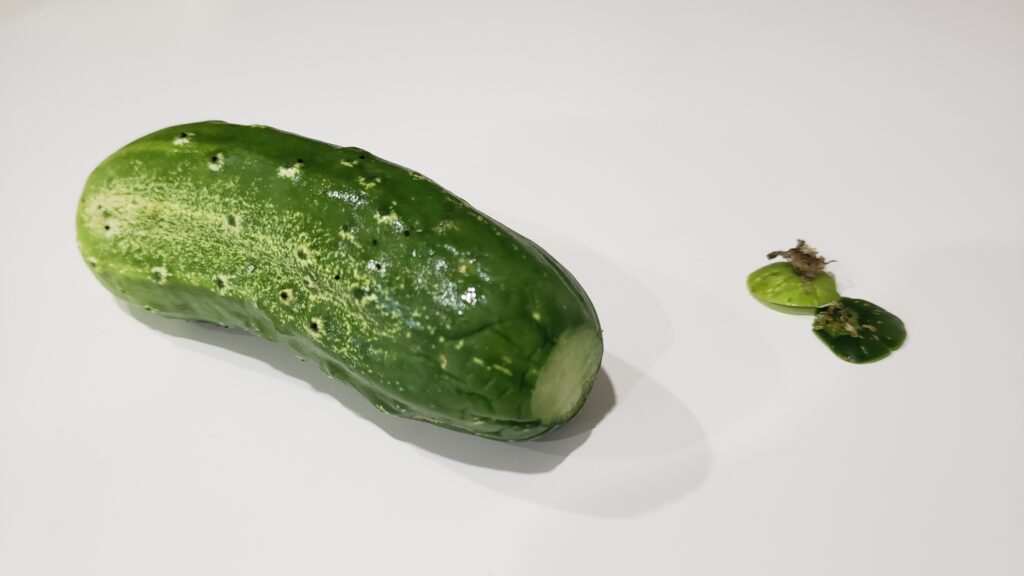
If you grow your own cucumbers, clean the sharp parts off the cucumber skin and cut the flower and vine tips off. If you’re using farmers market or store-bought cucumbers, clean the cucumbers thoroughly. If possible, buying organic or spray free is best.
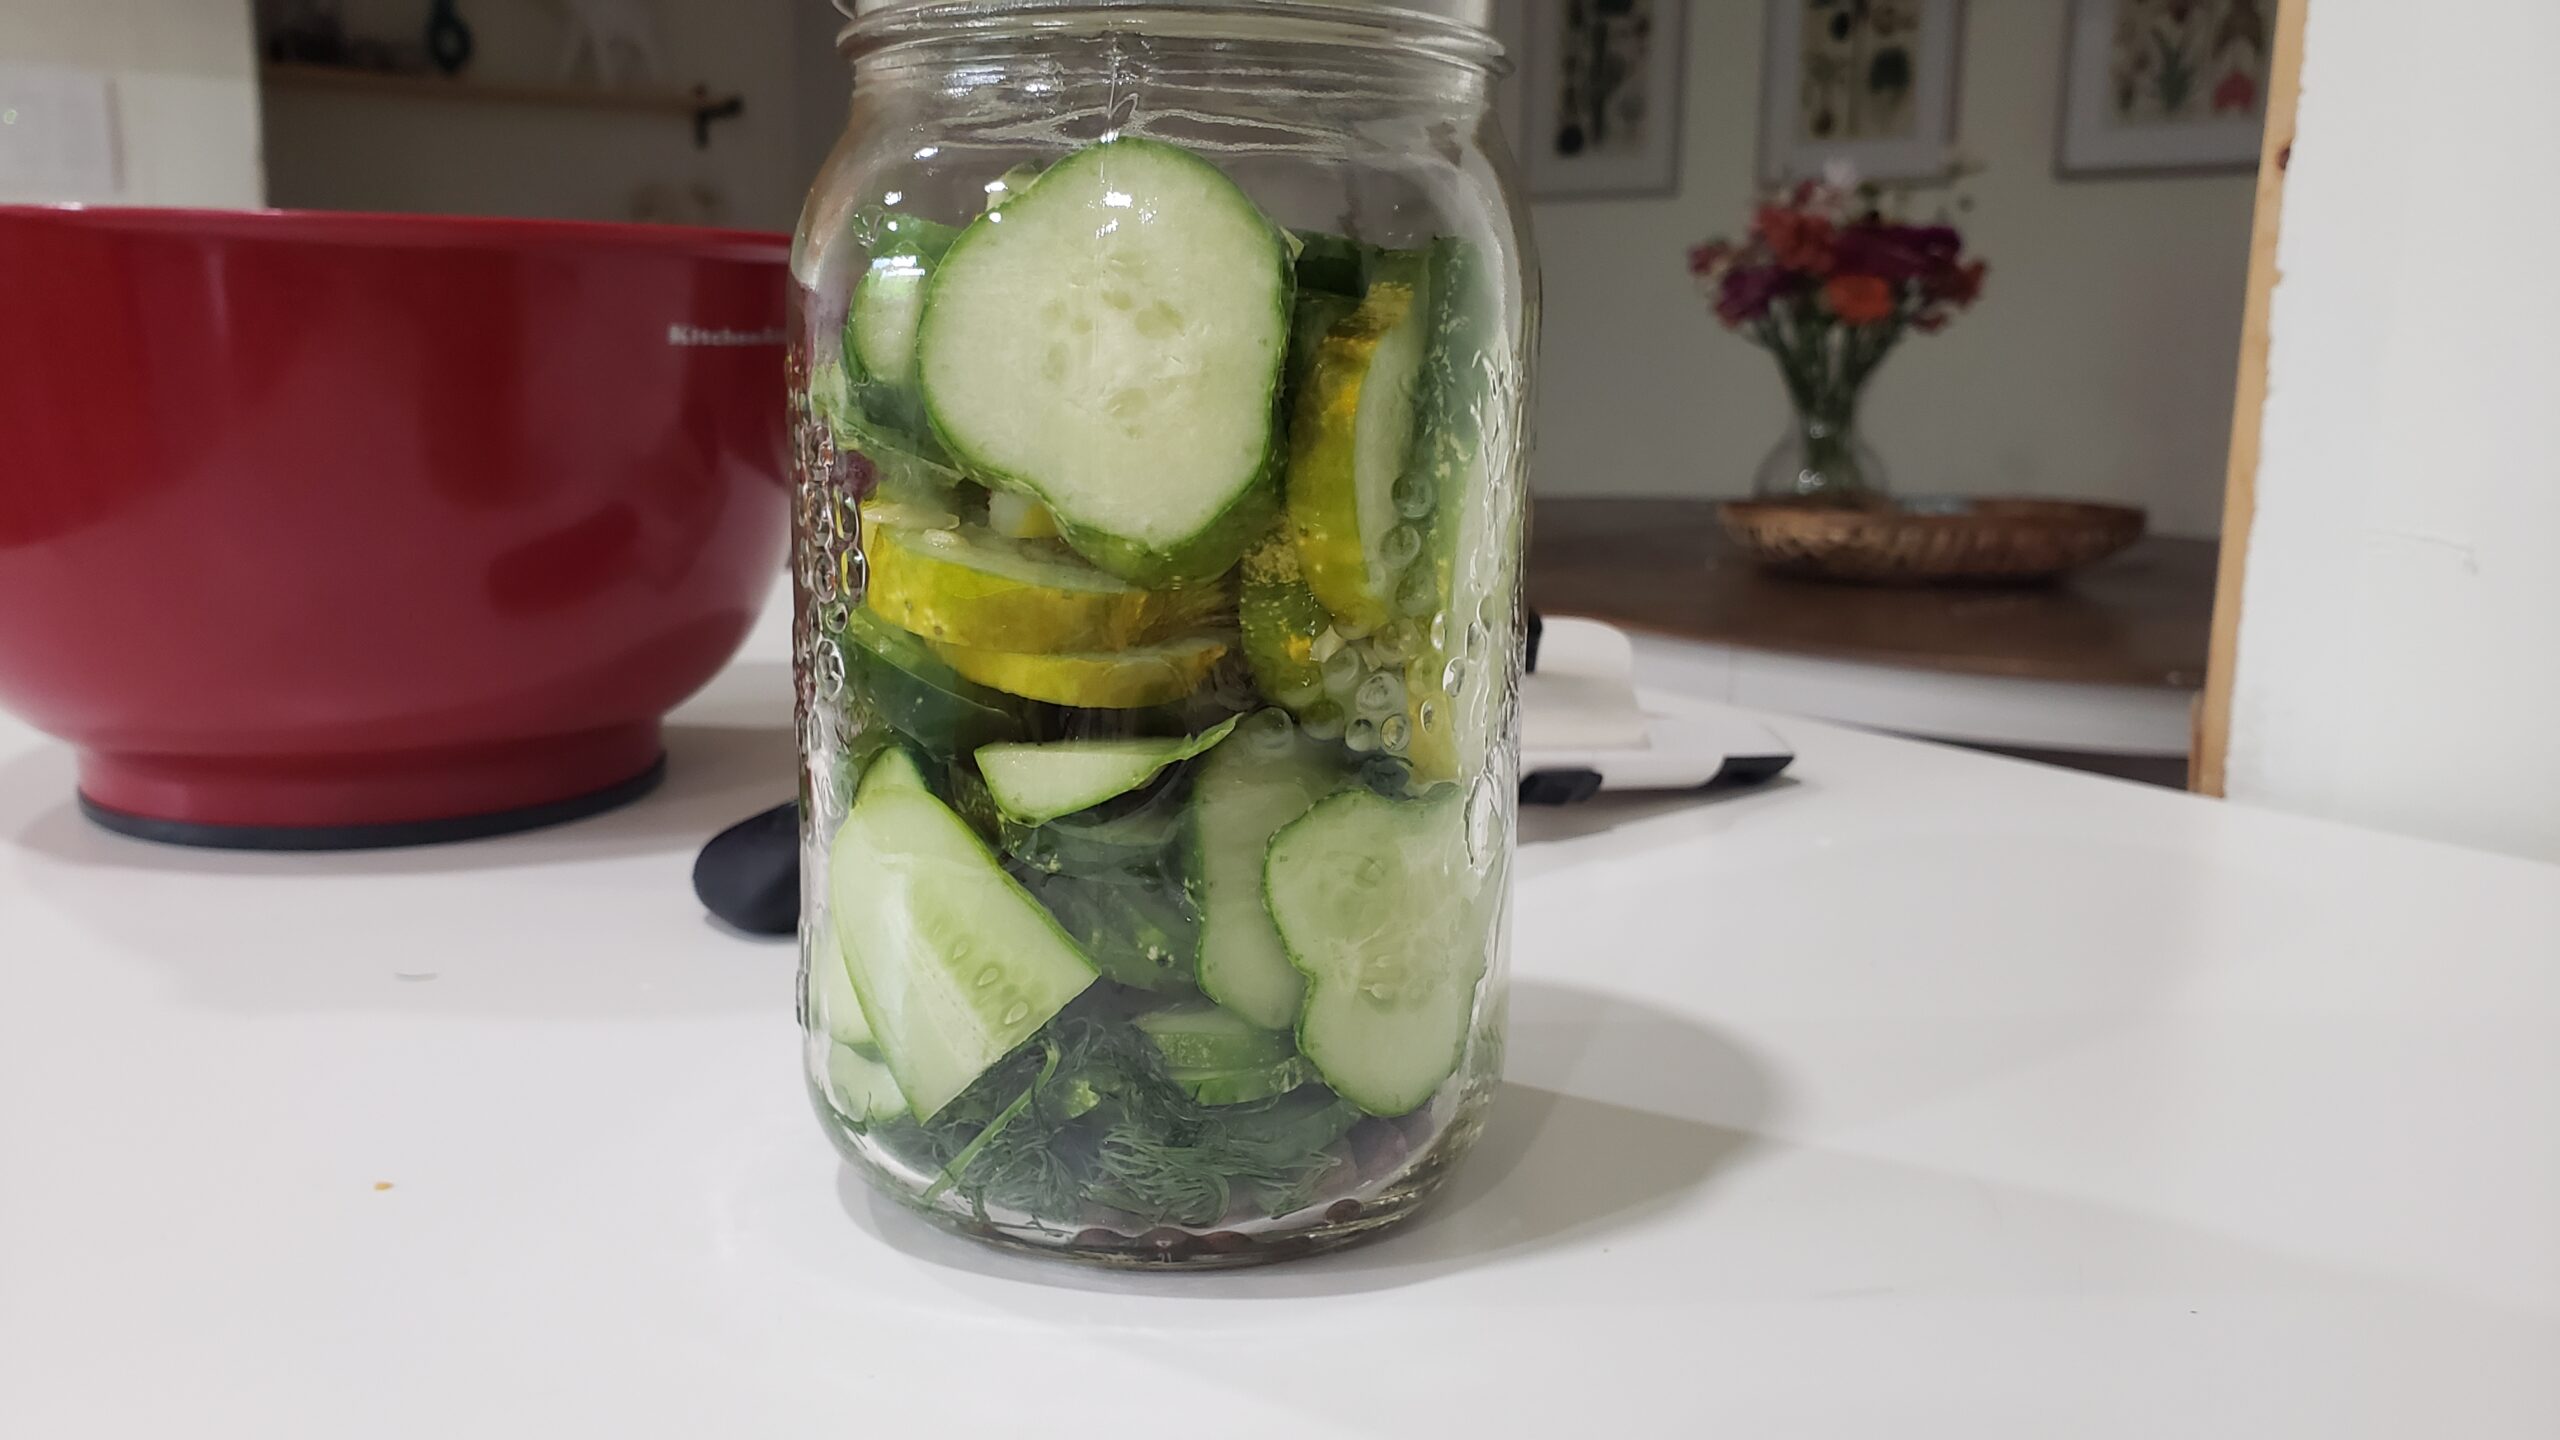
Cut the cucumbers to your desired shape (whole cucumbers, wedges or slices) and try to keep them as uniform as possible to ensure they pickle at the same rate. We recommend using a mandoline on the thickest setting if you wish to cut in slices. If you use a mandoline, be very careful as they are extremely sharp. Use the safety handle or a safety glove when slicing the cucumbers.

For the Dill
If you grow your own dill, cut the stalks above the soil. Using dill flowers is also a great choice. Wash thoroughly removing any dirt, aphids or eggs that may be on the plant. If you’re using farmers market or store-bought dill, cut the roots off of the plant. Wash thoroughly, removing any dirt. Organic or spray free dill is best.
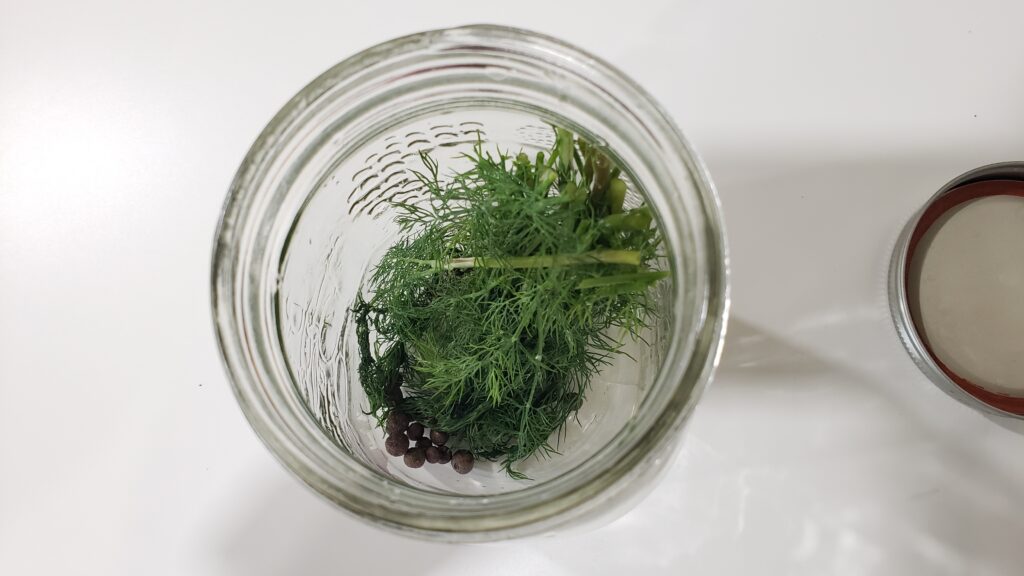
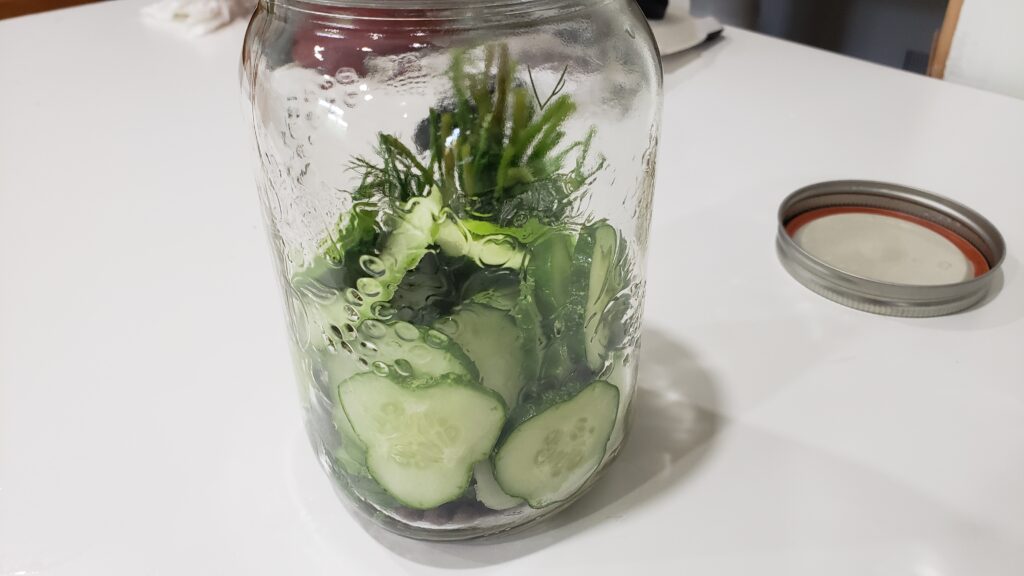
In each of the mason jars, place 10 balls of allspice and a stalk of dill. You can add more or less depending on your flavour preferences. If you love dill you can add multiple stalks. Tightly pack the cucumbers into the jar until just below the neck. You’ll want to pack them in as tight as possible, because once the brine is added the cucumbers will float and you want to avoid them floating as much as possible. Don’t fill the jars above the bottom of the neck as you’ll need air in the jar when the hot brine is added.
Add the water, vinegar, salt and cream of tartar to a pot and bring to a boil. Boil for 5 minutes until salt is dissolved, stirring every so often with a sanitized spoon. Sometimes bringing salty water to a boil can be slow, so be patient.

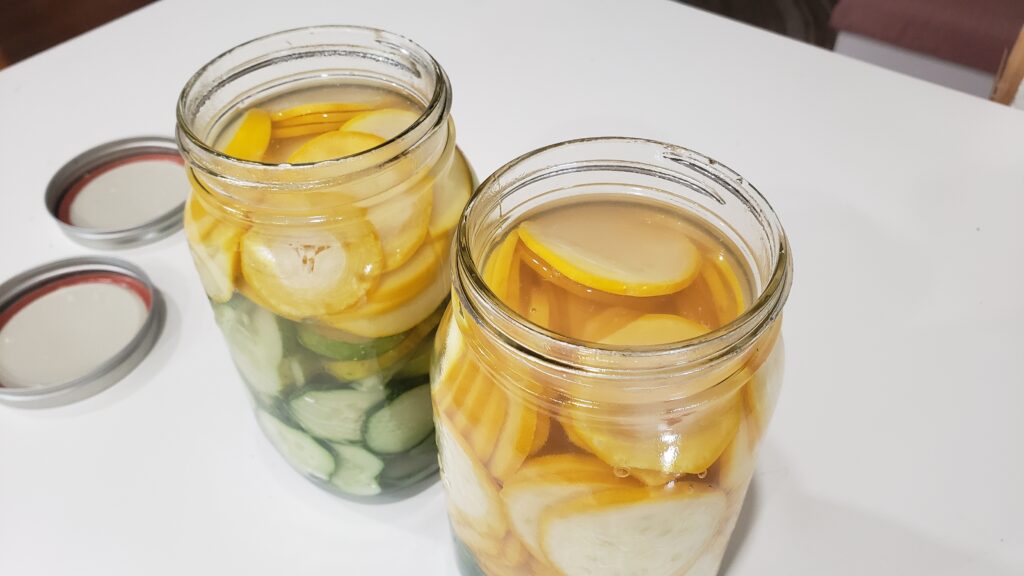
Once the salt has dissolved, take the brine off the stove and pour it into the jars until the cucumbers are covered. To avoid burning yourself or spilling, place the jars in the sink and pour the brine into the jar. Fill the jars just above the cucumbers and push down the cucumbers as best as possible to ensure they are all submerged. Fill all jars equally, rotating between each until they are all covered. Don’t overfill the jars, you just want to cover the cucumbers and leave space at the top of the jars for air. Screw the lids on the jars and gently tap the side of the jar on the counter or a table to encourage bubbles to the surface. Label the jars with the date and leave on the counter to cool to room temperature
Once the jars have cooled to room temperature (which takes several hours), place the jars in the fridge. For best flavour results, wait 2-6 weeks. The cucumbers will start to taste mildly pickled after about 1 week if you’re eager to dig in to them.
Makes approx. 4 – 1L jars of pickles
15-20 pickle sized cucumbers (organic if possible)
4 Fresh dill stalks
Whole allspice
4 ¼ cups of water
1 cup of vinegar
¼ cup of coarse salt
½ tsp cream of tartar
Note 1: If you’re using home grown cucumbers, cut off the flower end and the vine end. Additionally, clean off the sharp spikes on the cucumber skin with scissors, a clean sponge or your hands. The amount of sharp edges varies by variety
Note 2: If you’re using a mandolin, use the thickest cutting option (our mandolin setting is 3)