Saving tomato seeds is a great way to save money and continue to grow your favourite varieties of tomatoes. As the weather continues to change and farmers are experiencing difficult growing conditions, seed saving is becoming ever more important. Harvesting, storing and keeping tomato seeds is super simple and can be done with just a few minutes of hands on work.
Tomato seeds are covered in a gel which means you can’t pull them out of the fruit and store them directly. The good news is that it’s simple to prepare your tomato seeds for storage so you can continue to grow your own tomatoes, year after year. In this quick tutorial I will show you what you need to do to in order to save your seeds so you never have to buy seeds again (unless you want to!)
Prefer learning over video? Check out my video above on all the steps you need to save your tomato seeds!
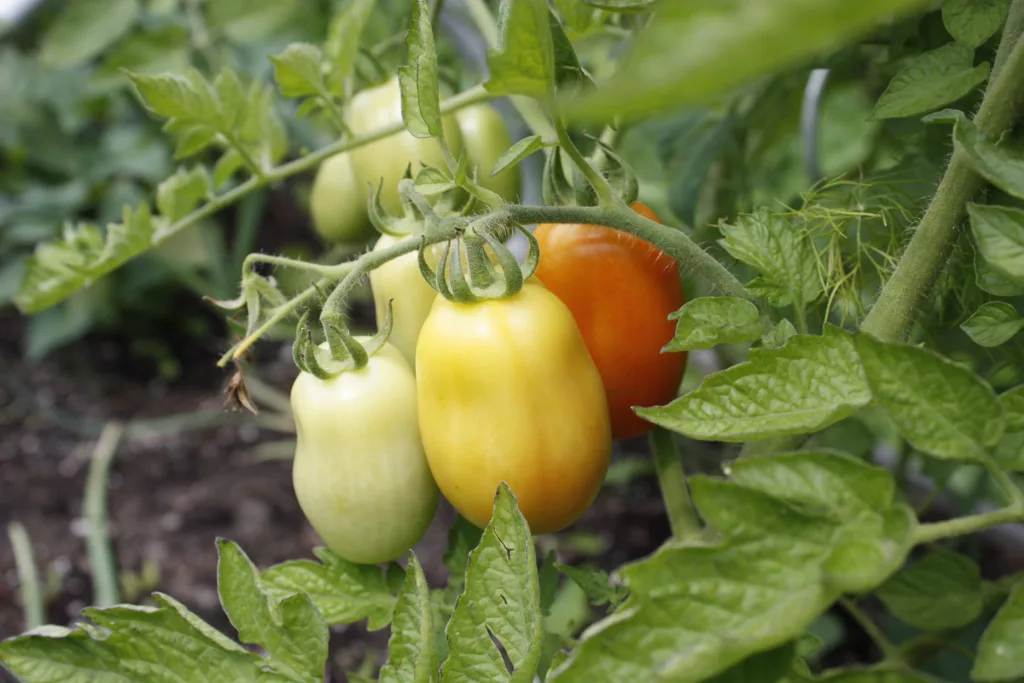
The most important thing to consider when buying or harvesting seeds is if your plant is a hybrid. If you bought and are currently growing hybrid tomatoes, you won’t be able to save seeds from them. Well, technically you can but the saved seeds won’t grow “true to seed”, meaning the tomato from your saved seeds won’t look like the one you grew the past season. So if it’s a variety you absolutely love, you’re stuck buying the seeds year after year.
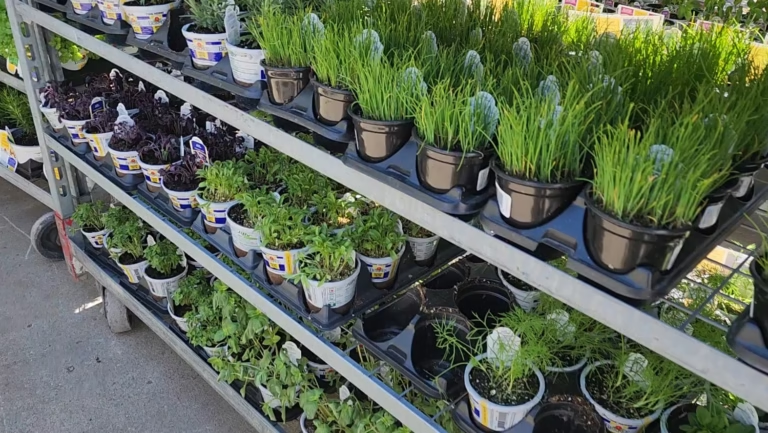
If you want to save seeds from your plant, make sure it’s an heirloom or open pollinated variety. If there’s no indication on your plant label or seed packet that it’s a hybrid (either noted as hybrid or an F1), then you are good to save seeds!
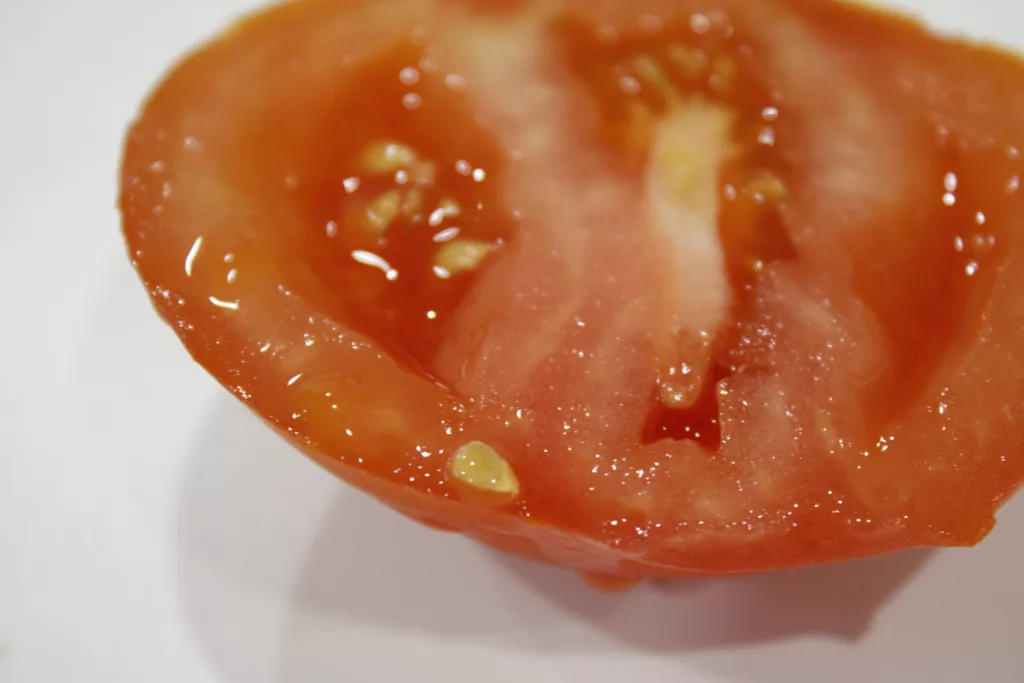
Tomato seeds have a gel that surrounds them to prevent the seeds from germinating inside of the tomato. It doesn’t always work (if you’ve seen photos floating around the internet of a tomato full of small green seedlings) but overall the purpose of the gel is to keep the seeds from growing. In order to save your tomato seeds for next year you’re going to have to remove the gel sac. To do this we’re going to use a fermentation method that only takes 3-5 days – depending on the temperature of your home and where you store the seeds as they ferment.
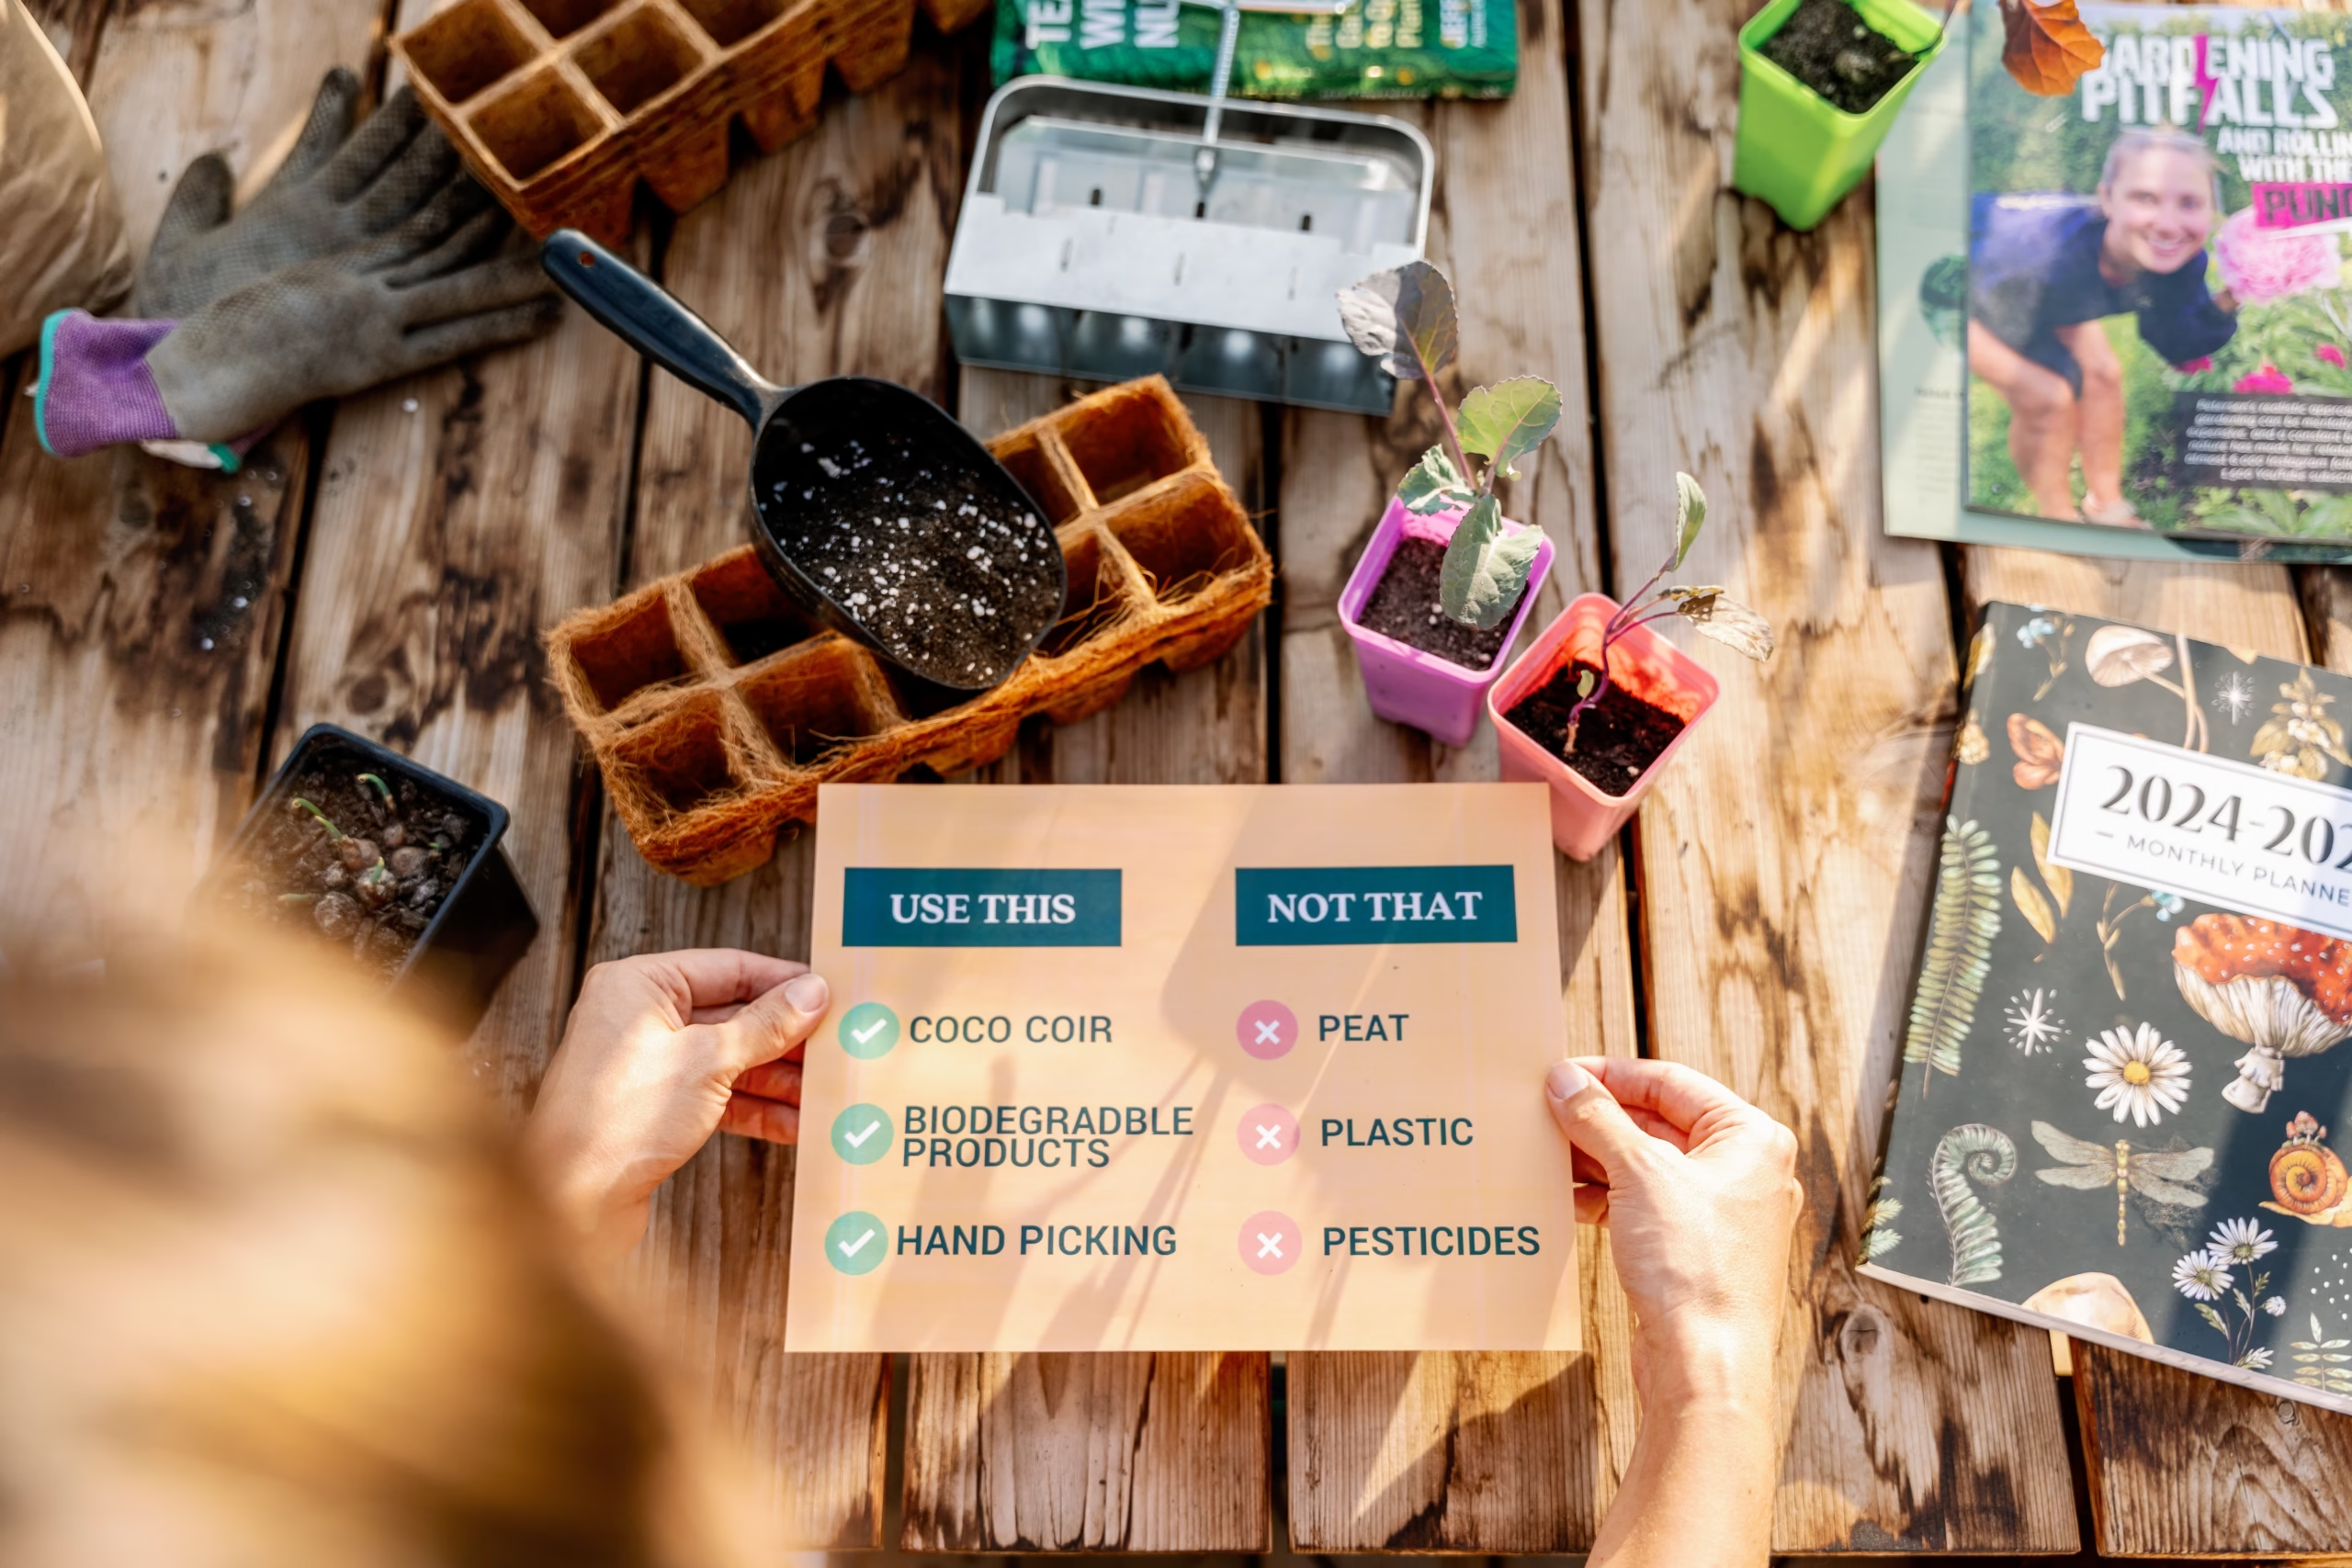
To save seeds you only need a few items. You’ll need a container that has a secure lid, a small hand strainer that has holes smaller than the seeds, a plate and some water!
Because this method requires the gel to ferment off the seed, this method will take a few days. However the hands on time is almost zero so it can be done any time as long as you’re home at some point during the process.
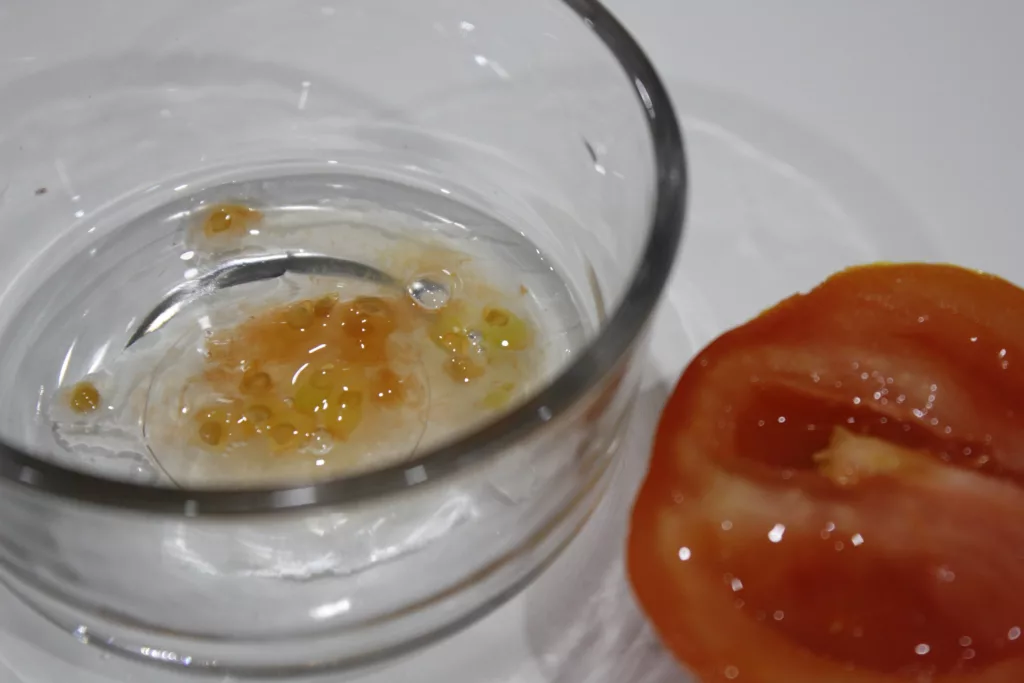
Cut open your tomato and remove the seeds. Take as many or as few as you want to save and place them in a container that has a lid.
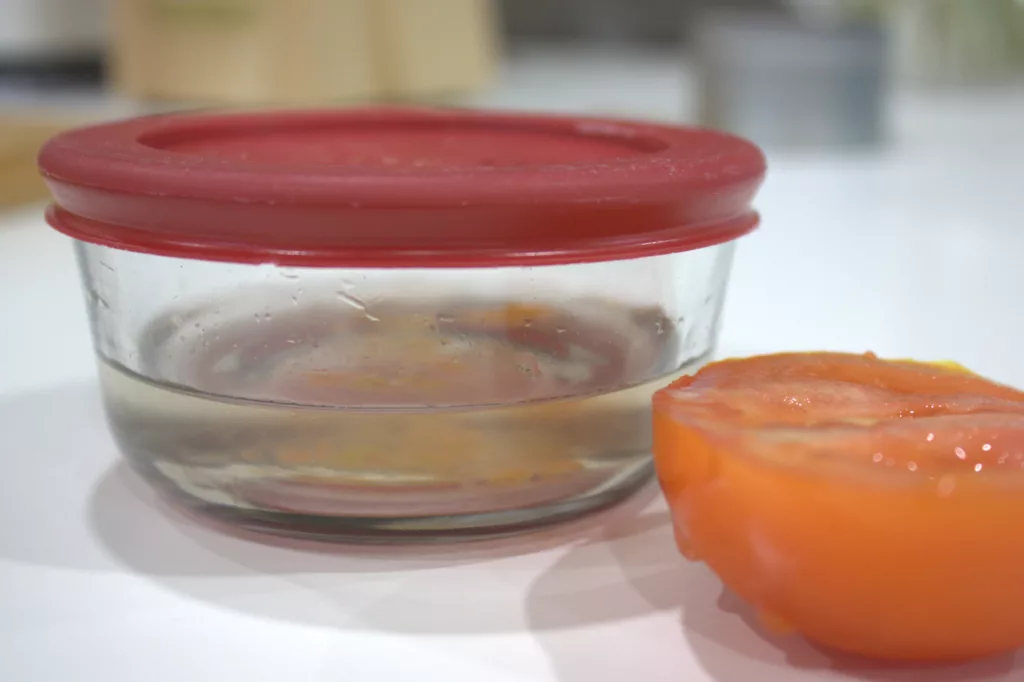
Add water to the container of seeds so that they’re completely covered. Add enough water so that you can see if the seeds are floating or sinking, however you don’t need to fill the container to the brim.
Over the next 3-5 days you should see that the gel will start sitting on the top of the water while the seeds fall to the bottom. Once a day give your container a shake to help promote the movement of the seeds from the gel. Because this is a fermentation process, keep the lid closed on the container until you can see all of the seeds have separated.
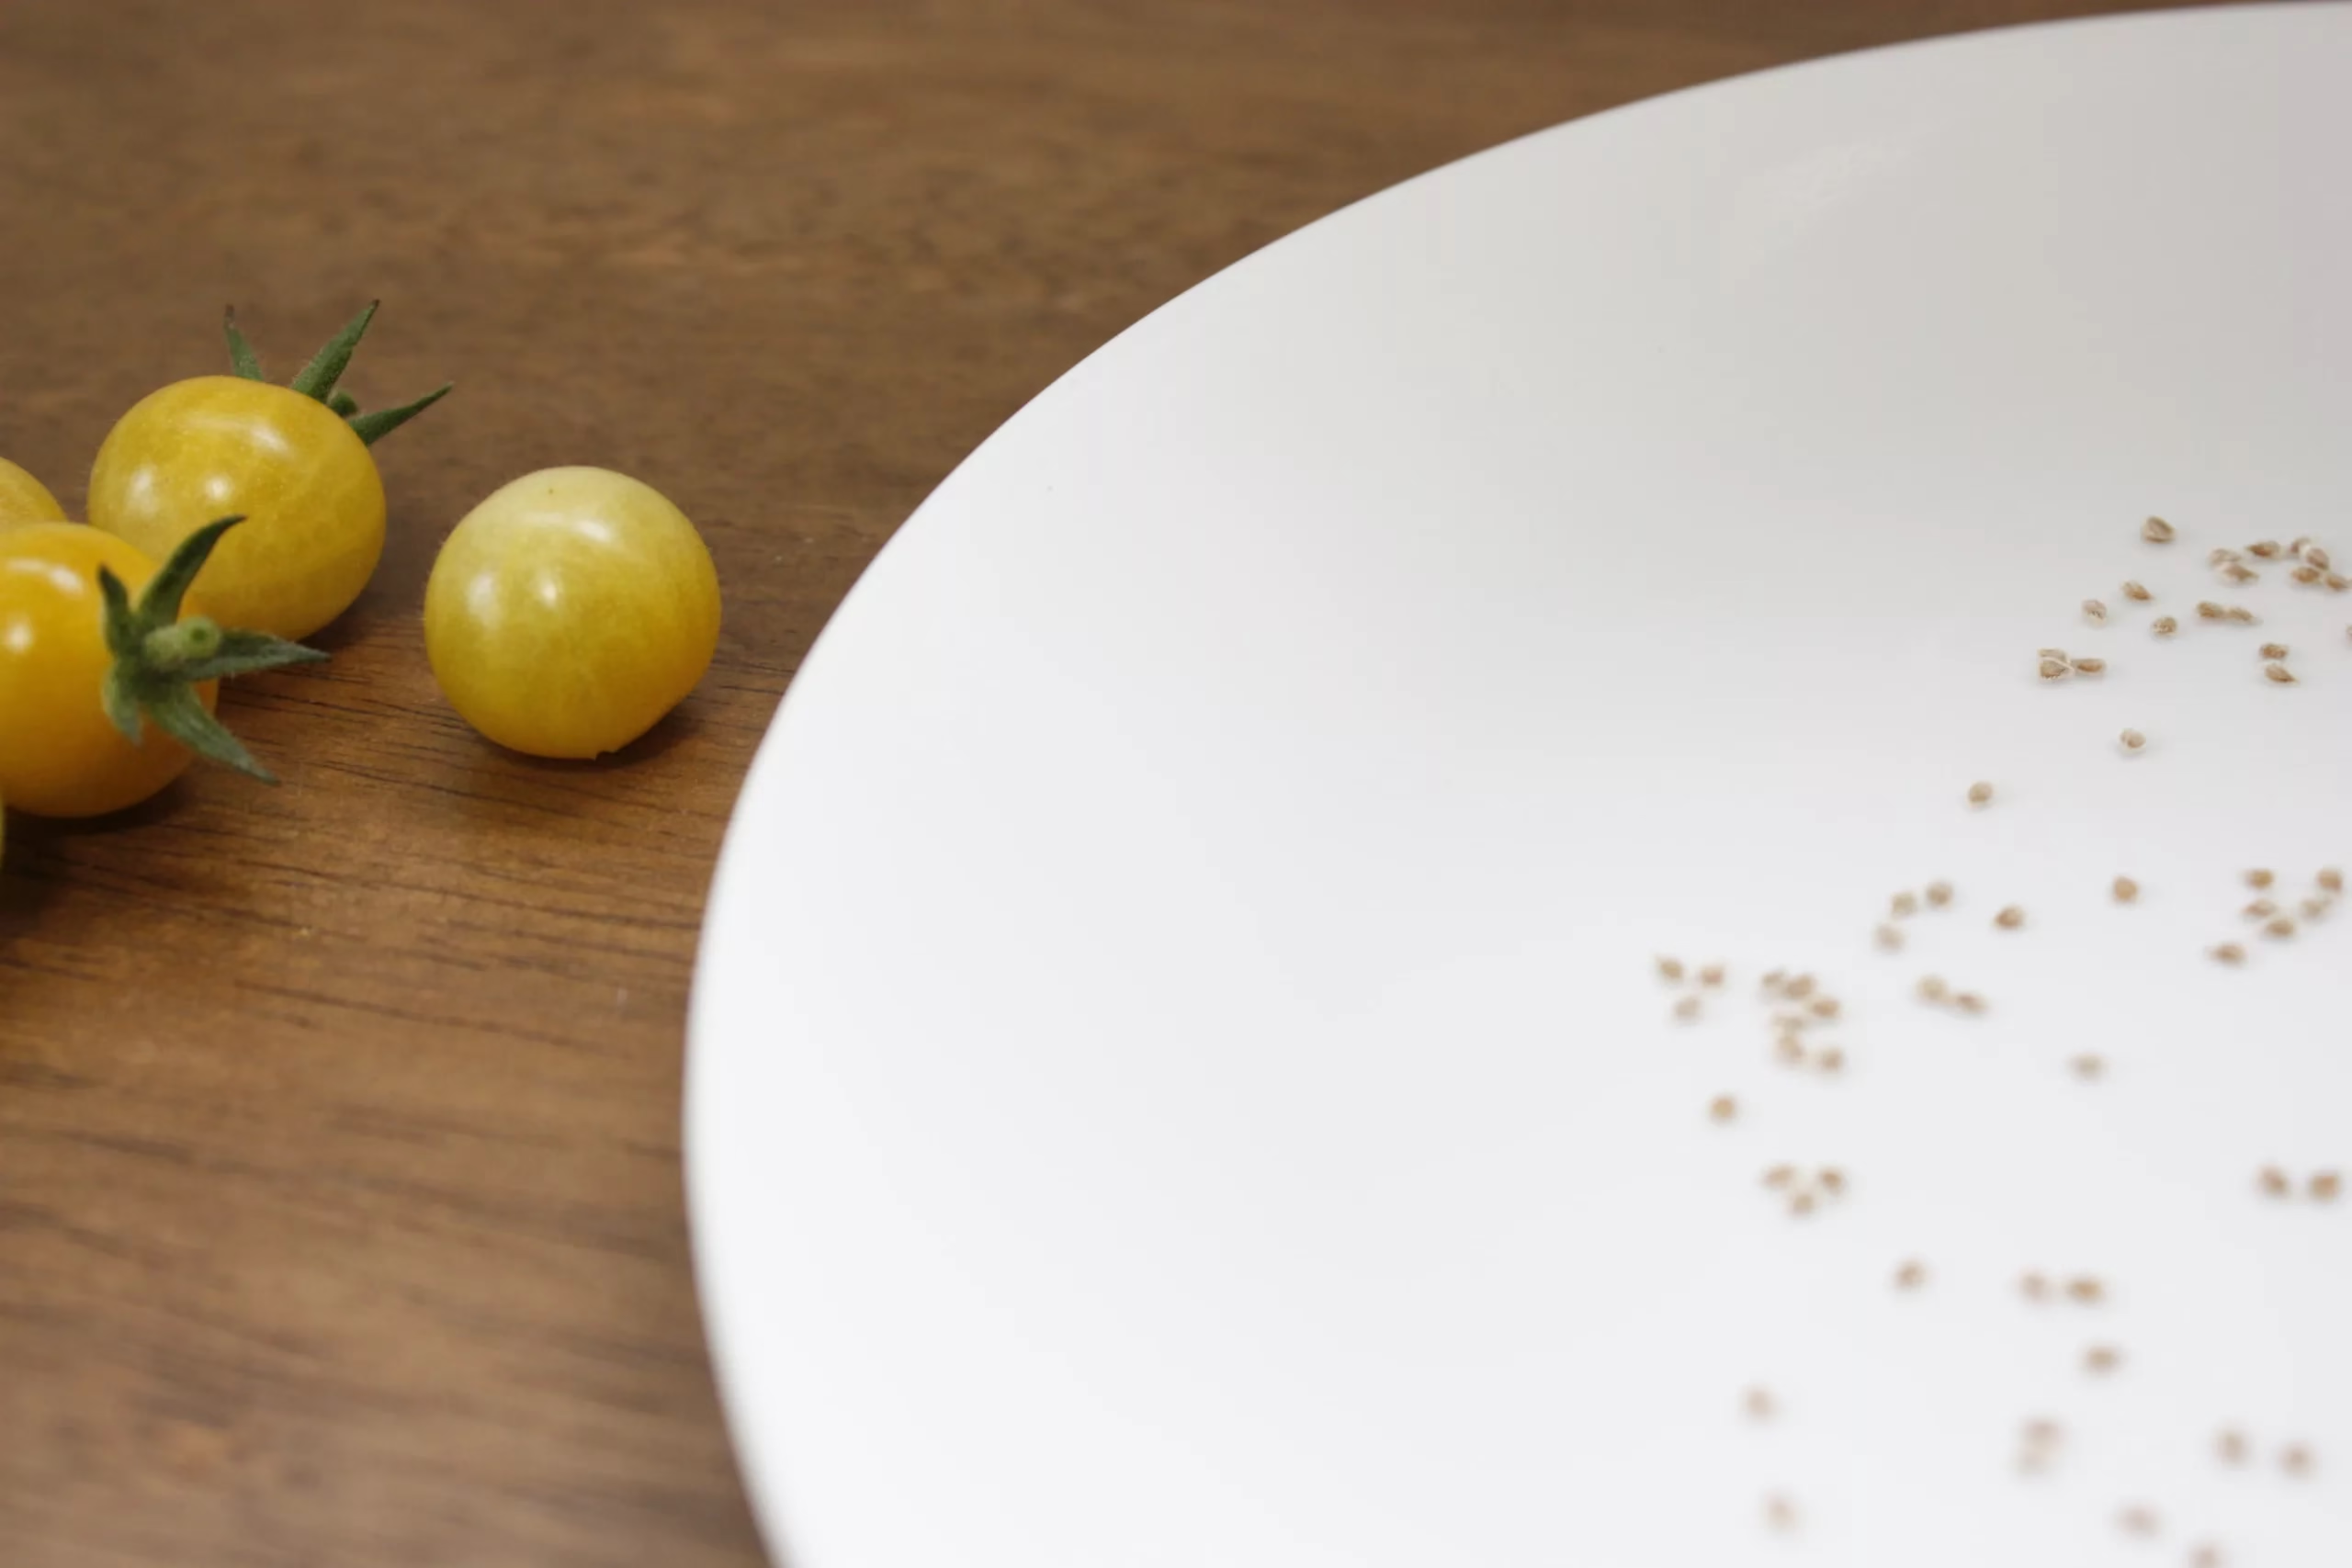
Once you can see the gel has separated from the seeds in the water, remove the lid and pour the mixture into your strainer. Give the seeds a rinse and lay them on a plate to dry. I don’t recommend using a paper napkin as the seeds will stick to the paper making it hard to collect and store them. You can allow them to dry in a small pile, however I prefer to separate them on the plate using a toothpick. This allows the seeds to dry faster and when you go to plant your seeds next spring you won’t have to be separating seeds that are stuck together.
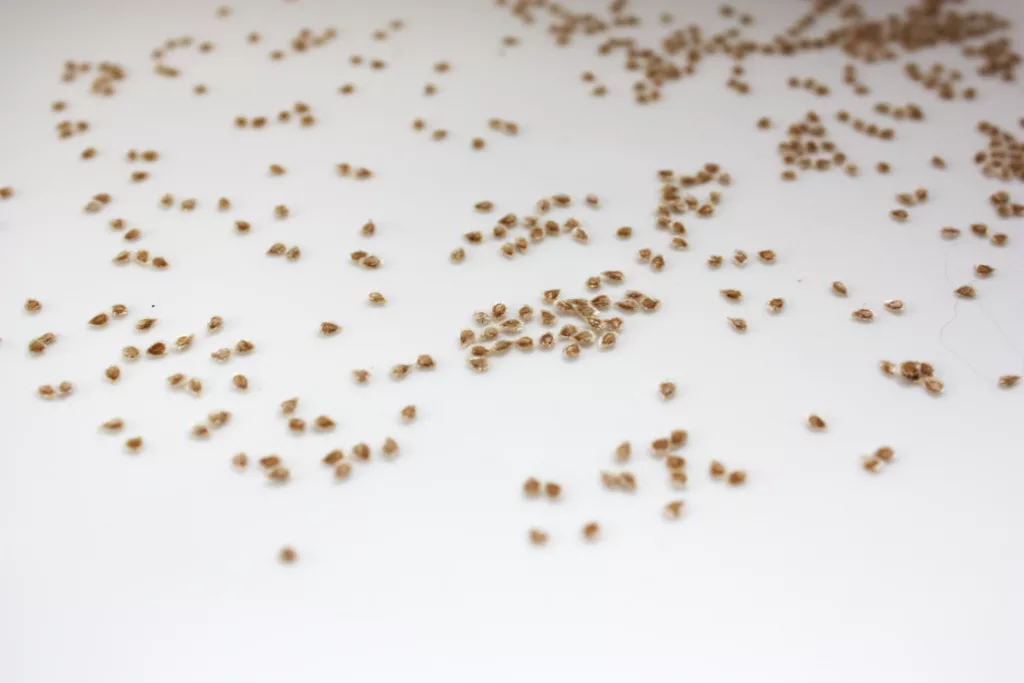
After 24-48 hours move the seeds on the plate to check if they are dry, carefully unsticking them from the plate. You want to make sure the seeds are completely dry before you store them in a bag or envelope. If they’re dry, store them in an envelope or small container and label them.
Storing seeds over winter is simple. Keep them in a place that is cool and dry. Avoid storing them in a place that gets direct sunlight as this will shorten their shelf life.
And that is everything you need to save your own tomato seeds! You can now continue to grow the same variety year after year and have a tomato that is perfectly adjusted to your climate and growing area.