Rain barrels are a great addition to any garden. They are affordable to buy, simple to set up and are a sustainable way to water your garden.
There are a few simple reasons why collecting rainwater is a good idea. Rainwater contains nutrients and minerals that you won’t find in your city water. When you water your garden with rain water you’re giving your plants an extra boost. It also saves you money over the season since it’s free! Finally, it’s more eco-friendly, and can be a reliable resource.
As weather patterns change you’re going to be experiencing a new growing season. Collecting rain water early can help mitigate summer droughts, and can reduce the impact on city water resources that may already be strained. In the summer of 2024 Calgary experienced a massive water main break that lead to water restrictions. This isn’t an isolated incident and cities around the country can have similar issues take place at any time. What this teaches us is that having a back up water plan is important if we want to continue to grow.
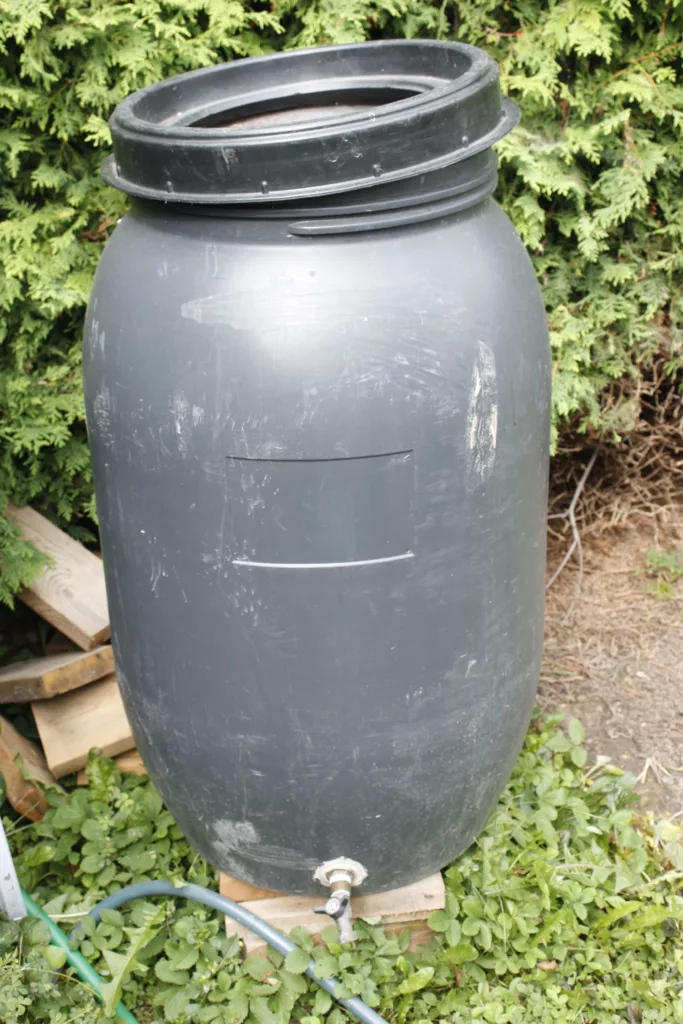
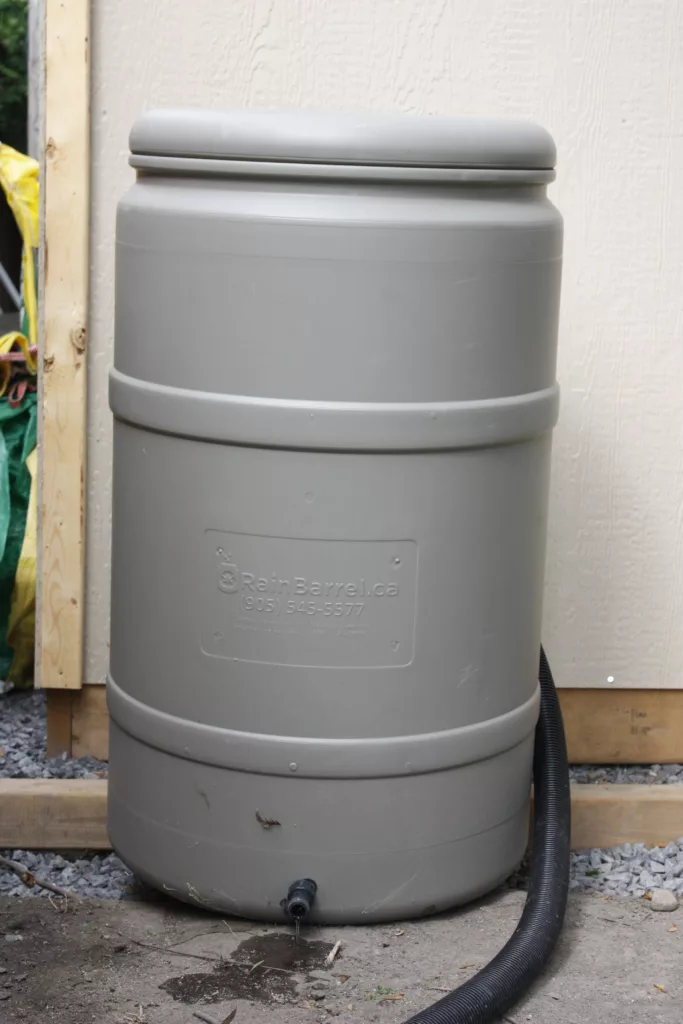
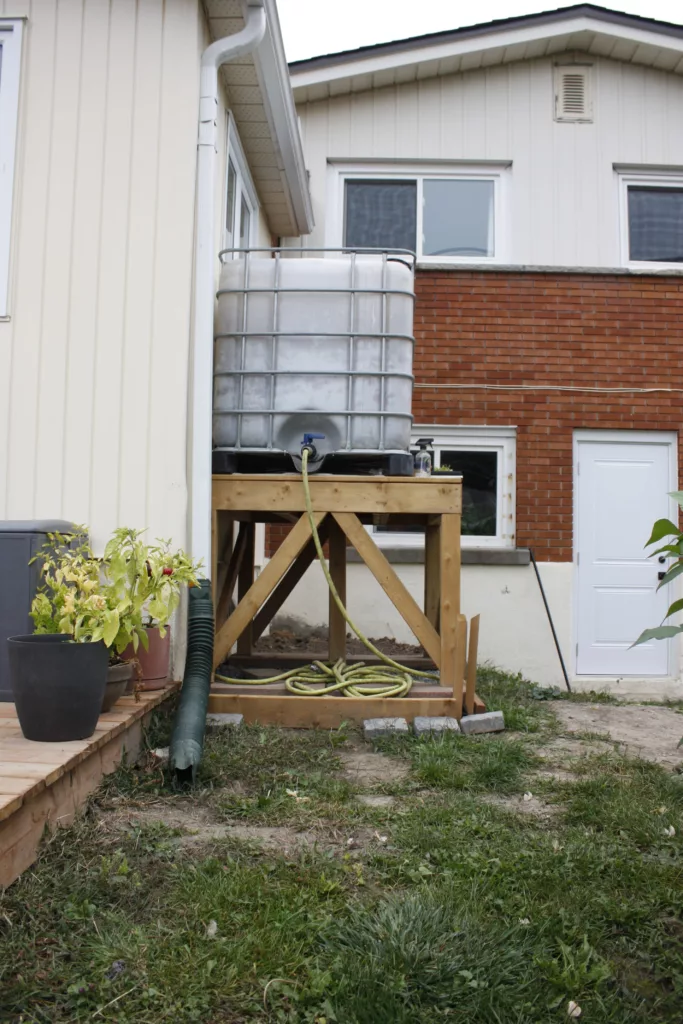
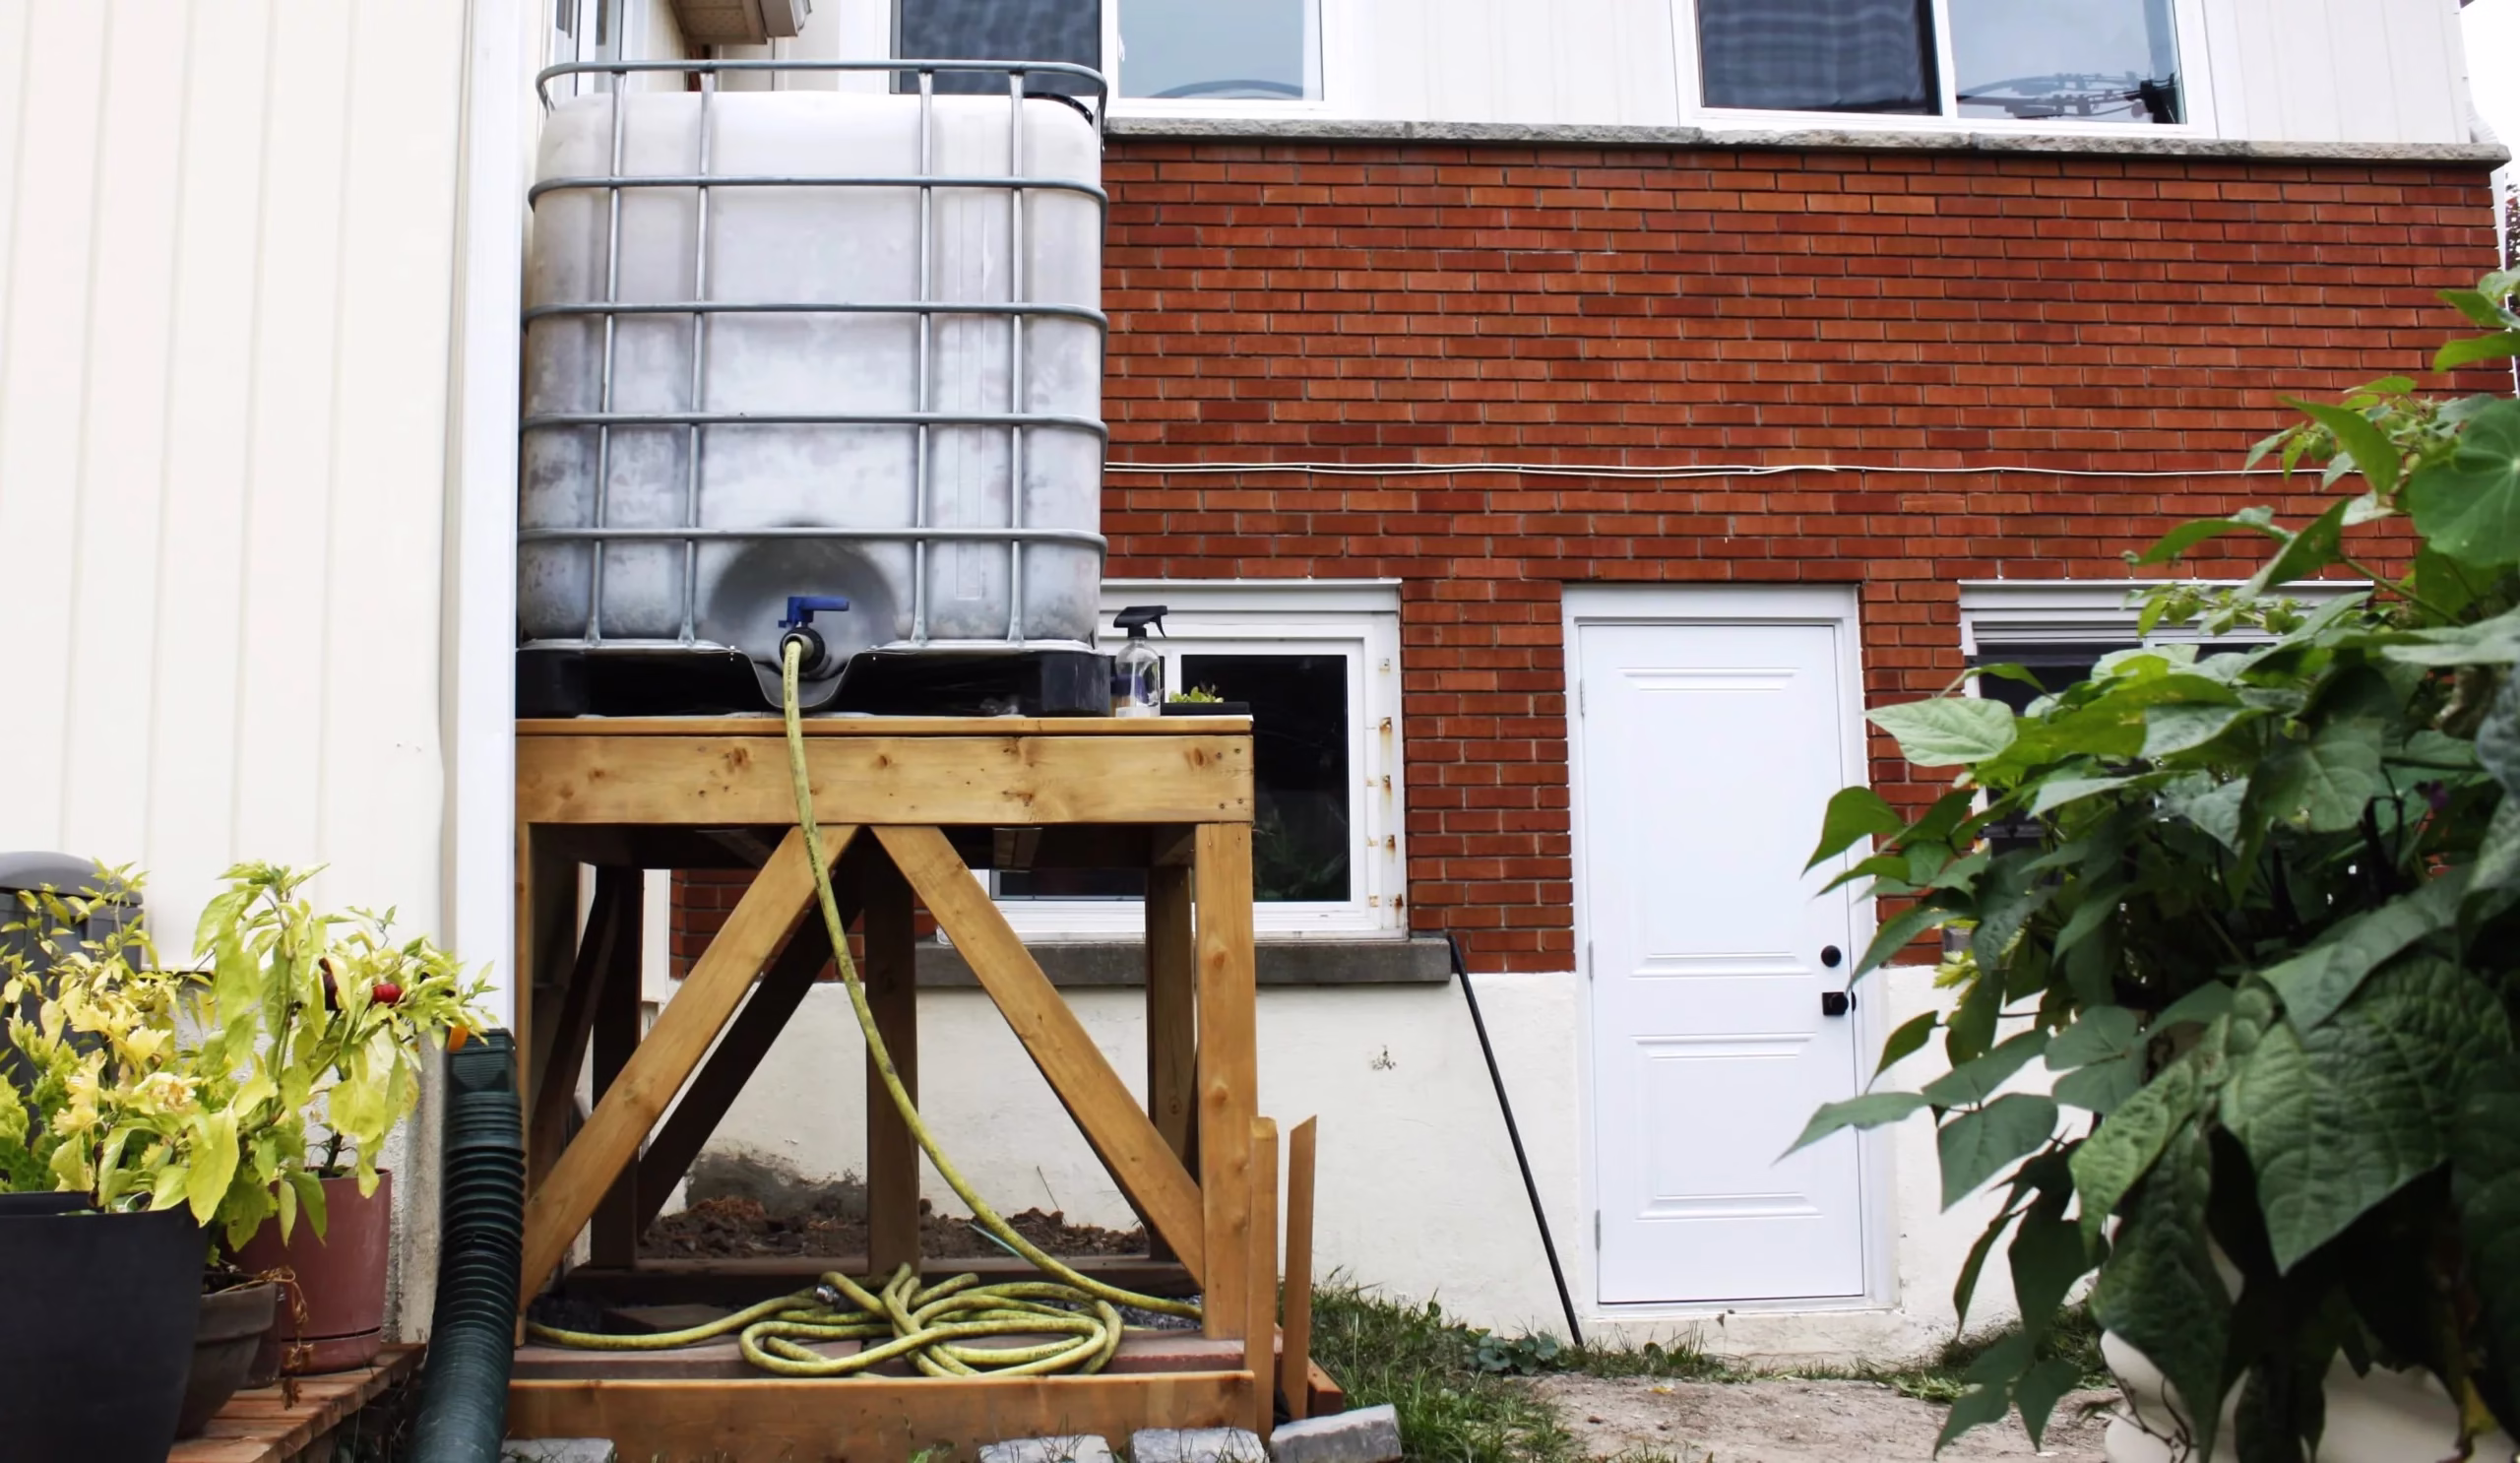
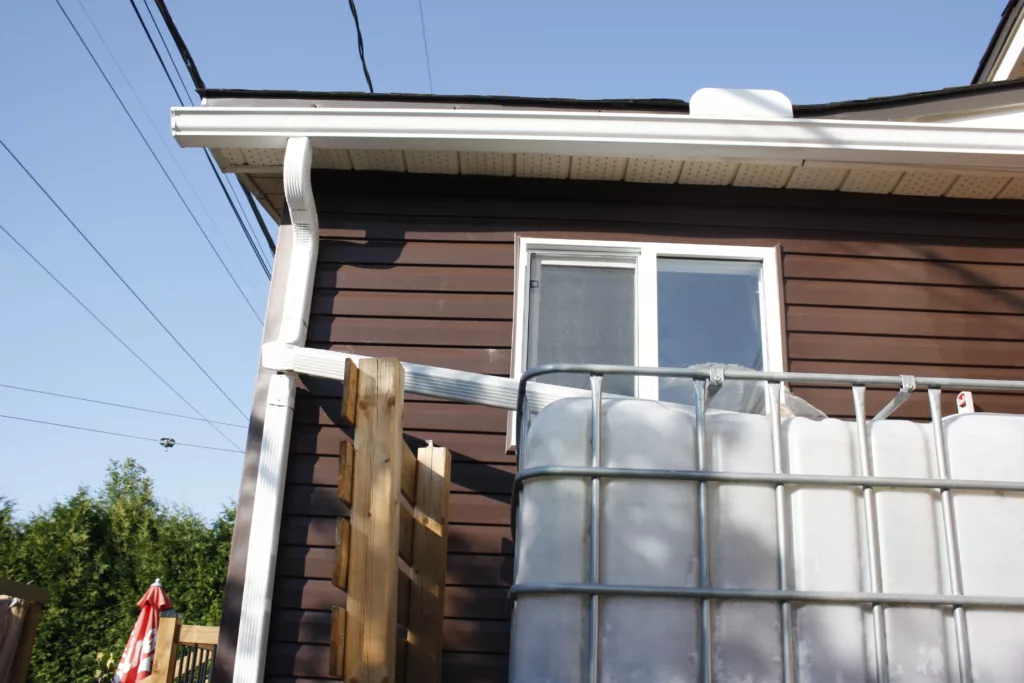
The three photos above give some examples of rain barrels that you can purchase. The first photo is a barrel that we bought and converted into a rain barrel while the second photo is from rainbarrel.ca and this came with a spigot and overflow hose attached to it. The final photo is of a 1000L IBC tote that we converted into a rain barrel.
Not pictured, but still useable is buckets or garbage cans that can be fitted to work as a rain collector, which I will cover more in detail below.

There are a few places where you can find rain barrels for sale. The most popular place is rainbarrel.ca which provides sale locations in both Canada and the United States. Another option is to check with your city or county as sometimes they will run seasonal sales in the spring. Finally, Facebook Marketplace will have used rain barrels, drums or IBC totes that can all be used as rain barrels. The most important thing is to make sure that the barrel is food safe as these barrels and totes can carry chemicals or other unsafe items in them.
The barrels and totes that we bought carried chocolate milk, avocado oil, and some meat product – so we got to experience many different smells and textures as we cleaned ours out!
There are a couple of factors to consider when setting up your rain barrel. First; are you willing to put your rain barrel anywhere as long as it collects the maximum amount of water? Or, do you want to put it somewhere discrete even if it means less rain is collected?
Be aware: If your downspout goes directly into the ground and doesn’t end above the ground at an elbow, consider a different location as these can be connected to your city sewer line.
The first step is to identify where all of your downspouts are. Once you’ve located them all, decide if you’re willing to attach your barrels to any of them, or if there are some locations that are too visible or don’t have the space for a barrel to be attached to it. Once you’ve narrowed down the possible locations, look at your roof. Often times your roof is a different size or angle and it will collect more water than other sides. You want to choose the side that has the most surface area or collects the most rain from other parts of your house to maximize water collection. This will be the best location for your rain barrel.
Below is the equipment needed and steps to get your rain barrel set up now that you know where you want to put it.
You are going to need a screwdriver or power drill and a hack saw in order to remove and adjust the downspout. If you live in an area that has winters that go below freezing, the main thing you need to remember is that you have to set the downspout back up in winter when you remove your rain barrels.
If you bought a rain barrel kit, your barrel should come with an overflow valve, mosquito netting for the top, and a spigot at the bottom. In addition to these items you can also buy a diverter that attaches to both your rain barrel and the downspout. We’ve tried using one of these before and it never worked properly so we chose to skip this equipment and have all of the rain go straight into our barrel. Finally, you need something to make a rain barrel stand; this could be concrete blocks, or a wooden stand.

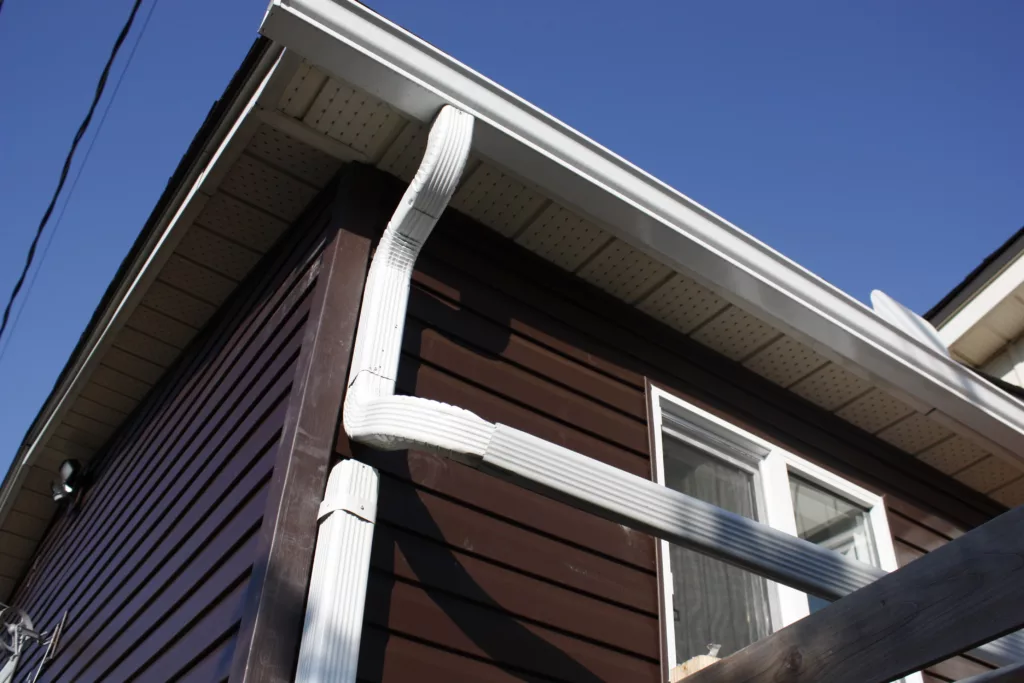
Determine what you want to use as a stand. Make sure that it’s strong enough to hold the weight of a full barrel (over 400lbs) or tote (2500lbs) and isn’t shaky or uneven. Then, measure the height of your stand and your rain barrel to determine where you need to cut your downspout. You may need to cut a little higher up to accommodate the connector piece that came with your rain barrel kit (or a flexible downspout that you bought). Remove any screws in your downspout that may be blocking you from cutting the downspout, then cut off the lower portion. Put this somewhere safe so you can find it for the winter to reconnect it.
Now you can place your stand and barrel under the downspout and attach it with the connector. Make sure the overflow hose is pointed in a direction away from your house to avoid any water damage if the barrel needs to overflow.
It’s important to empty your rain barrel before temperatures drop below freezing. If you have the space to store it in the garage or shed, that’s best. Otherwise seal your barrel or flip it upside down to prevent it from filling with water and freezing over winter. Reconnect your downspout and ensure that it flows away from the house to prevent any water damage from melting temperatures.
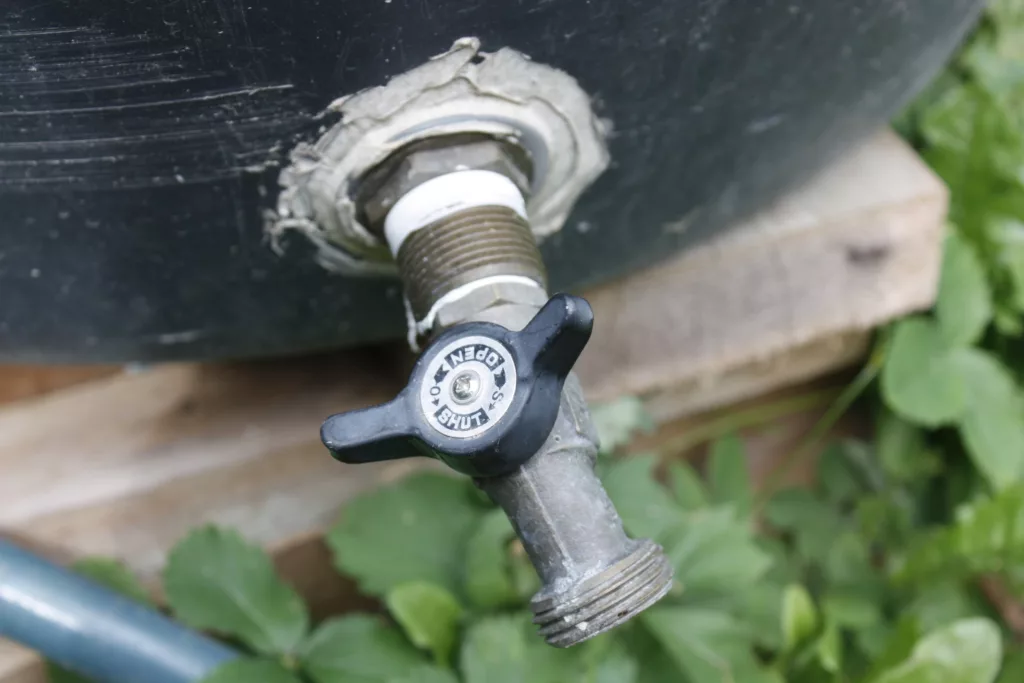
If you feel like making your own rain barrel, or want to save some money, it is possible. The first step is to make sure whatever item you’re using is food safe. From there, all you need to do is drill a hole near the bottom of the bucket, garbage can or barrel and attach a spigot. You can get spigots from your local hardware store, and you want to make sure the hole you drill is the same size as the spigot you purchased. Once you place the spigot in, caulk around the edges to prevent water from leaking.
You can add an overflow in your barrel as well using any type of flexible piping. Drill a hole near the top of the barrel, about 6 inches below the top and insert the flexible pipe and caulk around the edges.
Make sure the top of your barrel is covered with netting to prevent debris or mosquitos from going in the barrel.
If you’re collecting rain at an allotment or somewhere without a downspout, you can take a garbage can with a lid, flip the lid upside down and drill holes on it. This allows the water to collect in the barrel, while protecting it from debris and mosquitos. It won’t fill up as quickly as one attached to a downspout but it will still work. You can choose to put it on a stand and install a spigot, or you can just dip a watering can into the barrel. It’s totally up to you.
The Government of Canada has a 67 page PDF that can give you even more information if you want to take your water collecting up a notch and use it for more than just watering your garden! Collecting and Using Rainwater at Home: A Guide for Homeowners