
To my delight, newspaper pots are becoming a trendy new way to garden. Why am I so delighted? Because they’re a sustainable way to garden! And the best part is that flyers are so easy to come by. They’re in our mail, at the front of doors and even in building lobbies. Instead of seeing them go to recycling, we can turn these into valuable pots, perfect for seed starting. Plus – it’s a great tool to garden for as little money as possible.
There are two types of pots you can make. The more popular one is the round pots, however I prefer the square ones. Square newspaper pots are a little more difficult to make compared to the round ones but there are a few reasons why I prefer them. The first is that they’re fun to make. The second is that they fit in trays better and the third is they stand up better since their bottom is more flat.
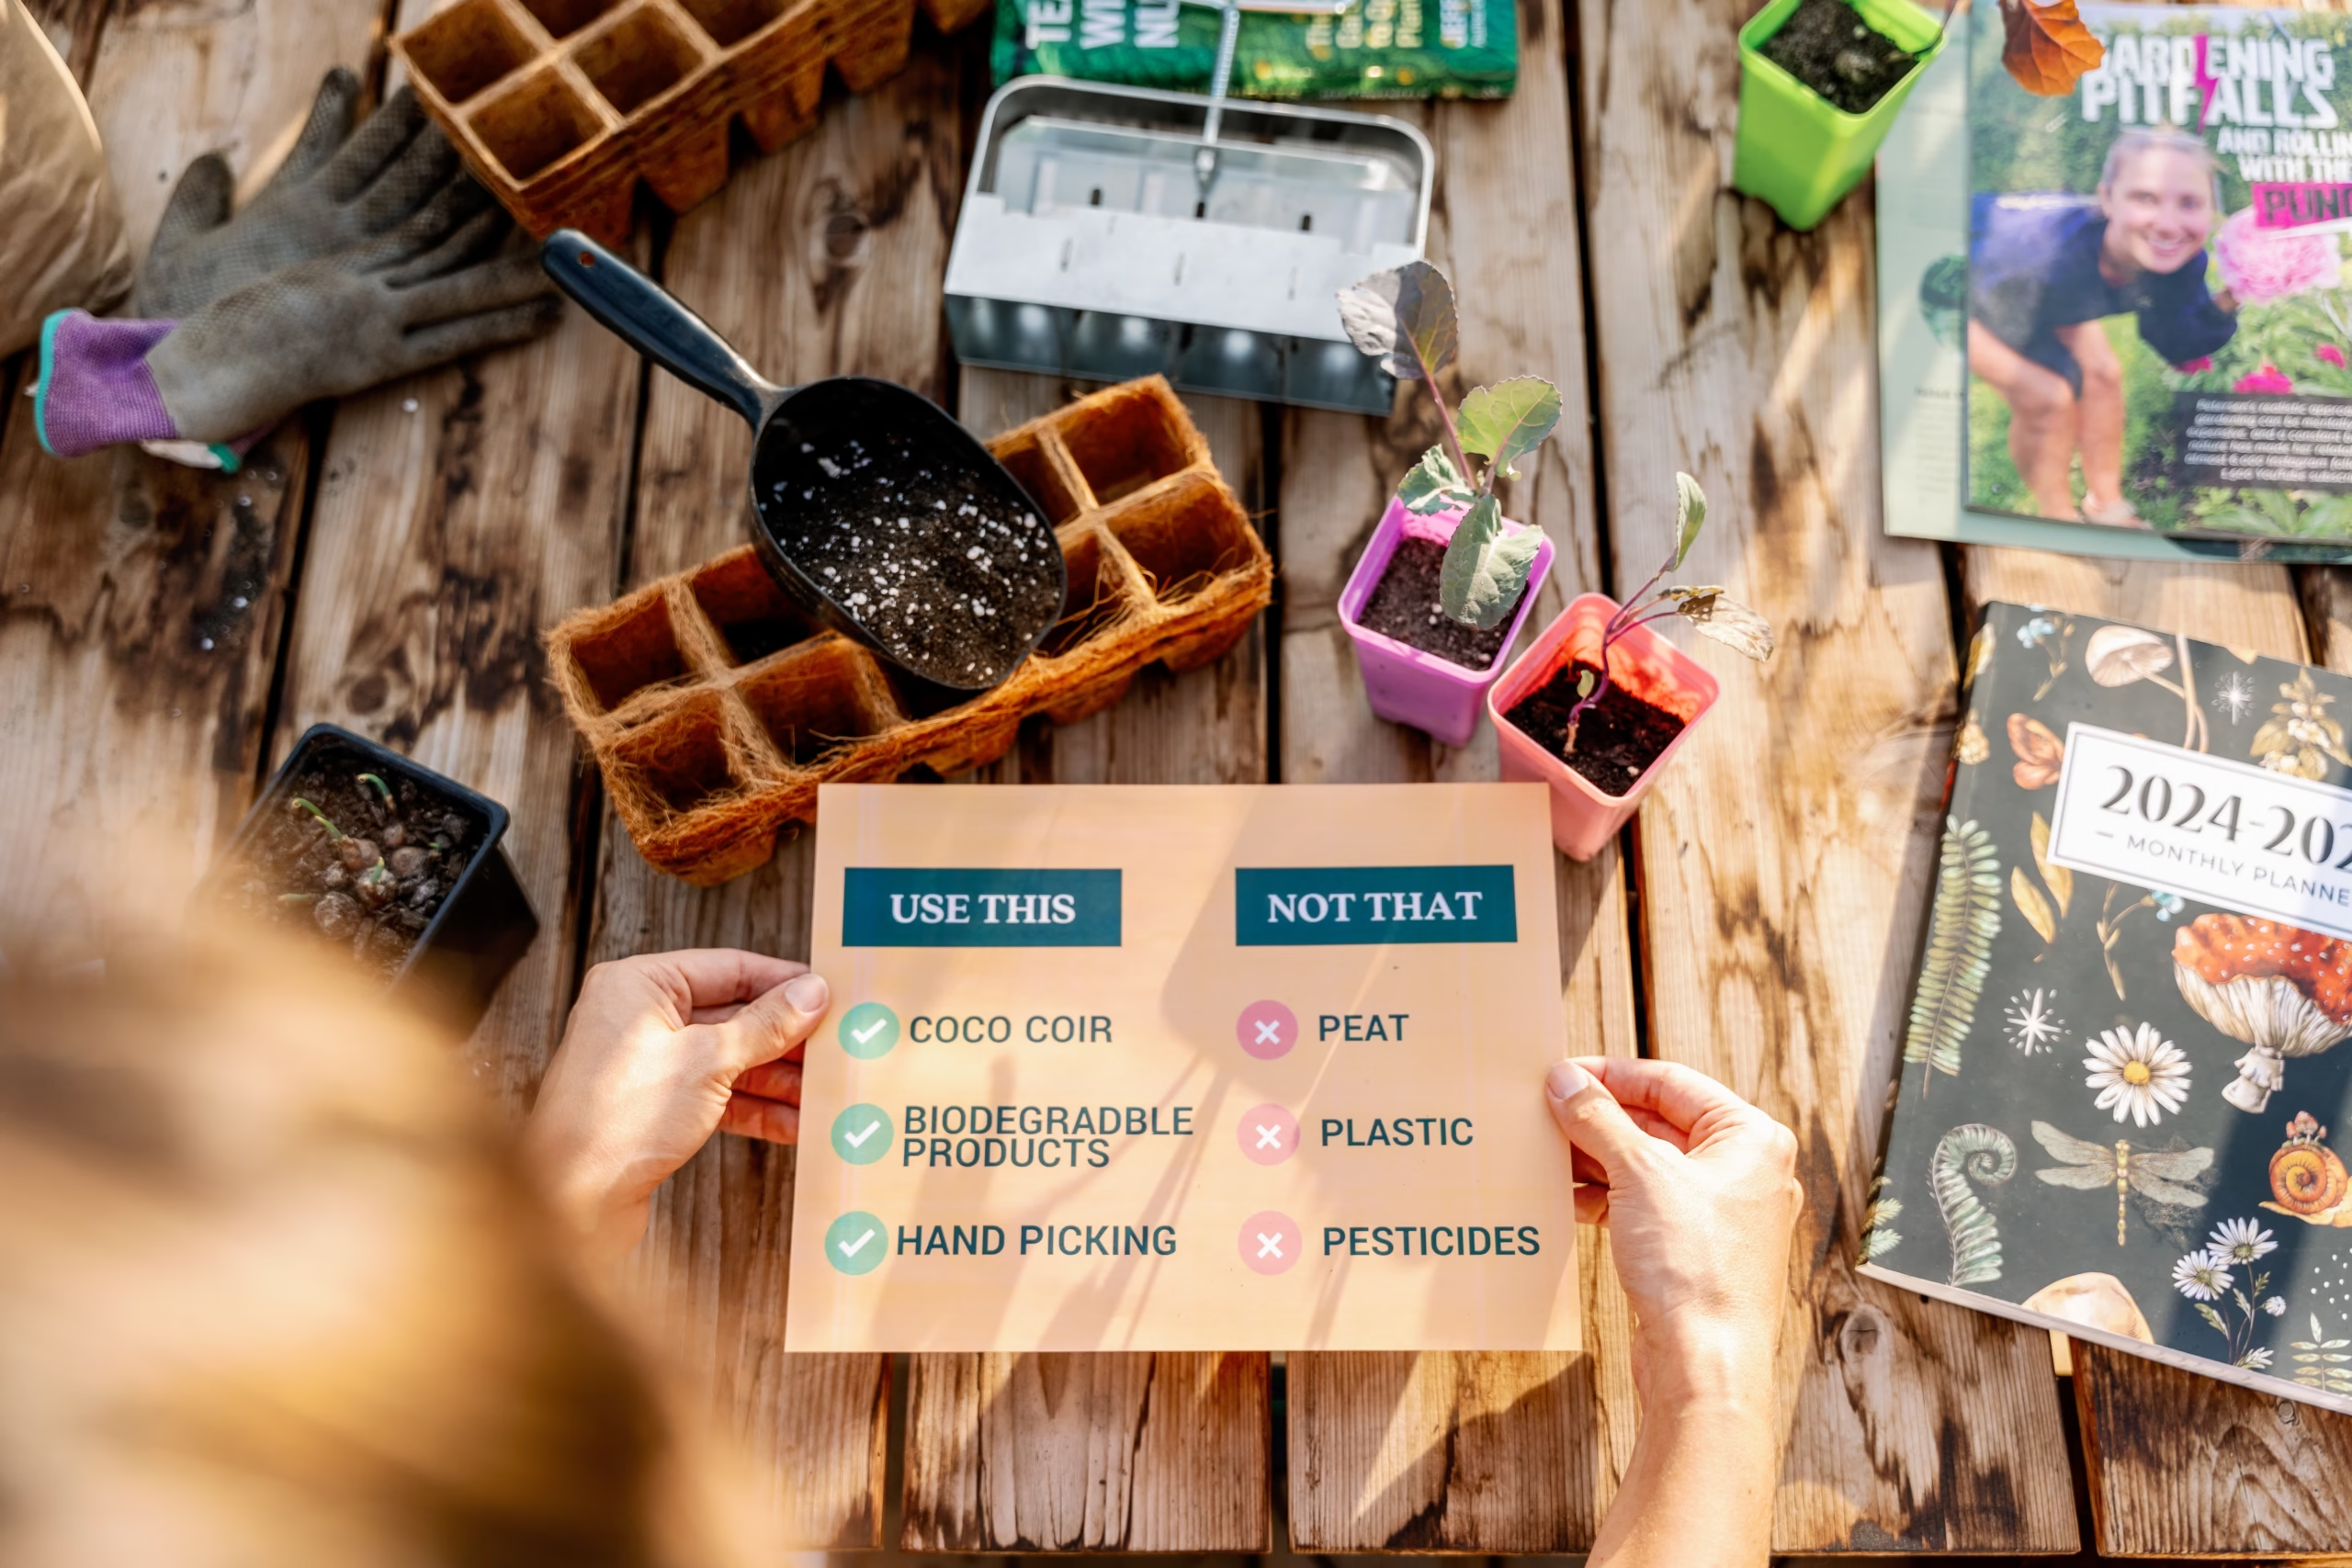
Before we get any further into this tutorial, I did want to mention that it’s important for you to research if the ink on your flyers or newspapers are organic or not. The ink used in flyers and papers are generally either petroleum based or plant-based using soy or corn.
Growing in Newspaper Pots
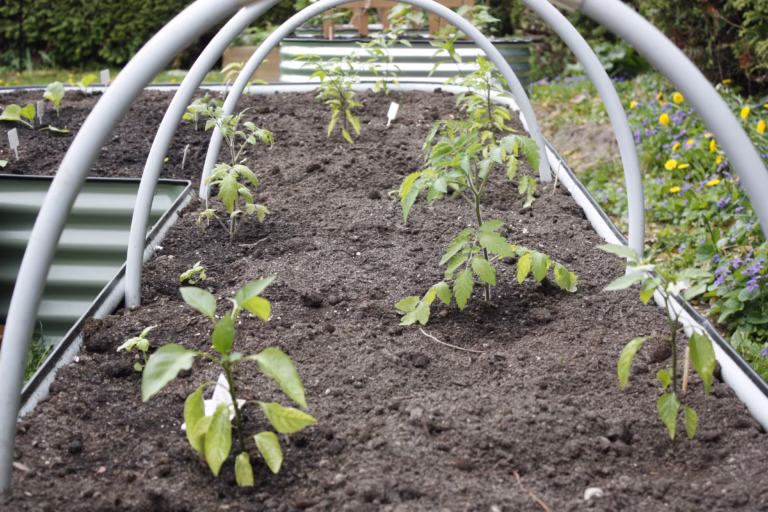
Newspaper pots make a great pot size when you’re upgrading your seedlings. I highly recommend starting your seedlings off in small pots first, such as these 6 cell trays because planting seedlings in large pots too early can slow their growth down. If you are new to growing from seed I highly recommend this guide here to give you the basics.
There are a few benefits to growing seedlings in newspaper pots. The first is that you’re still able to bottom water your seedlings. You may think pouring water into your seed tray would make the newspaper break apart and disintegrate but it actually holds up quite well, with the paper soaking up a lot of the water and giving it back to the plants.
Another benefit is that the roots can actually grow through the newspaper which naturally prunes them. When roots are exposed to air, similar to when growing in soil blocks, it’s called air pruning. What this does is signals to the plant that it’s outgrown its space and it will slow its growth. When plants grow in plastic pots and don’t get access to air, they circle the bottom of the pot continuously, which can make them root bound. Growing in paper pots allows them to grow to the right size and doesn’t waste extra energy.
Planting Seedlings in Newspaper Pots
A final benefit to newspaper pots is that you can plant them directly in the ground. This is especially beneficial for plants that don’t like their roots being disturbed, such as okra. The paper pots will break down allowing the roots to continue growing as the season continues.
8 Steps to Make a Square Newspaper Pot
Step 1

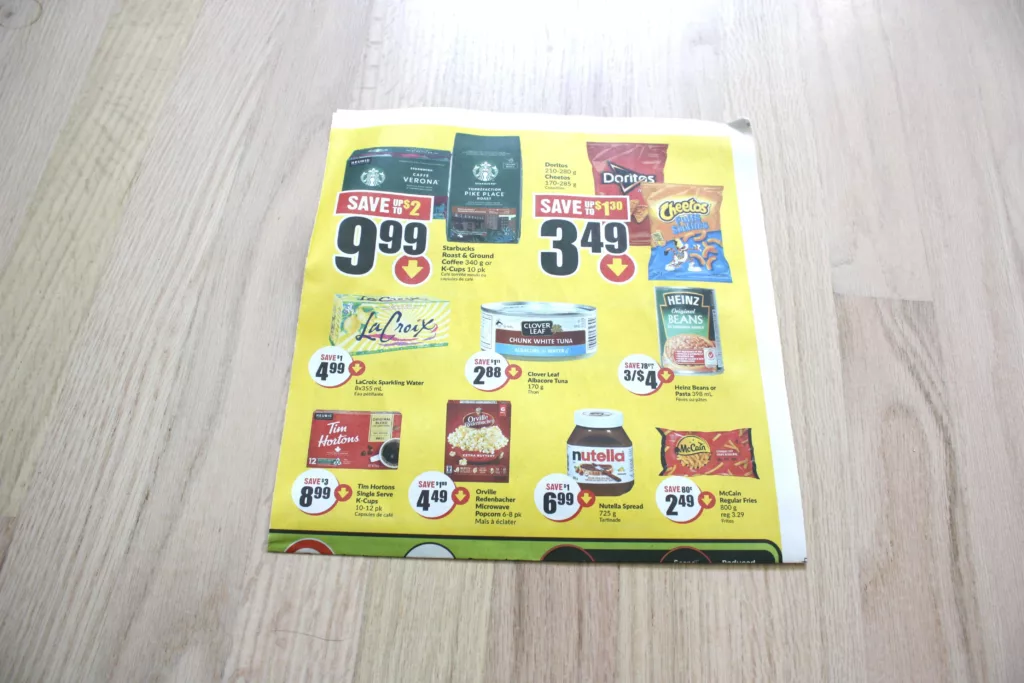
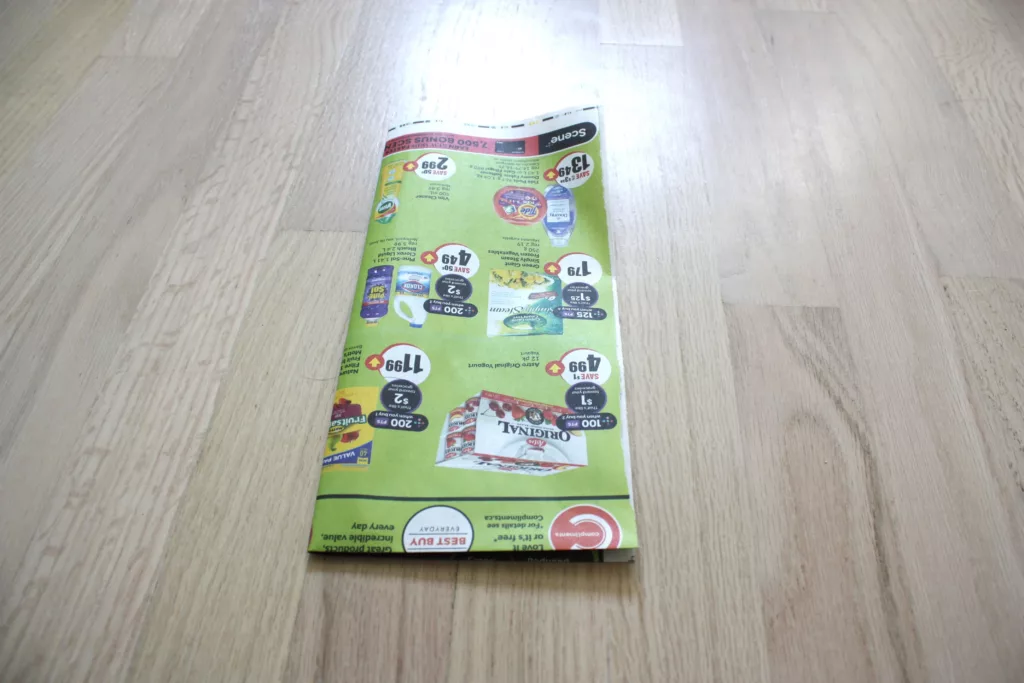
Open one page of the paper fully and tear down the centre seam, as you only need one half of the page. Fold it back along the crease, making sure that the crease is on the bottom.
Step 2
Fold the paper in half, having the left side of the paper meet the right. Crease it along the fold and then open it back up. Like making a paper airplane, bring the bottom left corner up to the centre crease that you just created, and do the same for the right corner. This will create a point at the bottom.
Have you downloaded our FREE square foot garden planner? You can get it HERE!
Step 3

Take the top page and fold it in half, so that the top of the flyer meets the folds you just created. Fold it a second time, with the new fold being right at the top of your two pointed folds.
Step 4

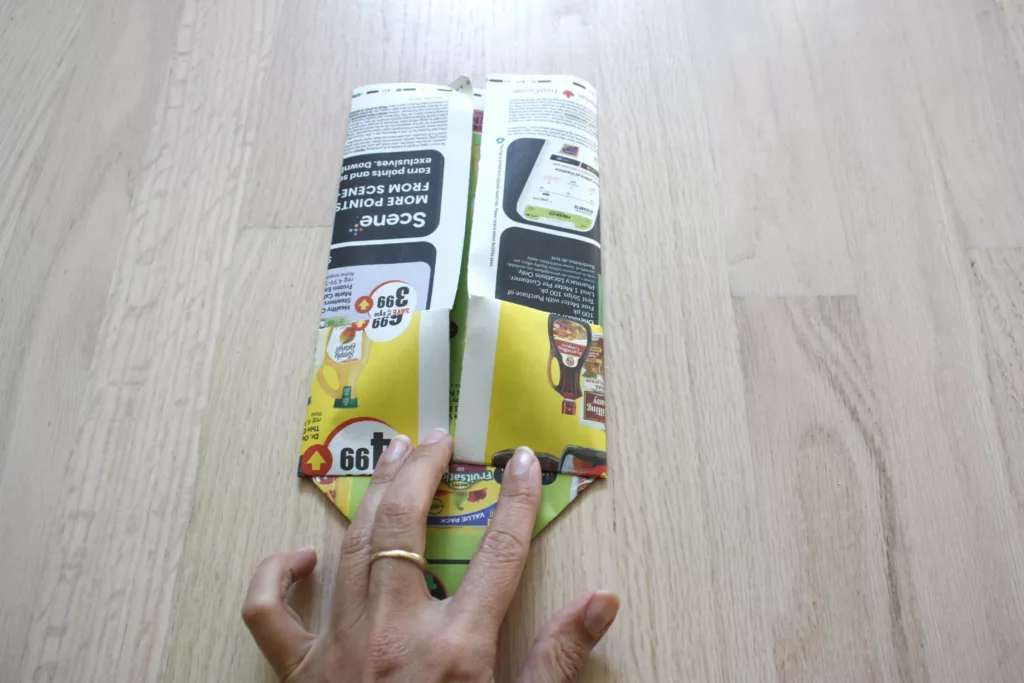
Flip the paper over. Fold the left side of the paper into the centre along the crease that you created in Step 2. Fold the right side into the middle so they touch.
Continue growing your garden knowledge
- 8 Tips to Build Healthy Soil (When Yours Sucks)
- Drowning in Zucchini? Here are 11 Ways to Use Your Harvest!
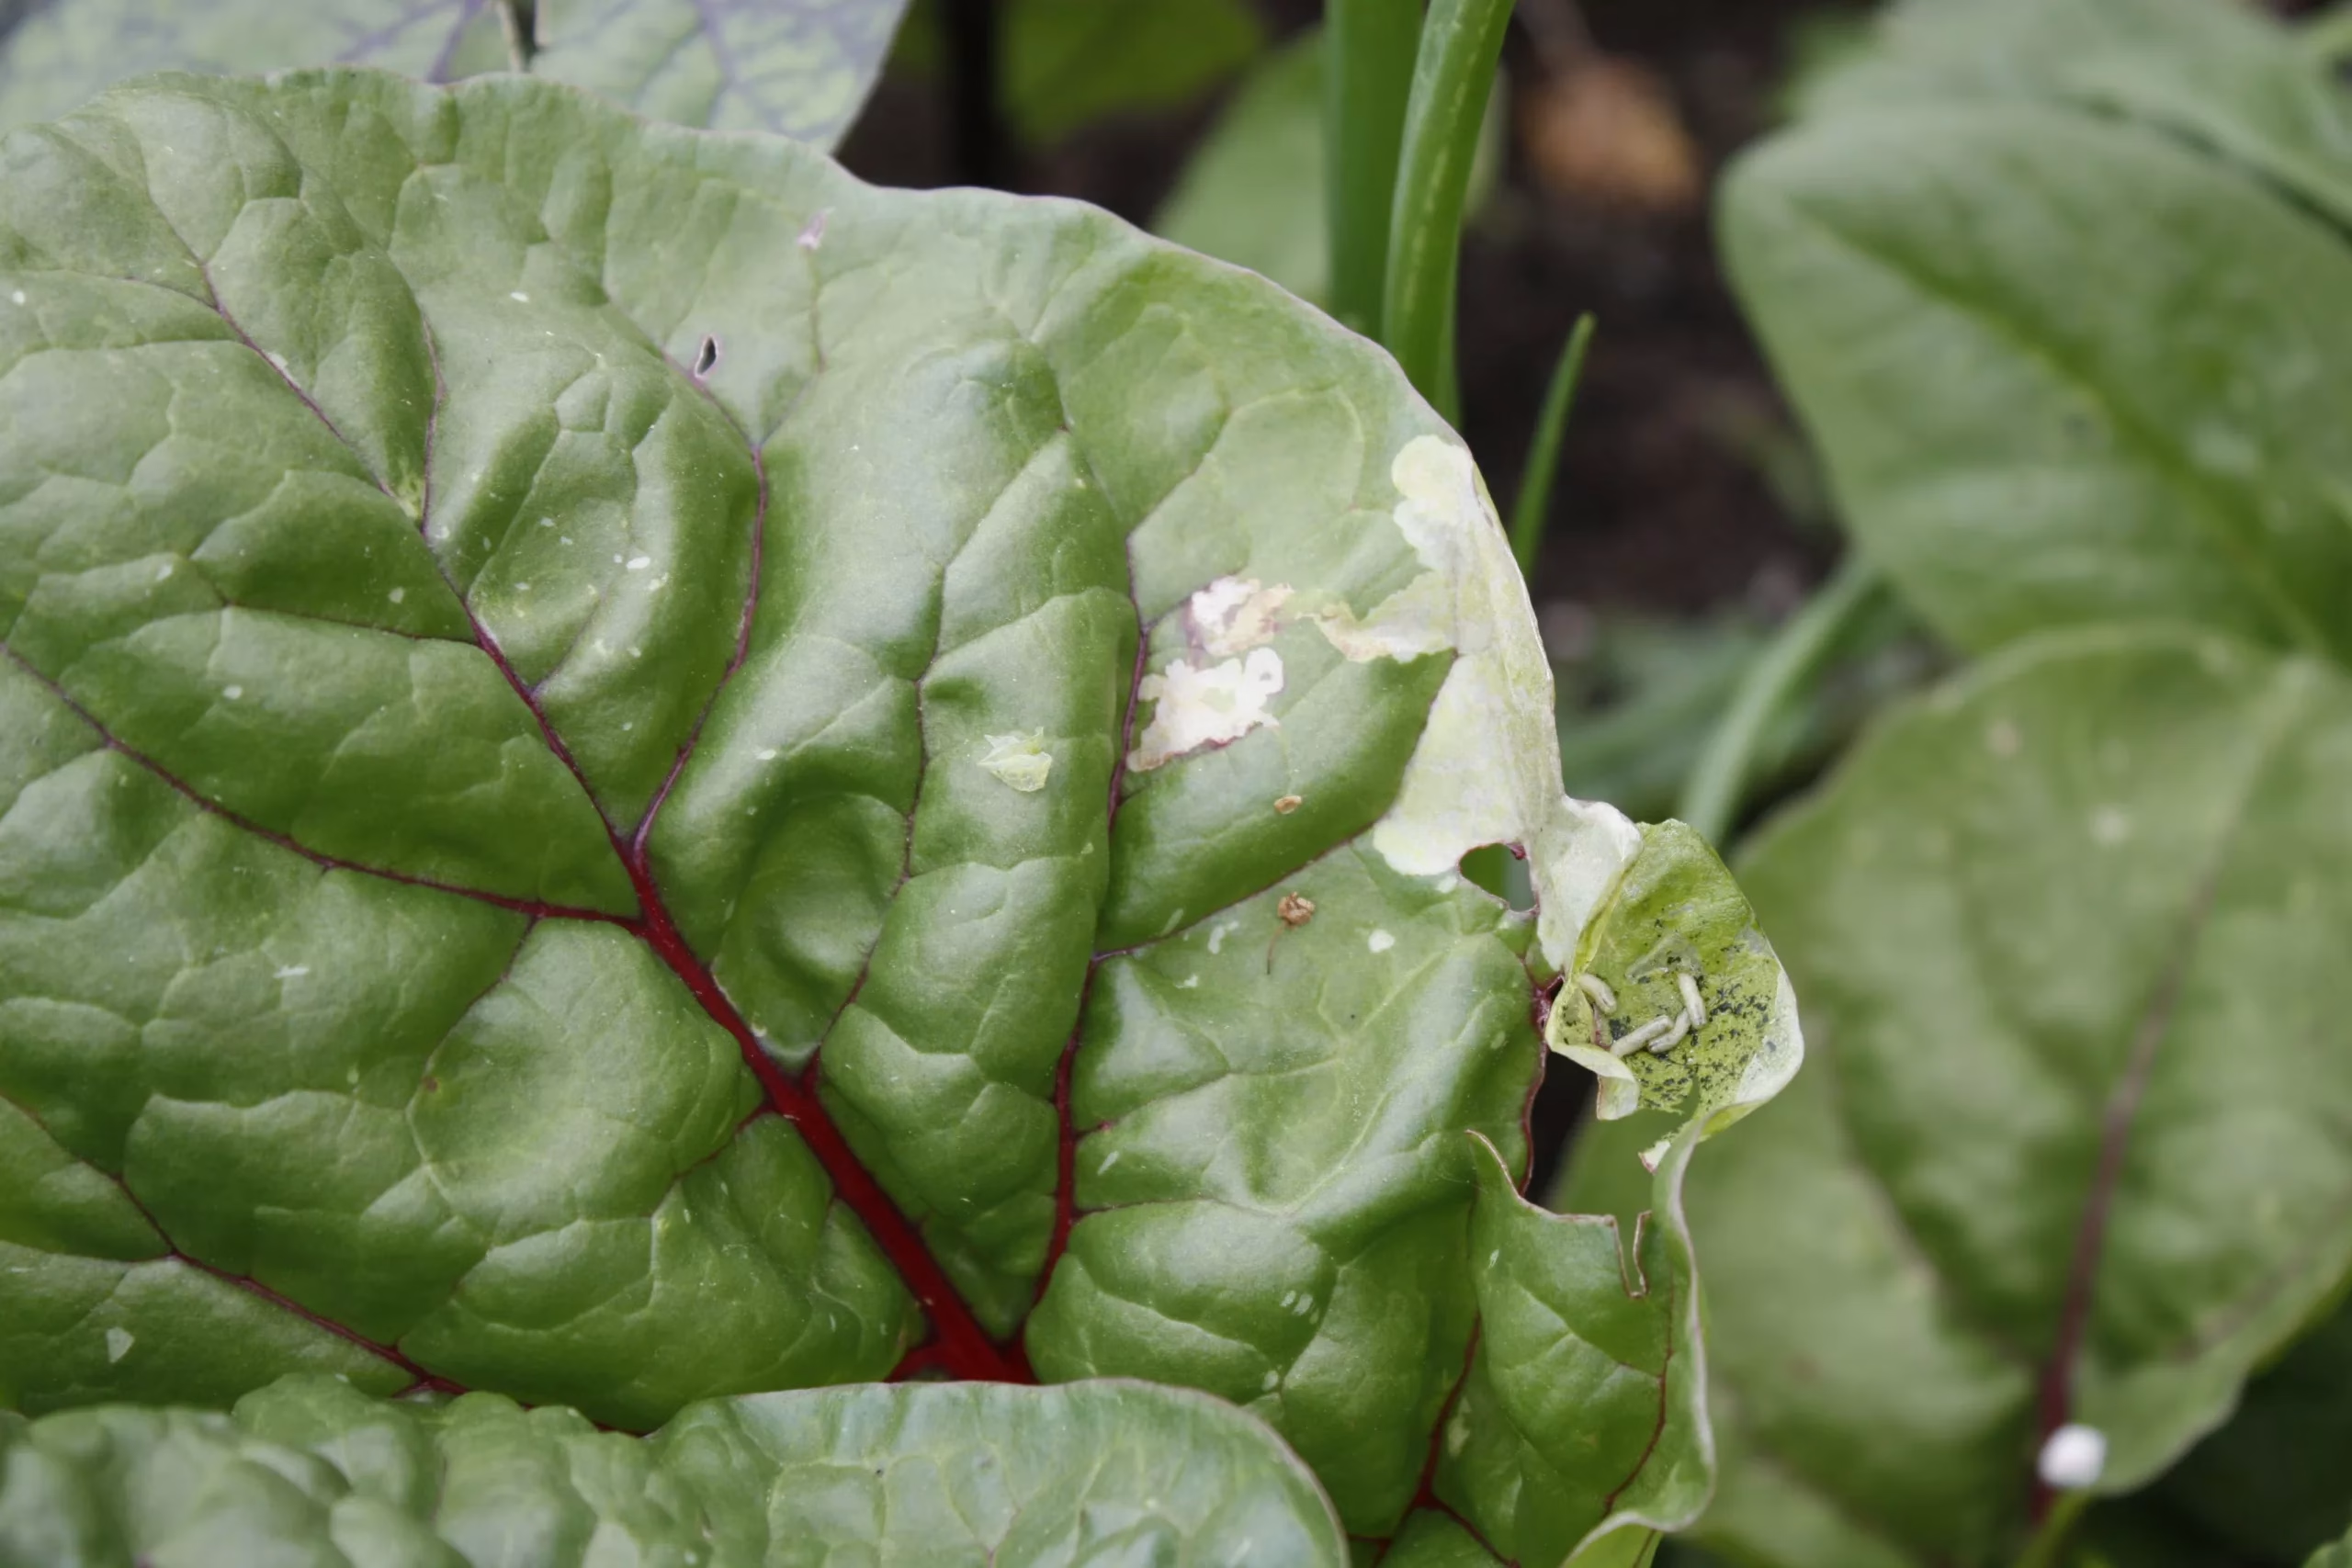
- 6 Spring Garden Pests You Should Know
- Are Organic Chemicals Safe To Use in a Home Garden?
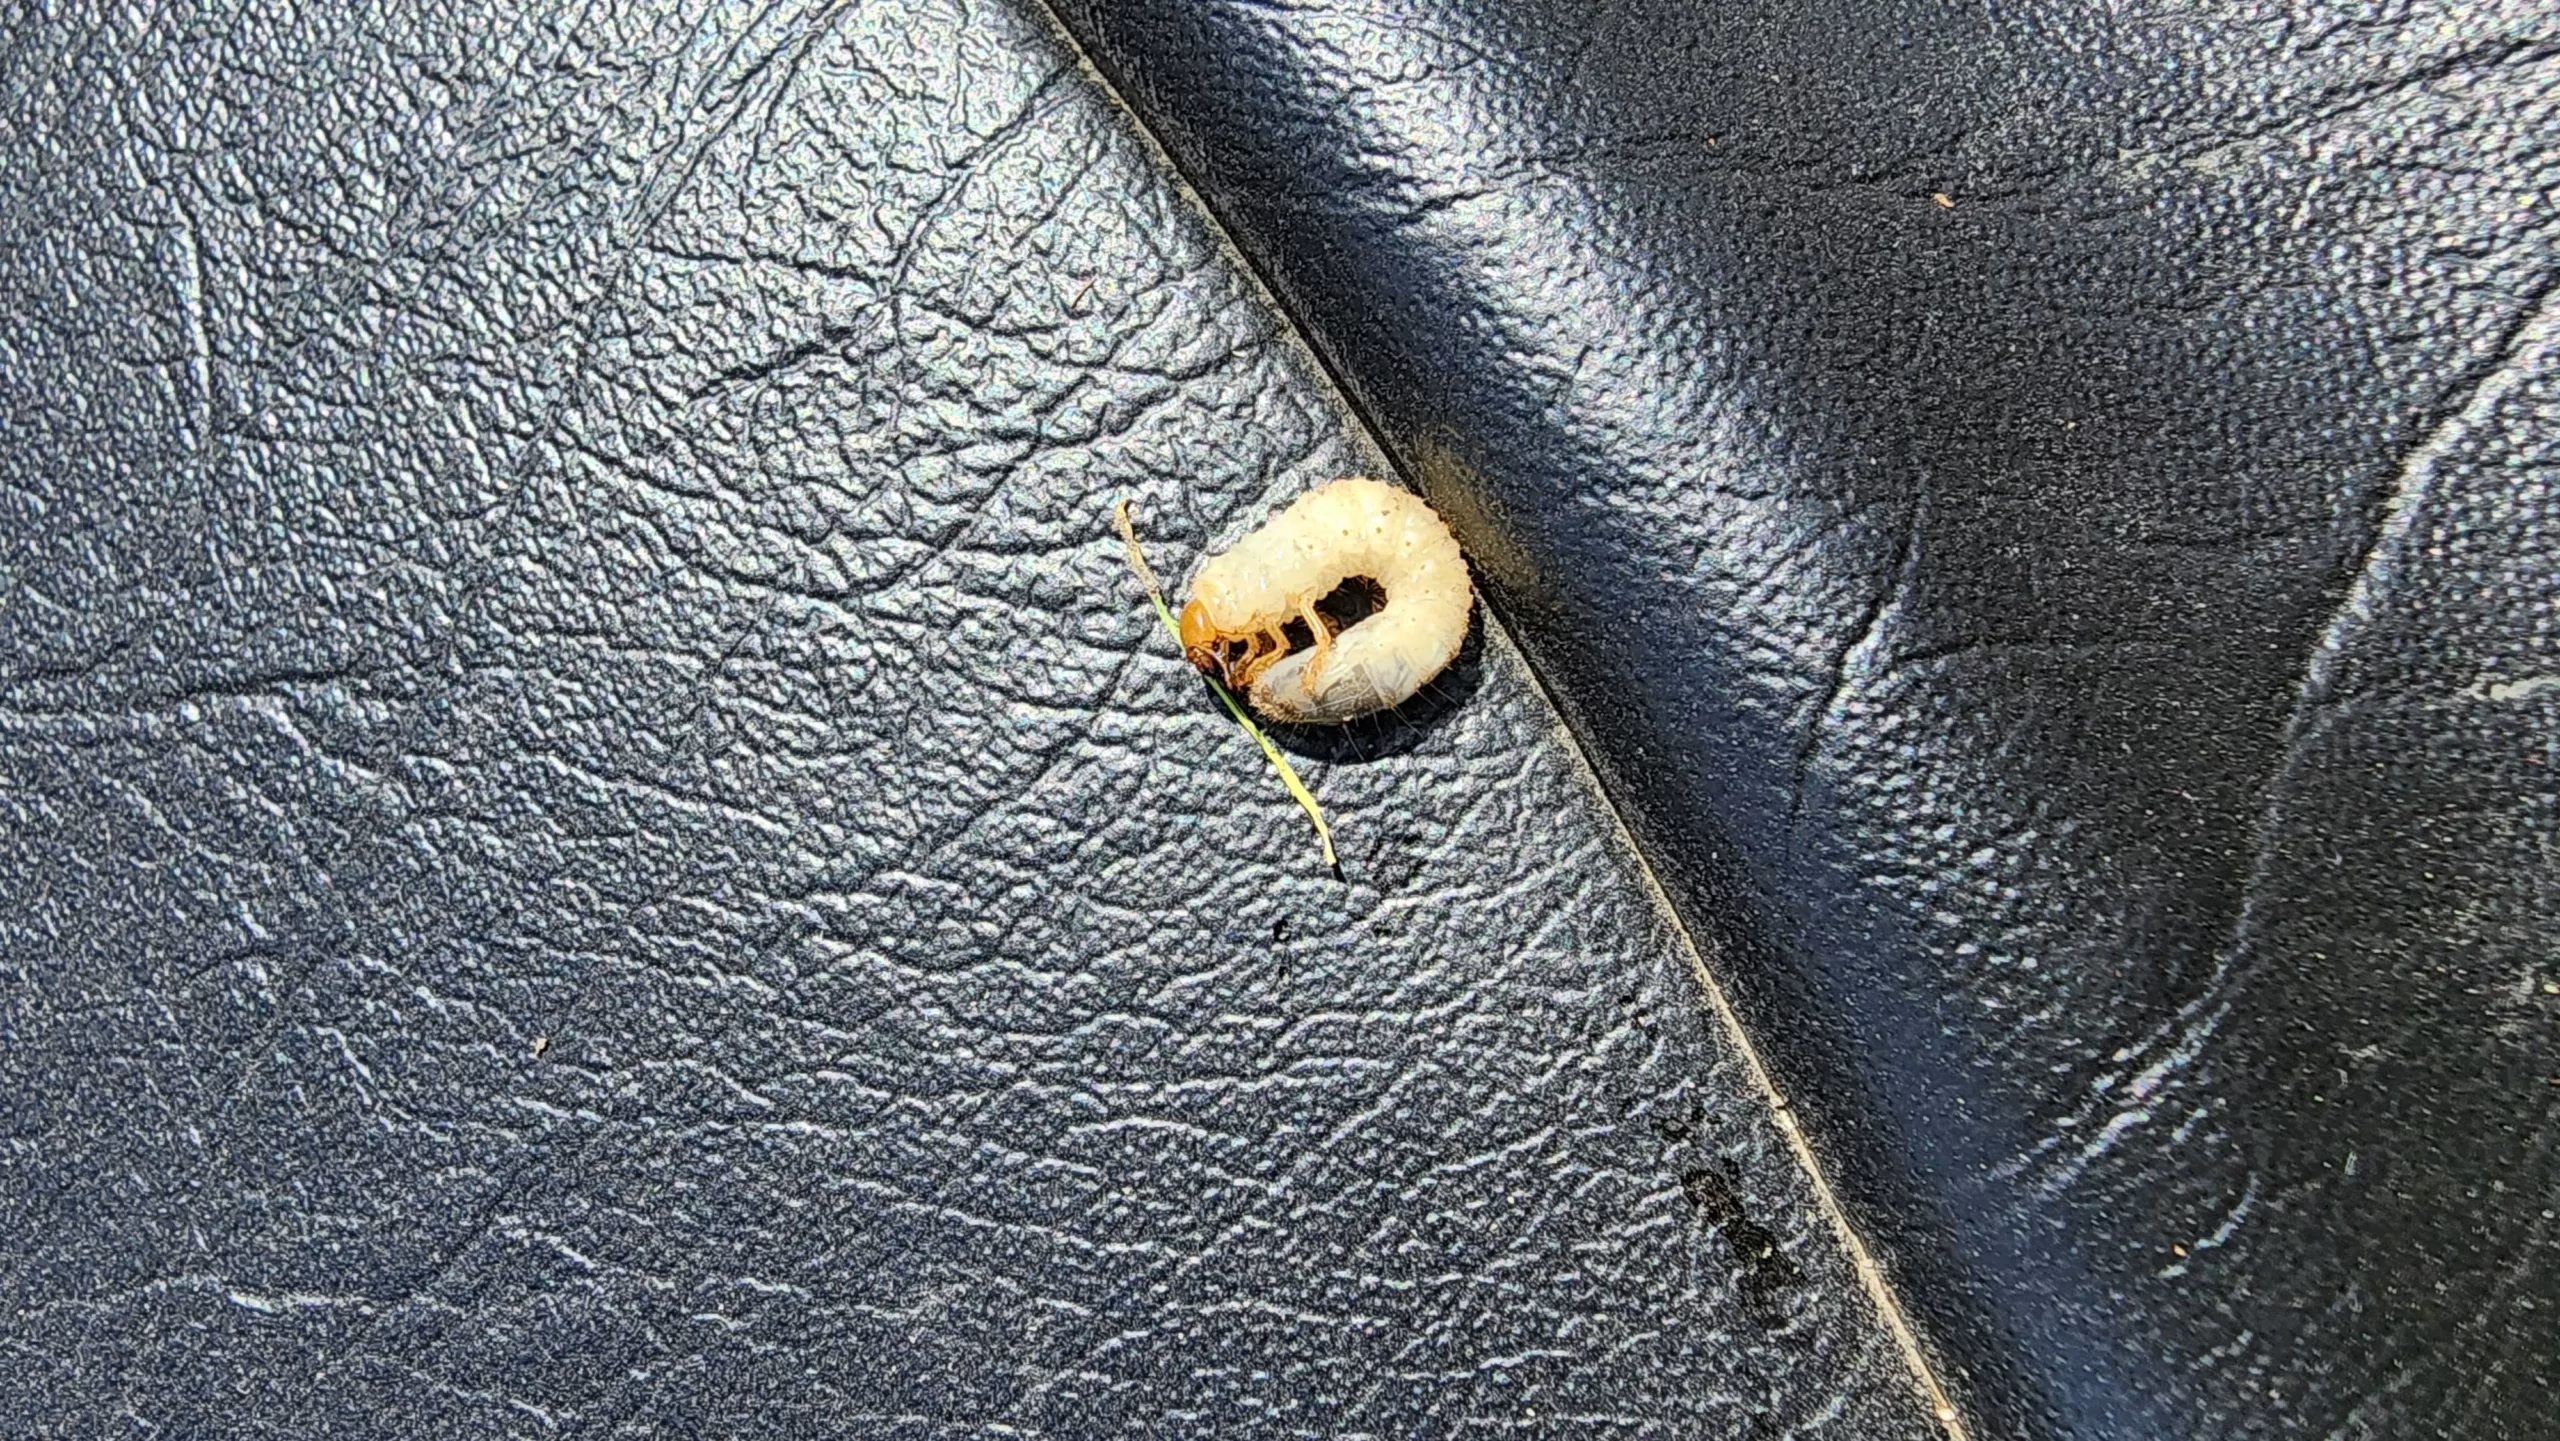
- Save Your Lawn: How to Control Lawn Grubs
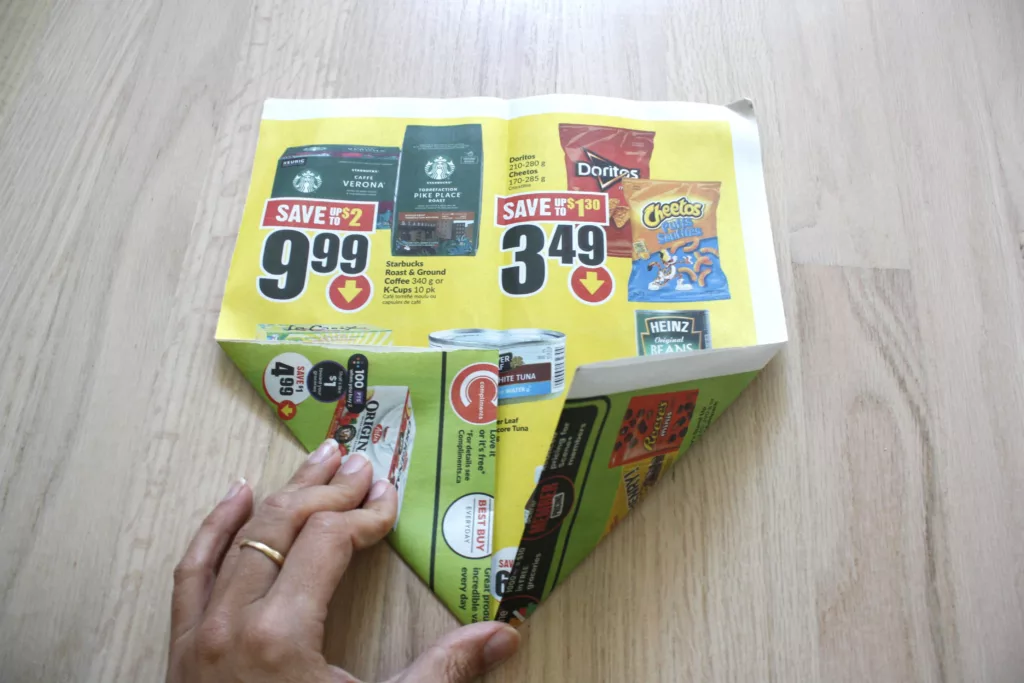
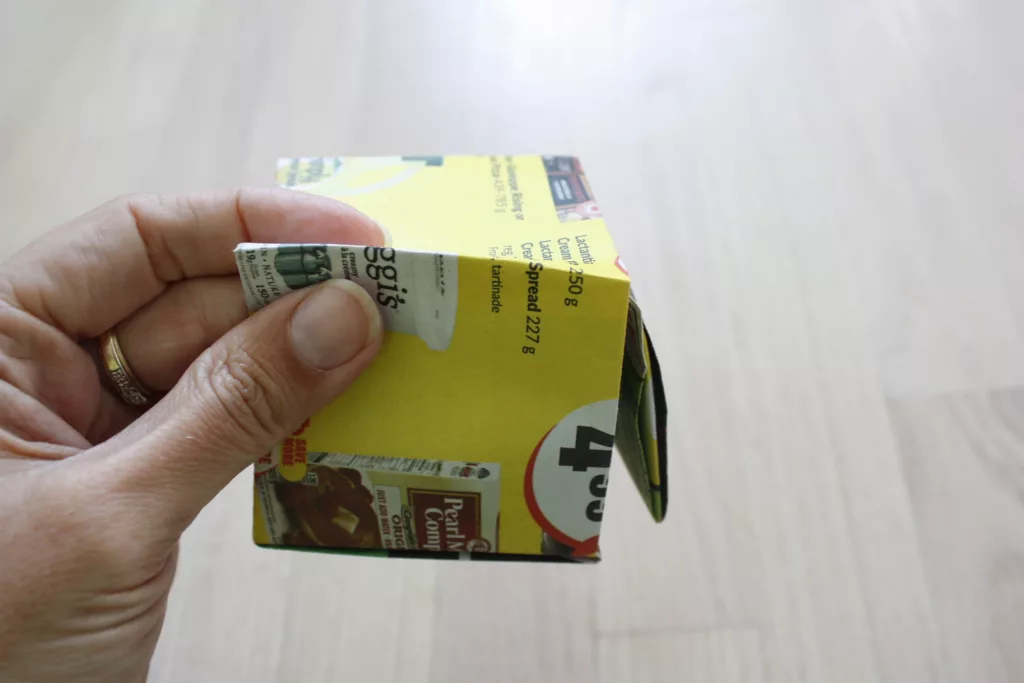
Step 5
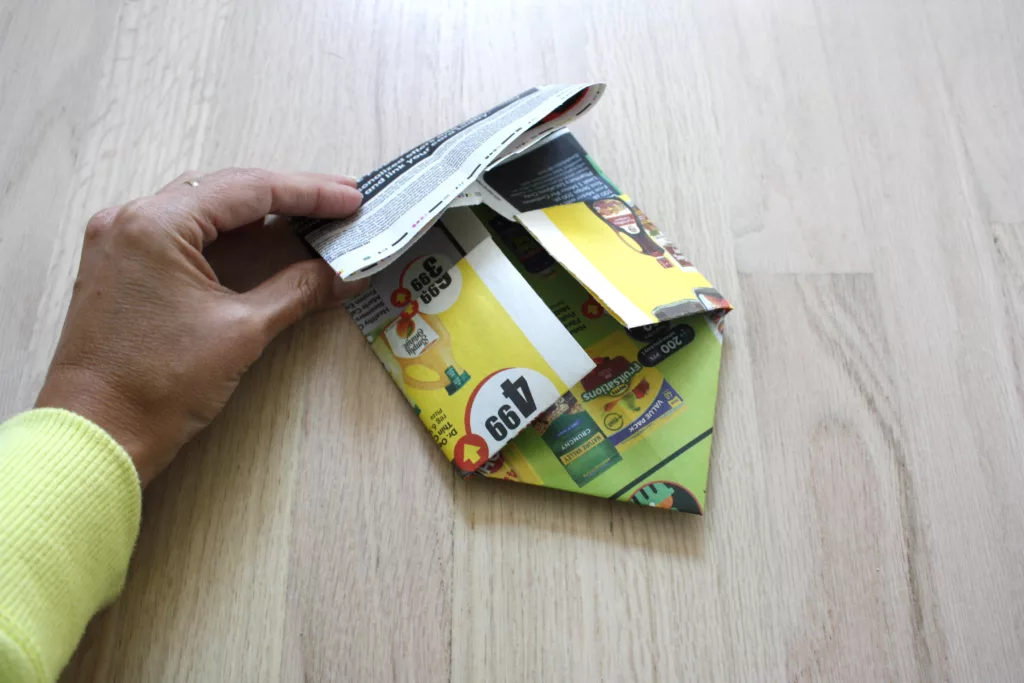
Same as step 3, fold the remaining top paper down so that the top of the flyer meets the first fold. Fold it a second time.
If you need help, use the pictures above – fold the top of the flyer in half so that the top of the page meets the top of the yellow folds. Then fold it a second time so that it covers the yellow part of the flyer in the photo above.
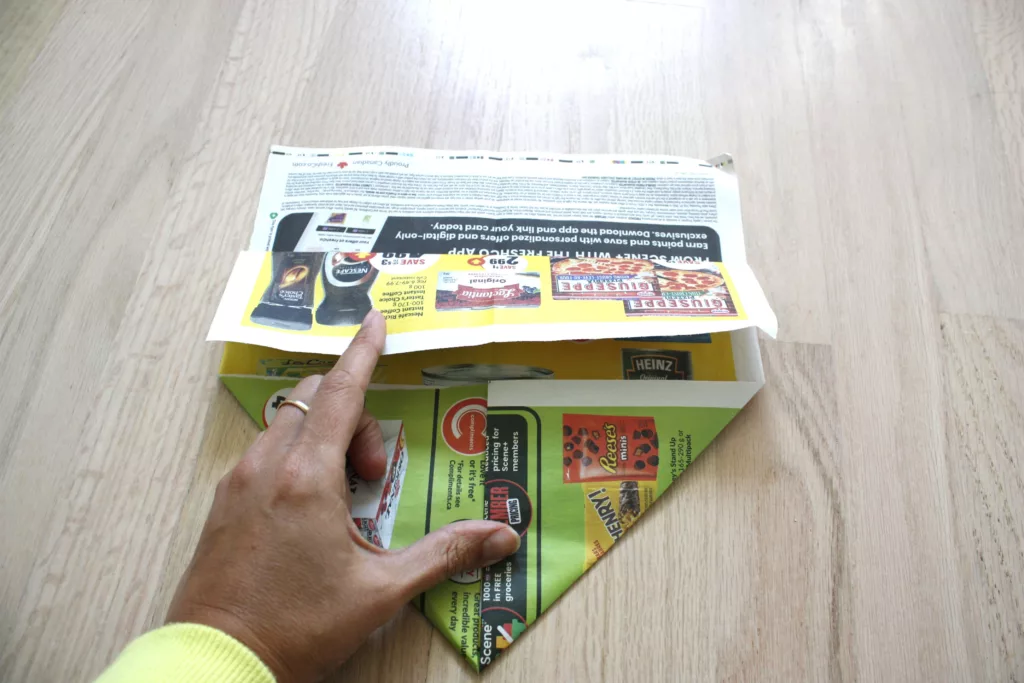
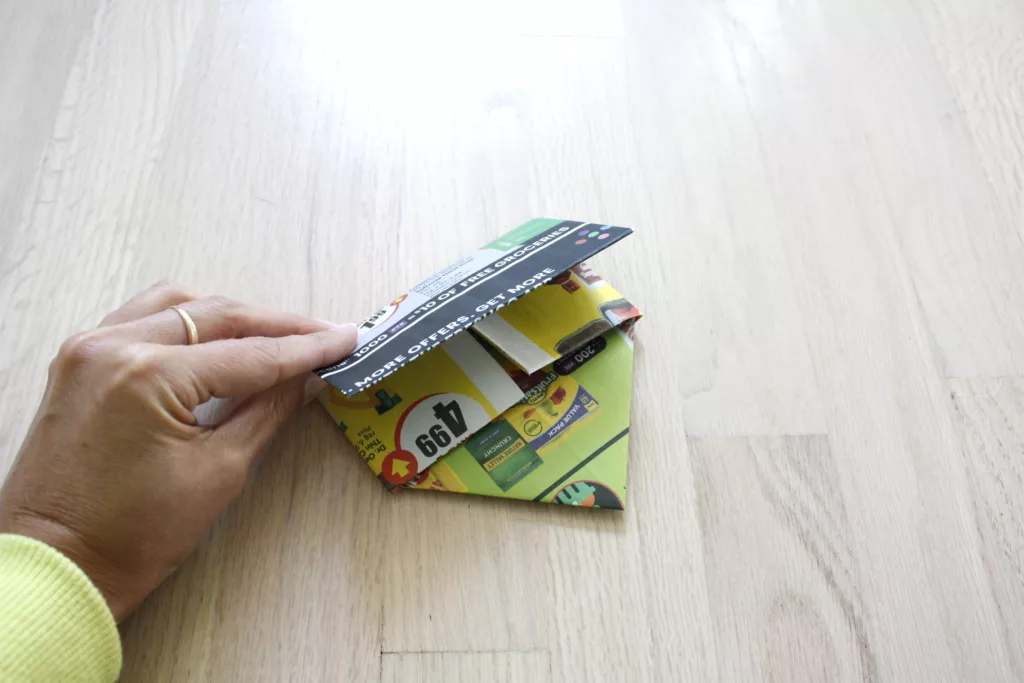
Step 6

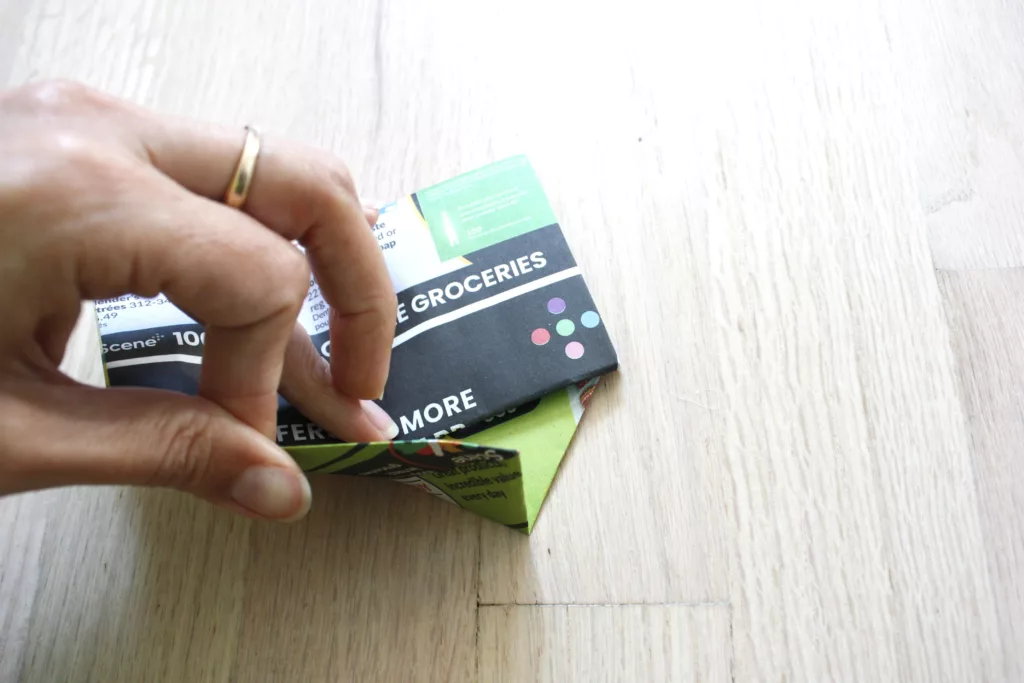
If you’re still with me, this is the tricky part. The top half of the flyer that you folded in the first part of step 5 needs to slide into the fold just above the point.
Or if you look at the photos in Step 5, you are folding it under the yellow part of the flyer (the part that says $4.99)
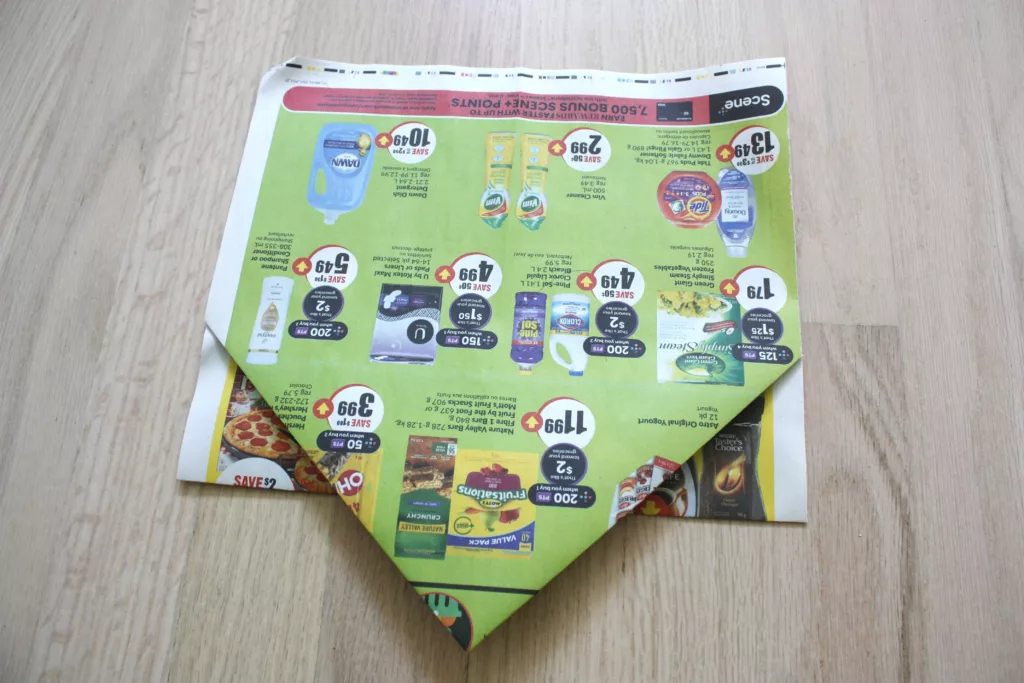
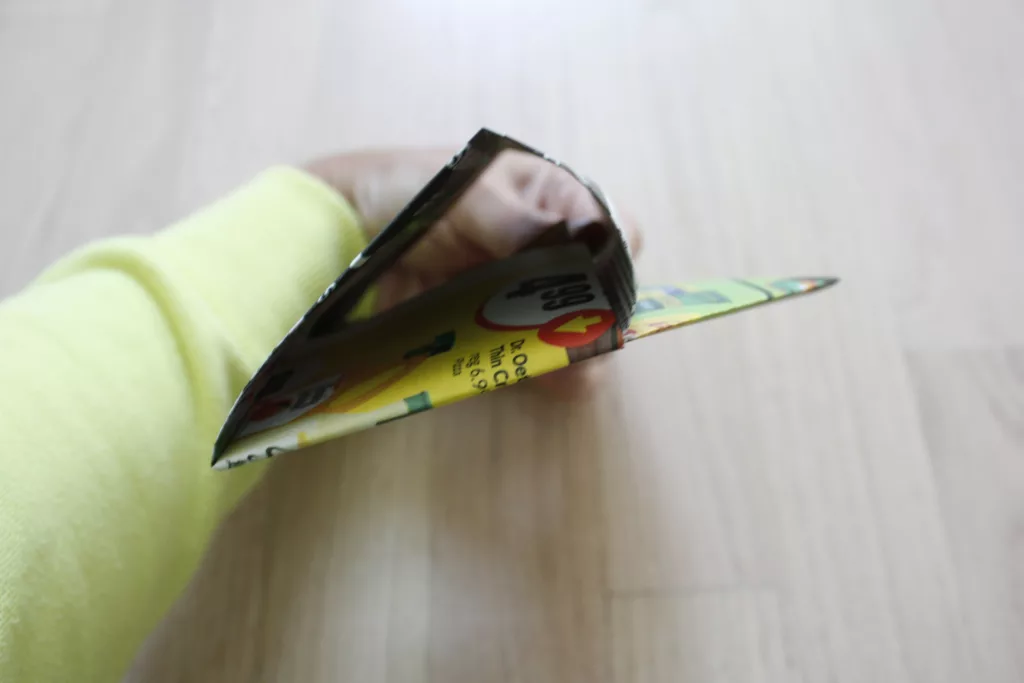
Step 7
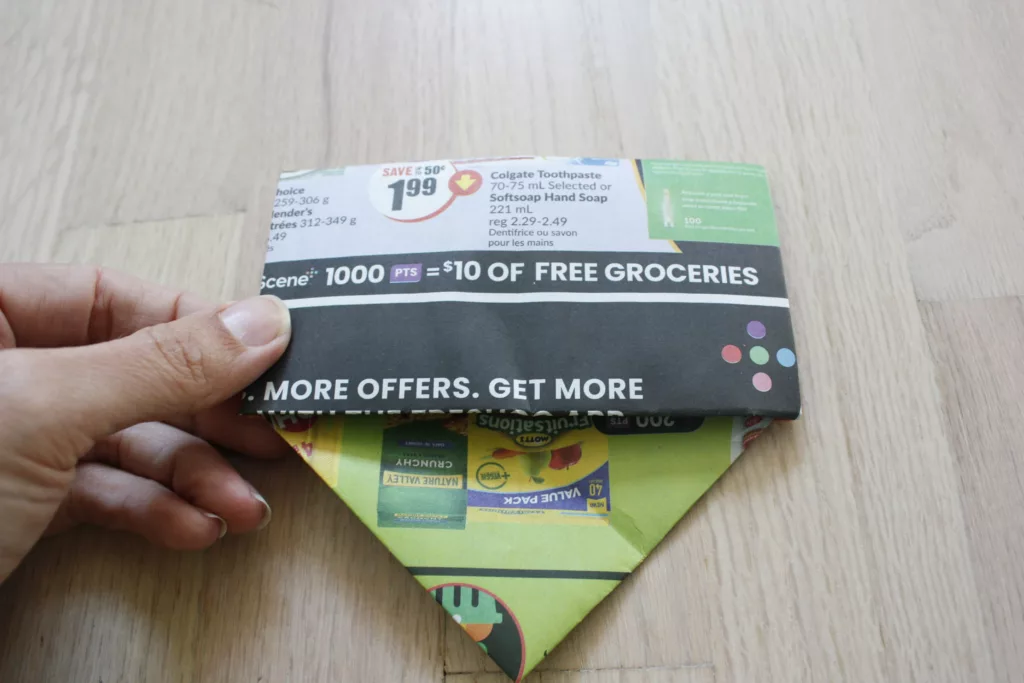
Take the pointed tip of the flyer and fold it just partially. In the photos above you would take the pointed end and fold it to the right, just below the black portion of the paper. Crease the fold. You can see the small crease in the second photo.
Step 8
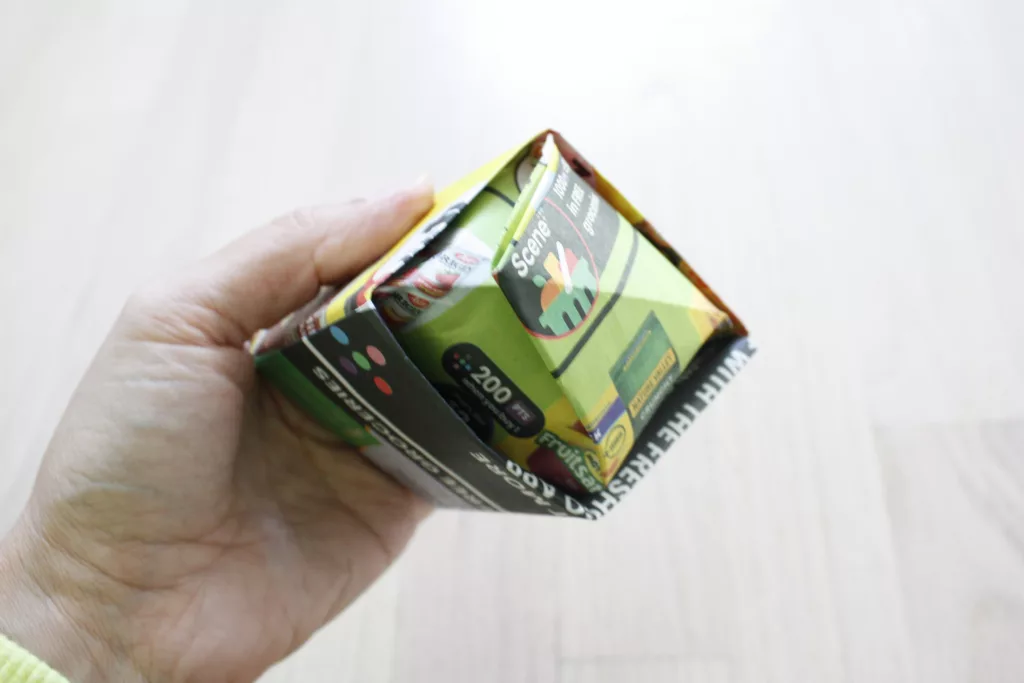
Stick your hand in the box and pop it open. Crease the inner edges of the bottom if it, then pinch the outside corners of the pot to help give the pot more structure.
And voila! You now have paper pots!