I believe there are two camps of people; those that obsess over the soil for their garden, and those that don’t think twice about the soil their plants are growing in. For years I sat in the latter group, I didn’t pay much attention to my soil and figured it would just take care of itself. I would top up my gardens every spring with a bit of new soil but beyond that I didn’t do much else – and never really thought much of it.
But after some time of neglect, your soil will show the lack of care in your plants during the growing season. There will be signs. For both the gardeners who think they need to add in loads of new soil every year, and for those that don’t ever think about their soil (whichever one you are) this article is for you. And there’s some good news. You can build healthy soil without spending a lot of money, and with some simple tricks. No more lugging in bags of manure, and no more unhealthy plants. Some of these tips take time and patience, while other tips will help build your soil health right from the beginning.
The only bad news is that building your soil takes time. It won’t happen in a single year but over multiple seasons. This means you’ll have to put in some effort every season. But I promise you, it will pay off.
All of the tips below will work in raised beds, containers or pots, and even in the ground. Luckily, they also work for vegetables, flowers, trees and even fruit. So there’s nothing to lose!
Except this.
Because there’s always exceptions to the rule. The picture of “good soil” is that it’s dark, rich and fluffy. And that anything like clay, or soils that aren’t dark in colour are “bad”. But if you’re entire focus is on growing native plants, then “bad” soil is often the best soil. Dark, fluffy, rich soil is great for your vegetable gardens or your shrubs and trees, but it’s also good for invasives. Meanwhile, “bad” soil is exactly what our native plants are used to growing in. Often times, some of your most common natives prefer crappy soil – take lupins for example.
So depending on what you’re hoping to grow will depend on how “good” you want to make your soil. So with that, let’s get into the nitty-gritty of it!
Why Build Healthy Soil
Even if you’re not a gardener, there’s good reasons to build healthy soil. For one, healthy soil holds onto moisture, so if you live in an area with flooding risks, healthy soil will absorb the water better – thereby reducing the amount of flooding and damage that can happen on your property.
Another great reason to build your soil is if you’re worried about the climate crisis. Healthy soil stores more carbon in it. As you build healthy soil on your property or in your garden, you’re actively helping to reduce carbon emissions from the atmosphere.
And of course, if you want the healthiest plants, and large harvests, you’ll want to have the healthiest soil.
Common Signs Your Soil Sucks
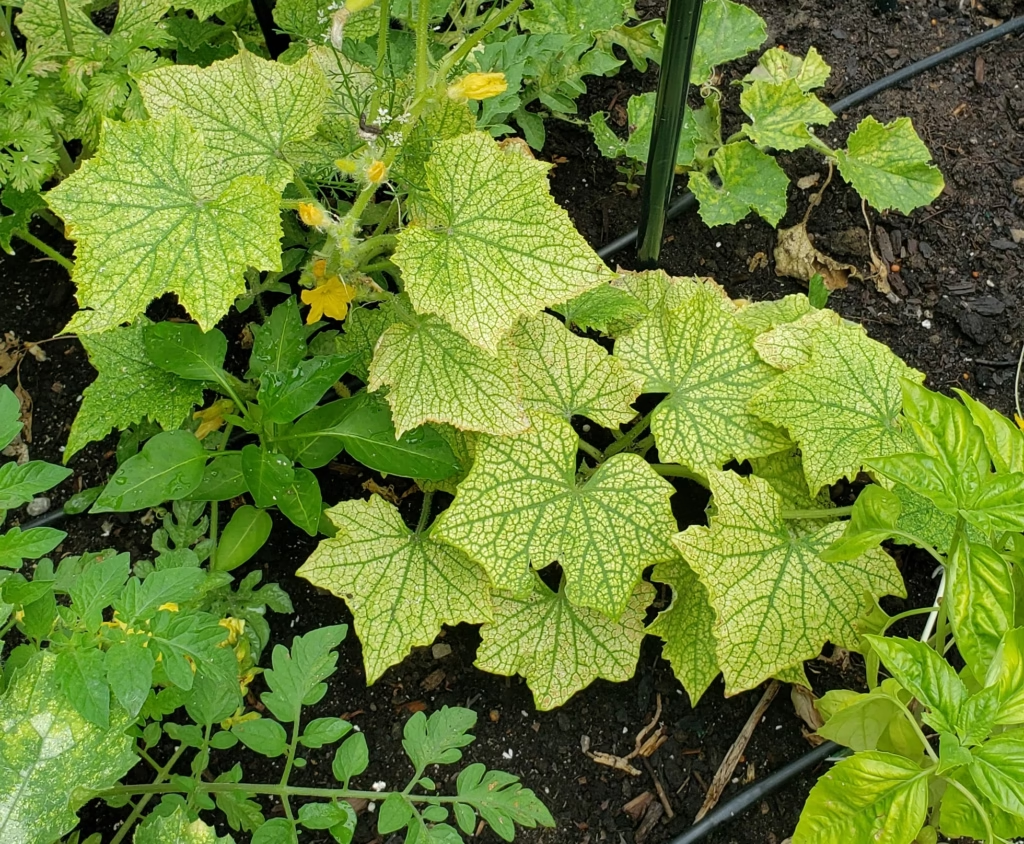
Often there are obvious signs that your soil isn’t great. Flooding or water runoff is a great example. Poor soil can’t retain moisture as well as healthy soil can which leads to flooding, erosion and water run off. For example, if you have a garden that is on a hill (big or small) and when you water it the water just runs down to the bottom, this means your soil can use some help.
Another sign is when you’re digging your garden and you notice it’s compacted, sandy or filled with large rocks – this means that the soil has either been added during the time your home was built, or the native soil in your area isn’t guaranteed to support plants that aren’t native to the space.
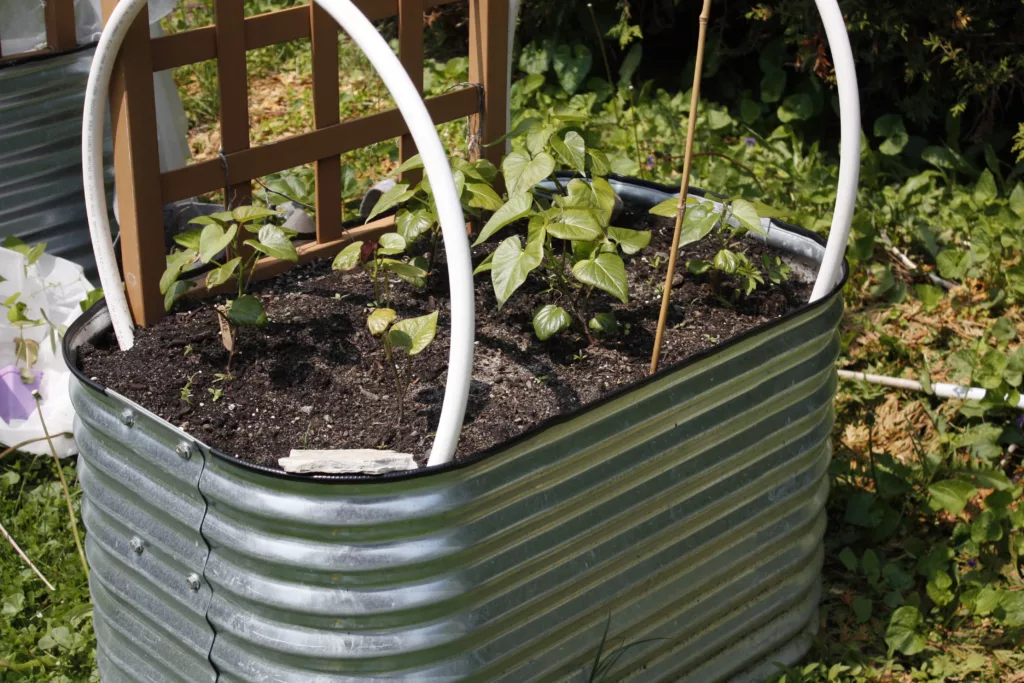
Finally, when it comes to your vegetable garden, a very obvious sign that your soil sucks is when your plants are stunted, grow weird, or have discolouration (like in the photo above).
Reasons Your Soil Can Suck
There are a few common reasons why your soil can suck. They all fall under a similar theme of, how was the land used before you. Or, what was the history of your land before you. For example, a lot of homes have poor soil because they’re in subdivisions. When the houses are being built, fill soil is brought in and a lot of giant rocks get dug up. There’s also a lot of concrete that gets used and left behind. All of these construction materials can often be found in the soil around your house and they don’t make for good garden soil.
Another reason could be that the previous owners used chemicals on their lawn and garden. If they were heavy-handed with the lawn pesticides, or paid to have their lawn sprayed by a company, there can be residual chemicals in your soil contributing to your current problems.
Finally, what is the history of your property? Was it used as a commercial property before your home was built on it? Was it an old railway line? Or was it a farmers field? Looking even further back, what was your region like thousands, if not millions of years ago? A lot of areas here in Ontario are ancient sea beds which means we have a lot of clay. Or were valleys that glaciers moved through, and along with them came a lot of large rocks.
Knowing the history of your land is especially important if you want to grow in the ground and it will help you gain a better understanding of why your soil sucks. If you find out that your soil is heavily contaminated (which you can do with a soil test), you’re best option is to switch to raised garden beds and build your soil up from there.
Types of Soil
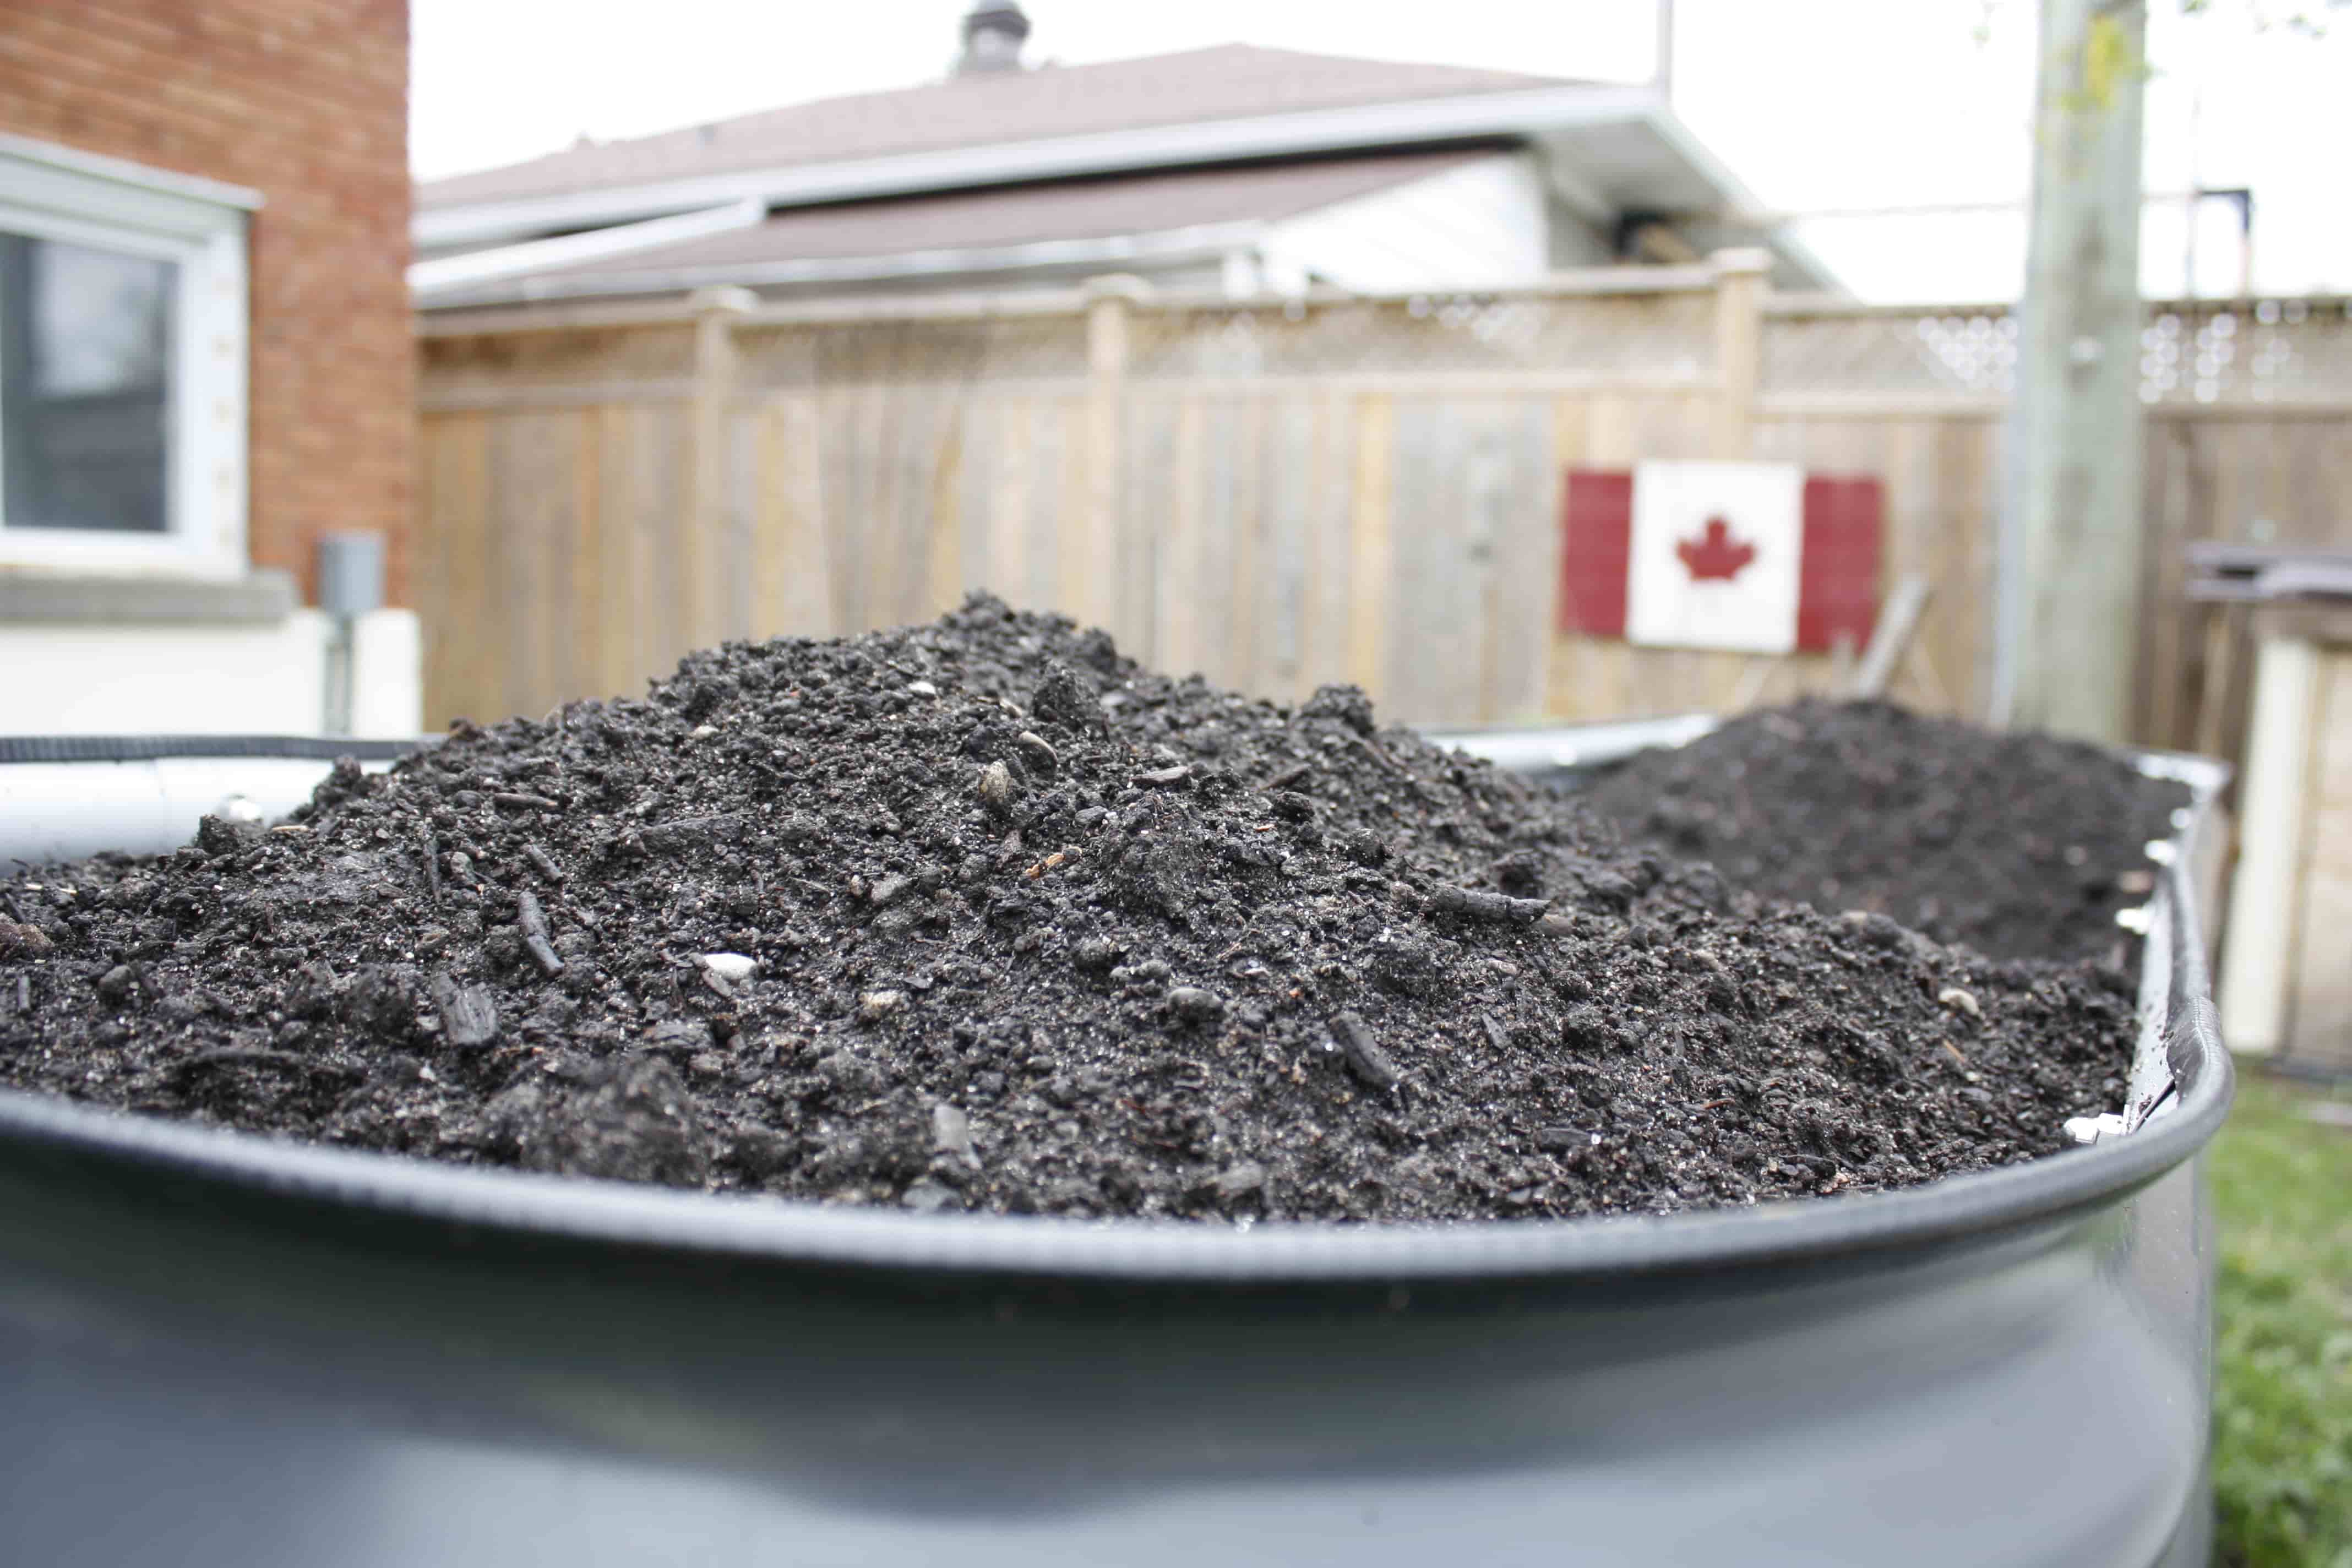
There are a few common types of soil you’ll find in your backyard here in Canada, such as clay, sand, silt and loam. You can easily test your soil to determine which type you have, and you can check out this article if you want to learn more about each type of soil. Not many of us are lucky to have loam soil in our backyards, but if you do, this is the best type to have for a garden.
One of the common soil types is peat, but you most likely won’t find it in your backyard unless you live on acreage with a wetland. Peat comes from bogs and wetlands and is dug up for both the gardening industry and to be replaced with fill for land to build on. It’s included in a lot of soil blends – too many if you ask me. It’s often touted as good for your garden but peat is far better for the planet and for us when left in the ground as wetlands.
The following tips will show you how to build quality soil without breaking the bank, or harming the planet.
Tip 1: Get A Soil Test
If you intend to grow in the ground then this is the first step you’ll want to take. You can get soil tests from your local big box store but these aren’t going to give you the results you need – and there’s some debate on how accurate they really are. As important as it is to know the level of essential nutrients in your soil (your NPK), you really want to know what else is in your soil. And a small soil testing kit won’t tell you that. Oftentimes it’s more important to know what type of heavy metals exist in your soil rather than the NPK so make sure you find a testing office that can give you exactly what you need.
You’ll want to send your soil in to your local soil testing office. This is easier to do in the US since there’s a lot of state extension offices that test soil while here in Canada there aren’t many. Here is one company that I am aware of that does soil testing for home gardens as a starting point.
This step is necessary for two situations: 1. you’re planting food in the ground and you’re worried about contamination from prior land use, or 2. you’re planting in the ground and you’ve had trouble in the past where your plants didn’t grow well. If you plan to, or do grow in raised beds then this step isn’t necessary unless you’re having trouble with your plants. The tips below are going to build better soil regardless of a soil test, this is more for very specific amendments.
Tip 2: Reduce Tilling
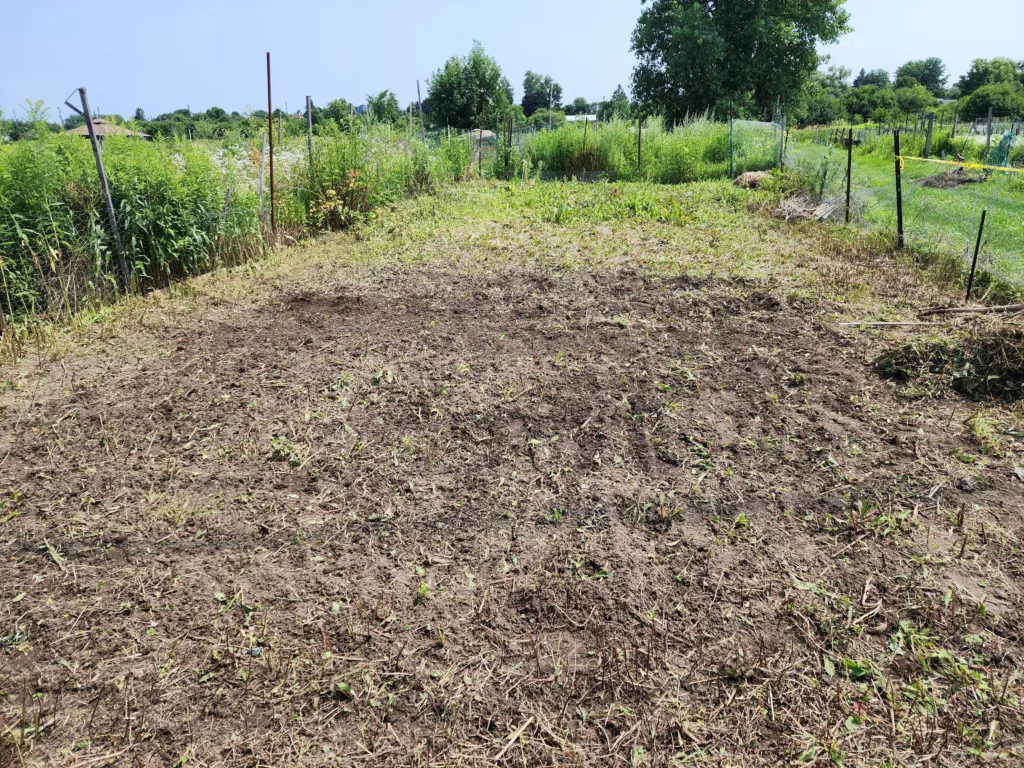
Tilling has long been recommended, is still used in farming and, like you can see in the photo above, is often still used for in ground gardens and allotments. But tilling isn’t good for your soil – and it doesn’t help with the weeds. If you’re tilling to reduce your weed pressure, you’re not actually fixing your problem, you’re just delaying it. Tilling doesn’t remove weeds, it just moves weed seeds around, and can often bring seeds to the surface making your problem worse.
Another known issue with tilling is that it disrupts the soil micro biology. There are living organisms in the soil that survive below the surface, not receiving any light and very little oxygen. When you till, your bringing those organisms up to the surface which can kill them – altering the balance of the soil.
Finally, it’s actually good to leave the roots in the soil, and tilling removes them. Plants planted over old root systems will use those root systems to grow with less friction – leading to larger root systems and stronger plants.
By reducing, or stopping tilling altogether you’re giving your plants a better chance, and keeping the soil microorganisms safe and exactly where they need to be to thrive and provide the optimum benefits for your plants.
Tip 3: Add a layer of organic matter
One of the best things you can do build your soil health is to add a layer of organic matter to your garden in spring and fall. The best option is compost if you have access to it. The next best option is to add some high quality triple mix to your soil. You can also use shredded leaves, nettle or comfrey if you have access to it. Add 2-3 inches of organic matter onto the top of your soil at the beginning and ending of the season. Not only does it give an instant boost to your plants, but it will slowly break down by the microbes and help feed your soil.
Compost is the best choice because it is high in nutrients, but also acts like mulch so it protects your soil, feeds the soil and helps retain moisture.
Continue growing your garden knowledge
- 5 Tips to Know When to Harvest Any Vegetable
- I Was Wrong About Crop Rotation – Let Me Explain
- Drowning in Tomatoes? Here are 11 Ways to Use Your Harvest!
- 8 Tips to Build Healthy Soil (When Yours Sucks)
- Drowning in Zucchini? Here are 11 Ways to Use Your Harvest!
Tip 4: Plant a Diversity of Plants
Different plants use different nutrients, and some even leave nutrients behind. Plants in the legume family like beans and peas have nitrogen nodes on their roots. What is particularly special about this is that the nitrogen is taken from the air and through a symbiotic relationship with bacteria in the soil, it’s stored in nodes on their roots. Why is this so special? Because nitrogen in the air is not the form of nitrogen our plants can use and it took humans a very long time to learn how to create synthetic nitrogen in a form plants can take up. And that process did, and still does, come at a cost.
What’s cool is that when the plant is going to die the nitrogen gets released from the nodes and put into the soil.
To simplify it, where there once was no nitrogen accessible to plants, there now is thanks to these legume plants.
This is one example of why intercropping is so beneficial to your plants. This is the planting style of mixing different types of plants together in your garden, rather than planting a single crop. One key item to note is that if you plant your plants tightly together (like in the square foot gardening method) it uses the soil nutrients a lot faster, so building soil health habits becomes more important.
Because plants use different nutrients, rotating your crops around your garden means that the same nutrients won’t get used up over and over again in a single spot.
Tip 5: Take Advantage of Mulch

Mulch is soils best friend. It does a wide range of things from keeping the soil cool, reducing water evaporation, and feeding the soil. You can use a wide range of materials as mulch, including; dried grass clippings, straw, shredded leaves, wood chips and even seedless weeds. The main concern is to ensure that the mulch you use is chemical free.
Mulch gets broken down by the microbes in the soil, it’s their food. When they break down the mulch it helps add nutrients to the soil and improve the soil structure and water retention.
Tip 6: Make Organic Fertilizer (for free!)
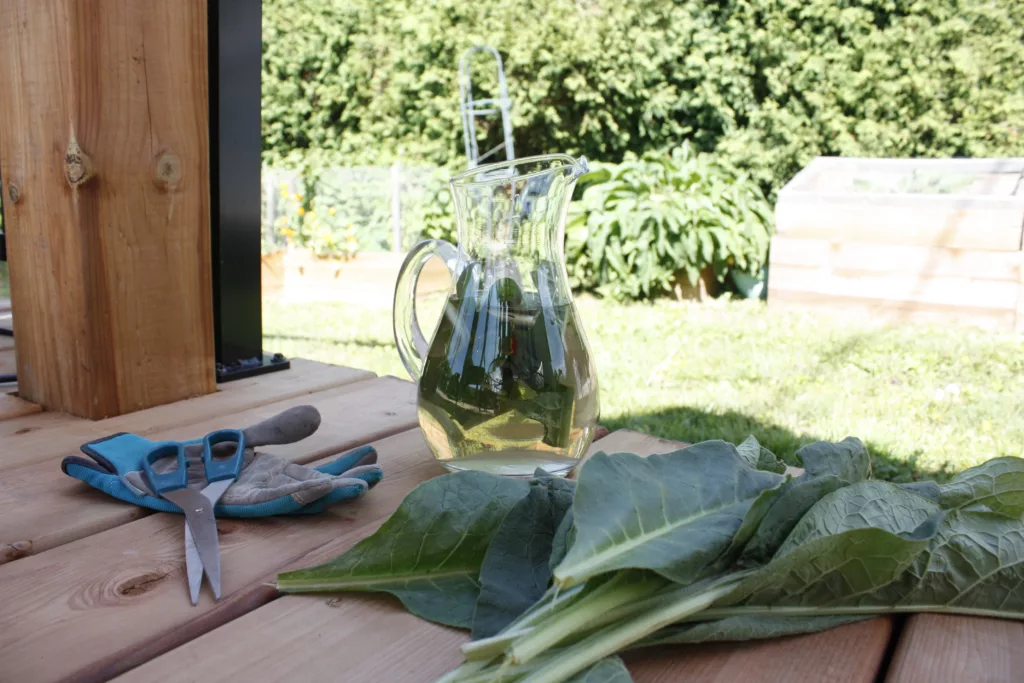
Fertilize your garden regularly. But don’t use synthetic fertilizers (those created in manufacturing plants). Focus on organic fertilizers like bat guano, sea kelp, or by making your own. Adding fertilizer to your garden is food for your plants, and this puts less strain on your soil, and gives back what’s needed.
It’s actually quite simple to make your own fertilizer and you can it from stinging nettle, comfrey, compost or even from worm castings. Each fertilizer type has a different NPK so based on your needs you can make the fertilizer you need.
Tip 7: Keep It Well Watered
The living organisms in your soil need water to survive, and thrive, just like we do. Although it’s possible to water your plats too often, you don’t want to swing the other direction and not water your plants and soil enough. If you use drip irrigation, make sure to water your entire garden and all the soil at least once a week to help keep the microorganisms in your soil alive and thriving.
Tip 8: Don’t Use Chemicals
Chemicals do more than kill insects or weeds. And the list of chemicals commonly used in the garden is long; from lawn chemicals, insect chemicals, weed chemicals and so many more. Regardless of if the chemical is synthetic or organic, they kill more than the intended target. Many organisms in your soil are microscopic so you won’t know when you’re killing them other than when you notice your garden isn’t thriving like it used to. Avoid using chemicals and opt for more sustainable options to manage pests that still support your soil.
Signs Your Soil Is Improving

The good news is, with all the effort you put into your soil, there will be signs that your soil is improving! It will be easier to dig in to when planting seeds and plants, the water will drain better and you’ll have less erosion and runoff which means your plants and garden won’t need to be watered as frequently. When you move the soil around you’ll see bugs, worms and other signs of life – all good indicators of healthy soil! Finally, the most obvious you’ll have large healthy plants that produce more fruit, food or blooms for you.