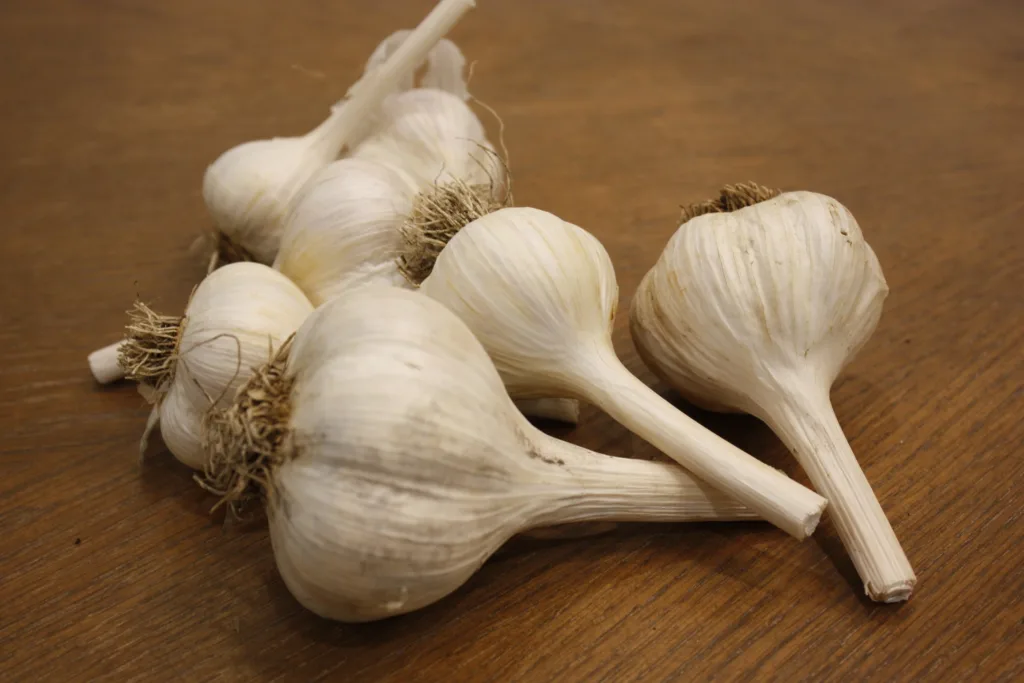
When you start to grow your own garlic at home, you realize just how many varieties and flavours exist in this one crop. Garlic ranges in size from small to large (such as Elephant garlic) and you can grow varieties that are extra strong, or that are milder, depending on how you use it in cooking.
A Quick Summary
Garlic is a bulb that grows over winter in our Canadian climates. One clove, planted in fall, will turn into a full head of garlic by early summer. In Canada, hard necked varieties are the most commonly grown as they have the best storage life to keep through the winter. Garlic is great because it gives you two harvests, the first is garlic scapes that are harvested in spring, and the full heads are harvested in the middle of summer. What we love best about garlic is how it’s such a low maintenance plant.
Garlic Varieties
This blog is reader supported. Some of the links in this article are affiliates that offer us a small commission at no additional cost to you.
There are many types of garlic available on the market, from Elephant garlic to varieties such as Music or Majestic, depending on your preferred flavour and uses. There are two types of garlic you can grow which is hardneck or softneck varieties. If you buy garlic bulbs at the grocery store, you’ll recognize hardneck varieties by the hard stem that sits in the centre of the cloves. Softneck varieties don’t have this. Generally, hardneck varieties of garlic store over winter better than softneck do, however there are some varieties of softneck that store well.
If you want to also grow garlic scapes, which are the ‘flower’ stem of the garlic, you’ll want to grow hardneck varieties as these are the ones that grow scapes.
If you’re not picky on the variety, we recommend buying garlic bulbs from your local farmer to plant with. These bulbs will be more affordable than seed garlic, and since it came from your local farmer, it means that this variety was able to grow successfully in your climate. Once you make that first investment, and if your plants stay healthy all growing season, you can save the largest cloves from your harvest to plant year after year.
Garlic Growing Requirements

Sun & Soil Preferences
Garlic needs full sun so planting where it can get 8+ hours of sun is best. Garlic prefers fertile soil that is high in organic matter. It prefers soil that both drains well, but holds in moisture for dry days. Be careful, because if the soil holds too much moisture, the bulbs can rot.
How to Plant Garlic
Since garlic prefers lots of sun and fertile soil, make sure to find a garden space that is sunny, with good quality soil. One important factor when it comes to planting garlic is understanding that it will be harvested in mid to late July, leaving your garden bed open to future plants. Pairing garlic with a fall garden is a great choice. If you have a garden that is sunny in both the summer and fall (when the sun lowers on the horizon) – this will help better utilize your garden.
Depending on where you live in Canada, you’ll plant your garlic anywhere from mid September to late November. Aim to plant your garlic 4-6 weeks before the soil freezes (which is different than your first frost date).
Clove Size Matters
When planting garlic, you want to plant the largest cloves in the bulb. The bigger cloves will make bigger, healthier bulbs in the spring. Not all cloves in the bulb will be big enough to plant, so plan accordingly when purchasing your seed garlic. If the variety normally has 8 cloves, not all 8 will be planted, so you’ll want to ensure you get enough bulbs for the number of plants you hope to grow.
Continue your garden learning:
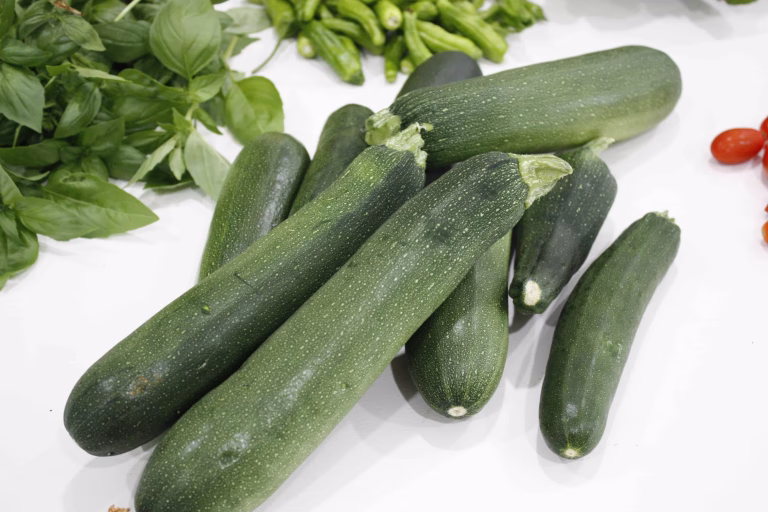
- Drowning in Zucchini? Here are 11 Ways to Use Your Harvest!
- 6 Spring Garden Pests You Should Know
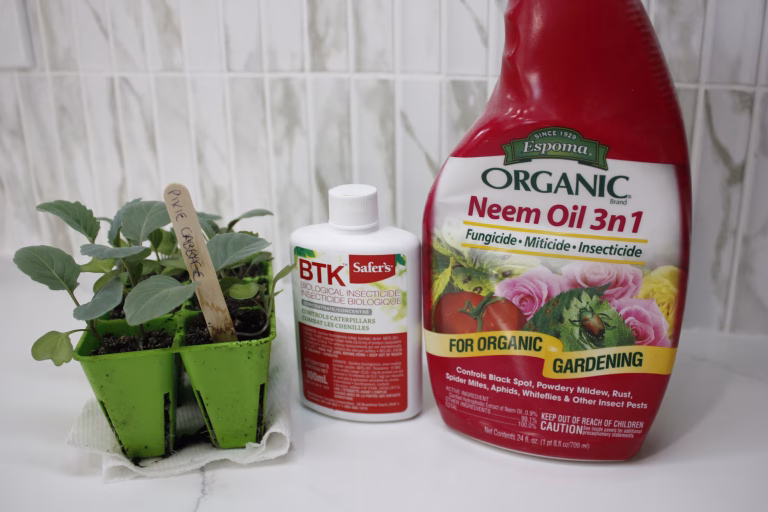
- Are Organic Chemicals Safe To Use in a Home Garden?
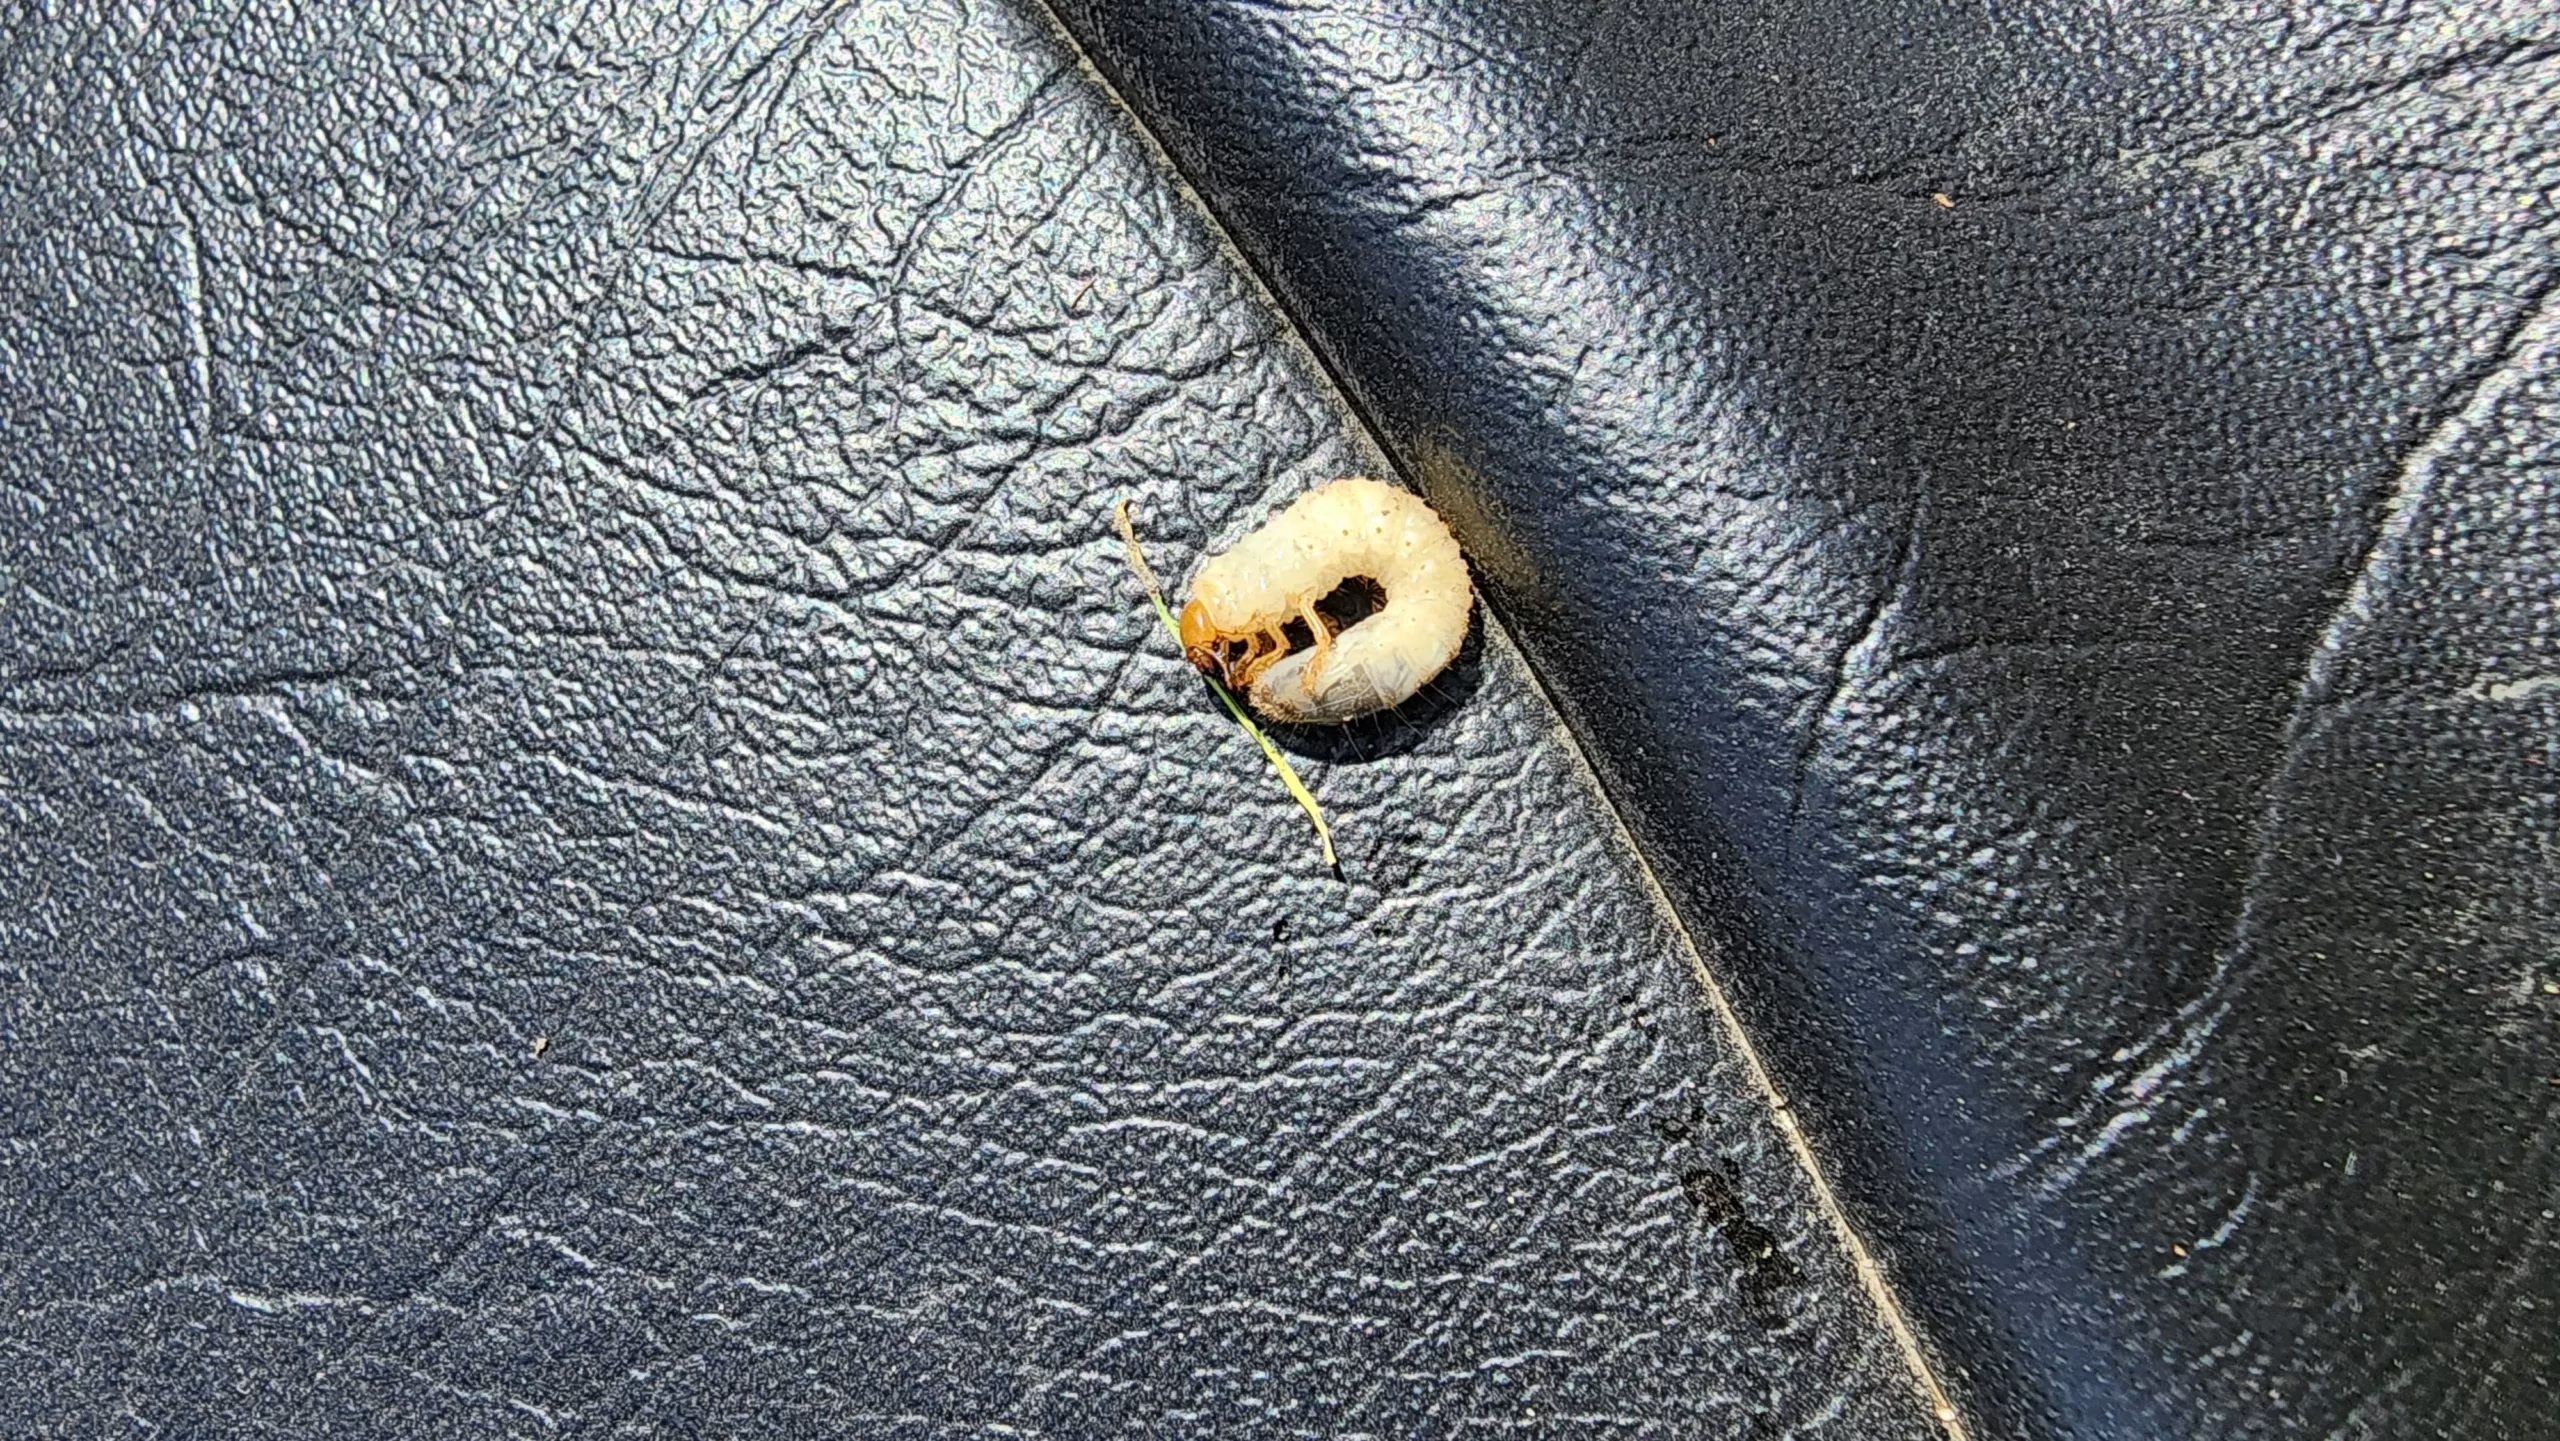
- Save Your Lawn: How to Control Lawn Grubs
- Seedlings Randomly Die? Damping Off Could Be the Culprit
Garlic Planting Depth

Plant your garlic cloves 3-4x the depth of the size of the clove. If the clove is 1″ in size, plant it 3-4″ down (measured from the top of the clove). Plant the clove with the pointed tip up, and the flat edge down. Since the soil will freeze and thaw, it can move your garlic in the soil, raising it higher than originally planted. It’s important to plant it at the correct depth to avoid it from becoming too shallow. Water the bulbs well and then add mulch on top.
Watering Your Garlic
After planting your garlic, water it about once a week until the soil freezes. If it rains often, you don’t need to water. When the soil freezes, you no longer need to water until spring. Once spring has arrived, and you see new growth, you can start watering again, unless it’s raining consistently. It’s important to let the soil dry out between waterings to prevent the bulbs from rotting.
Fertilizing Your Garlic
Garlic prefers fertile soil high in organic matter. Once the spring growth starts, it’s a sign to fertilize your garlic. Garlic is a heavy feeder so adding a couple inches of compost on the garden is not sufficient. In addition to amending your soil, use a balanced fertilizer to help with bulb growth.
Of all three nutrients in the NPK combination, garlic prefers less nitrogen than potassium and phosphorous. Nitrogen is useful for growing greenery above the soil, however you want the energy to be focused on the bulb below. If you have a worm bin, compost bin or grow comfrey, you can also make your own fertilizer at home to use on your garlic.
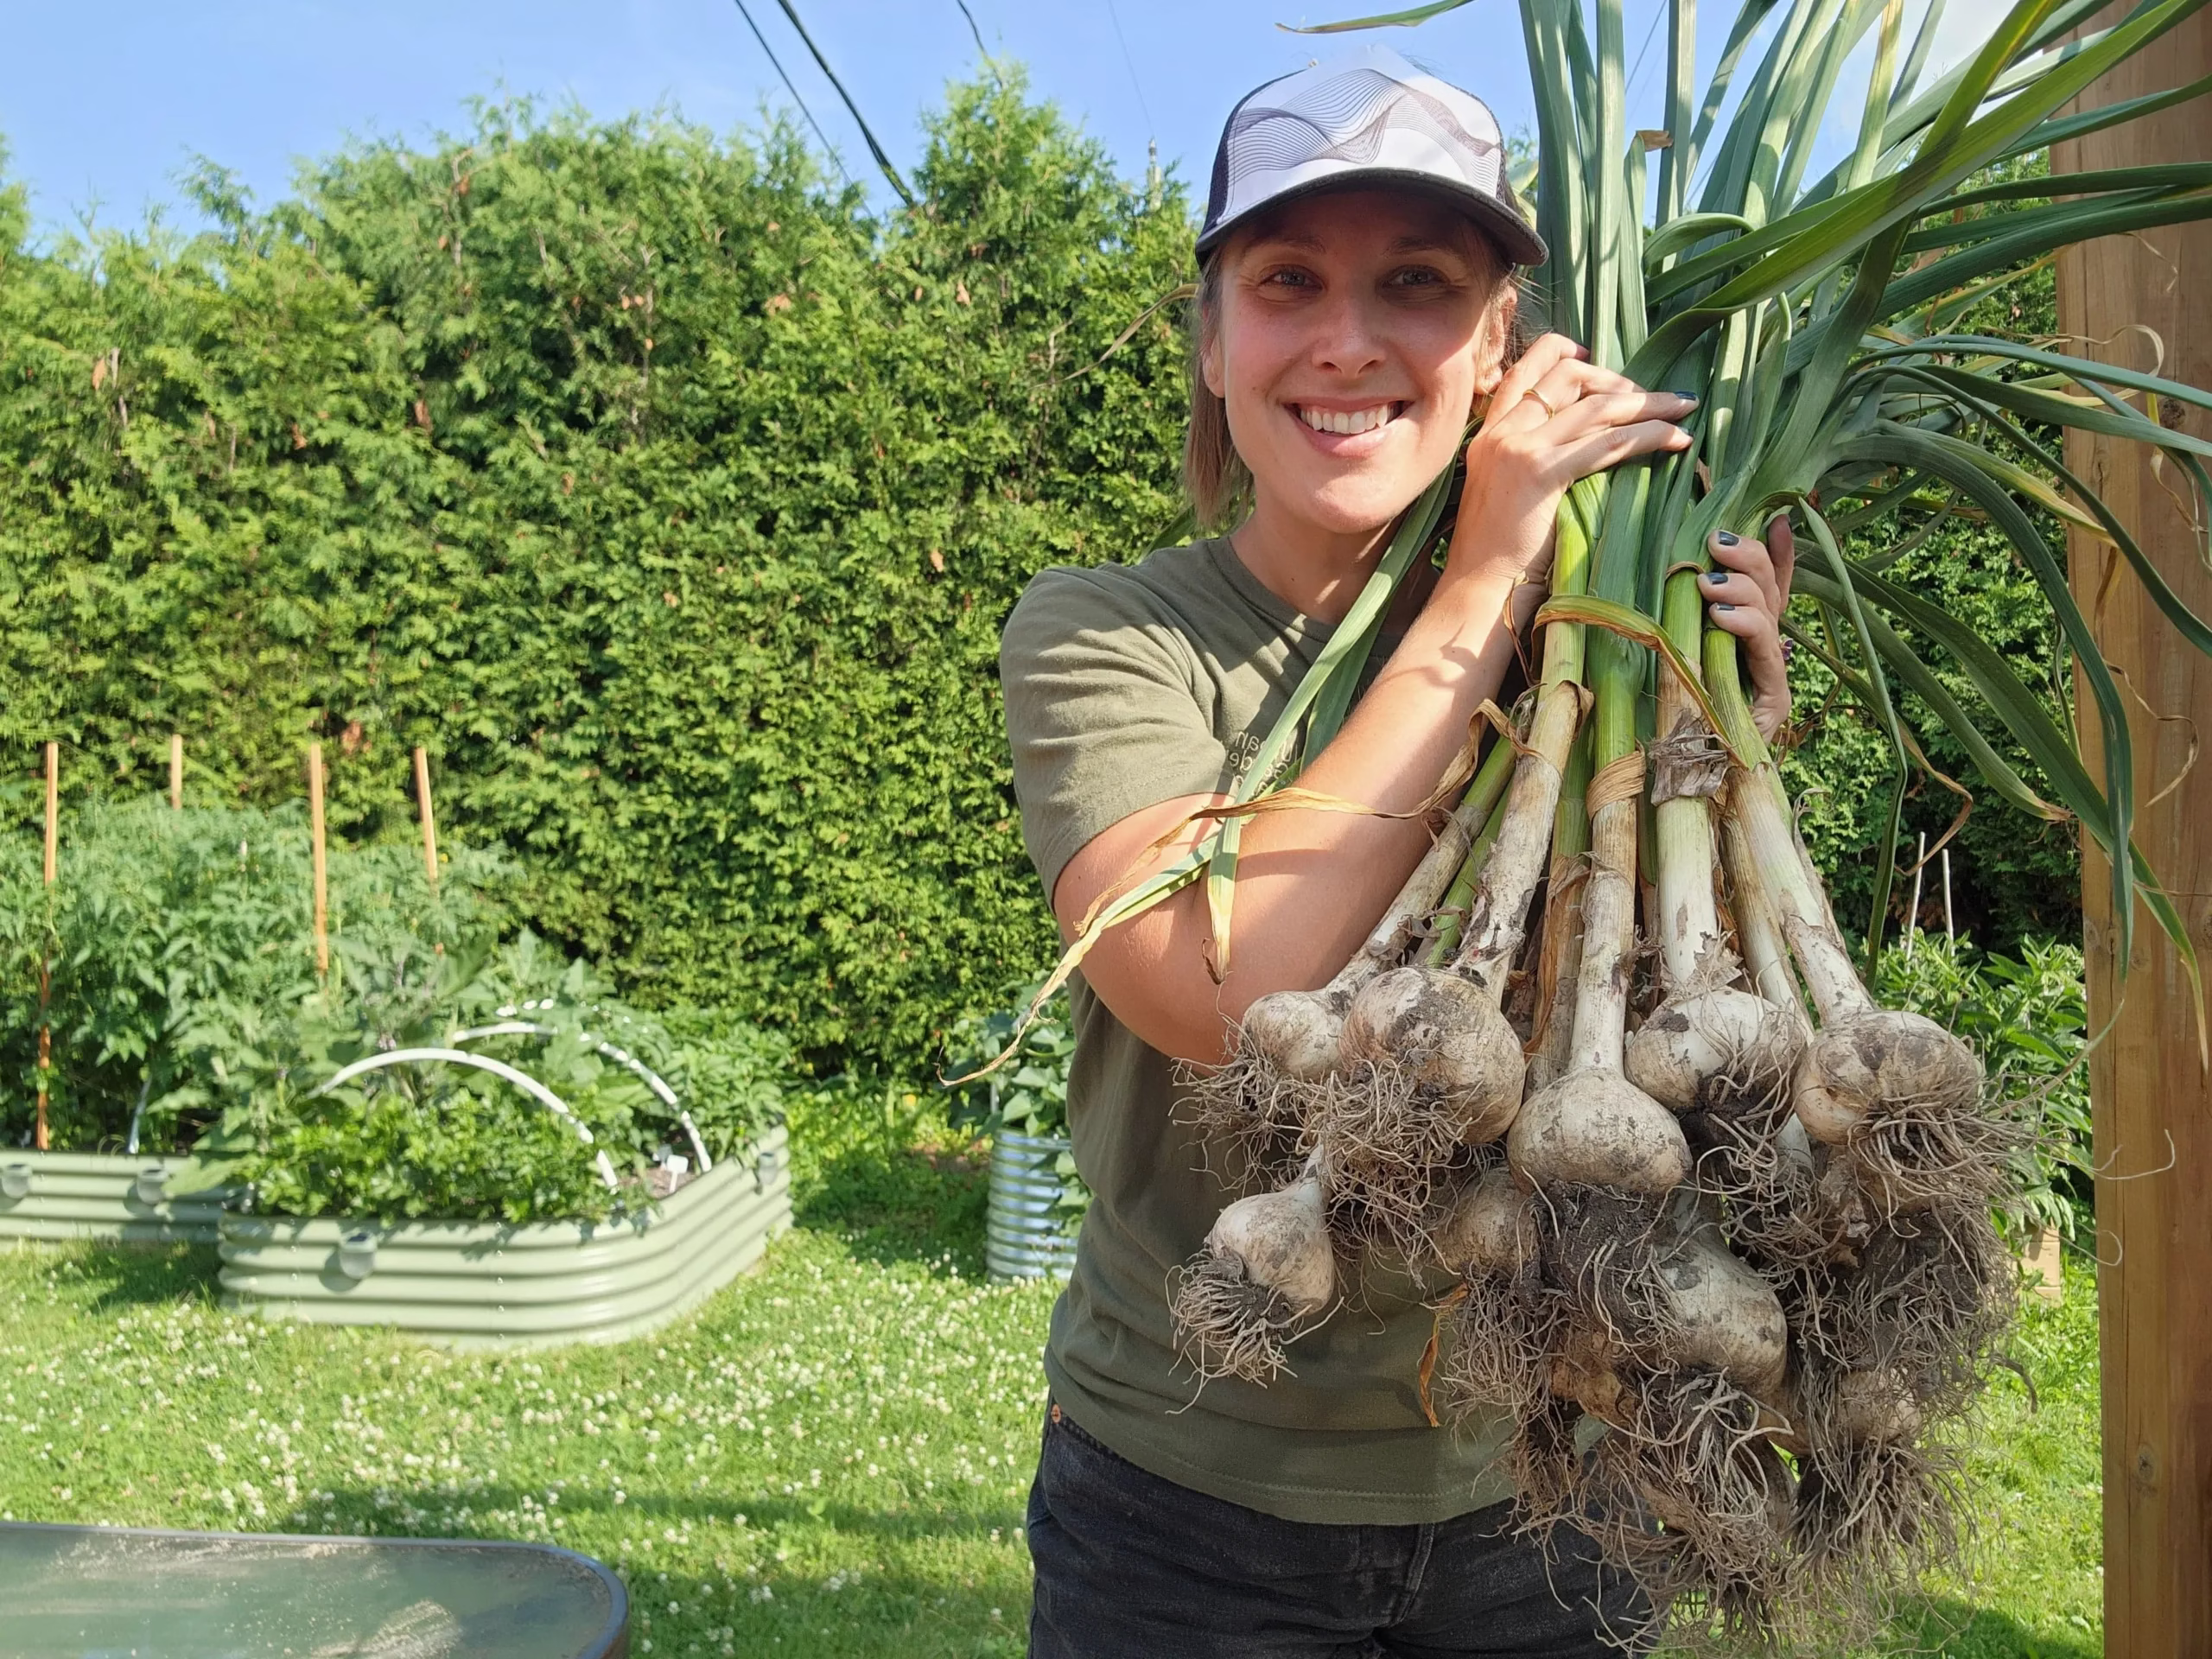
Harvesting Garlic
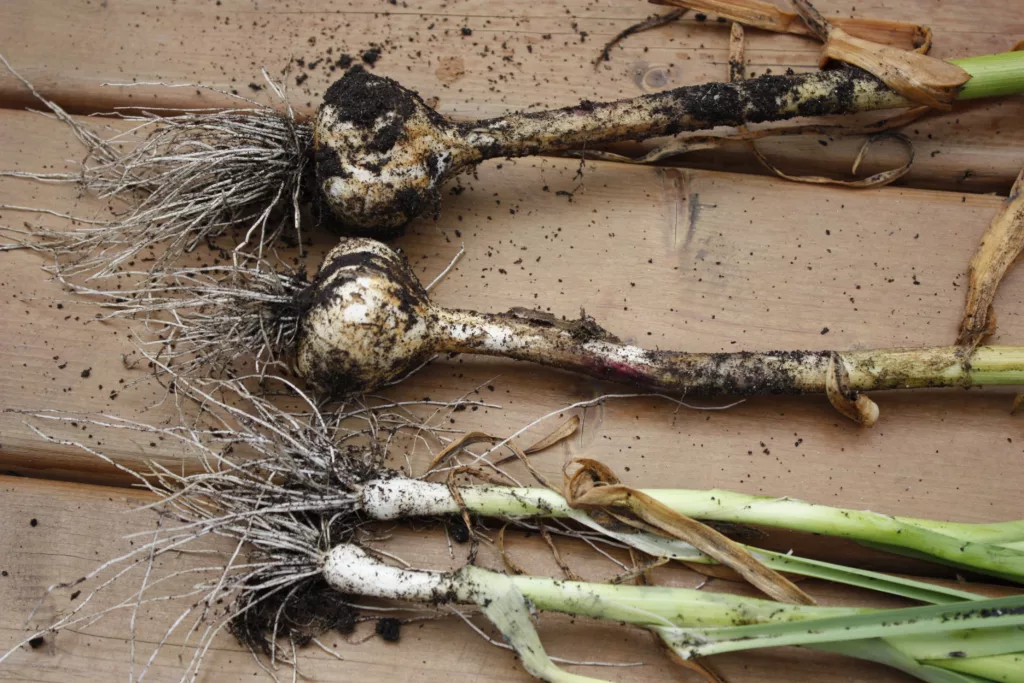
There are three different times you can harvest garlic. The first is if you’re growing green garlic. If you planted your garlic in the spring, or just prefer green garlic you can harvest this in early to mid spring. Green garlic is immature garlic bulbs (usually of the softneck variety) that look similar to leeks or chives (the bottom two plants pictured above). To harvest green garlic, just pull the entire plant out of the garden. The tender white bulb on the bottom and bottom tender greens are what you will cook with.
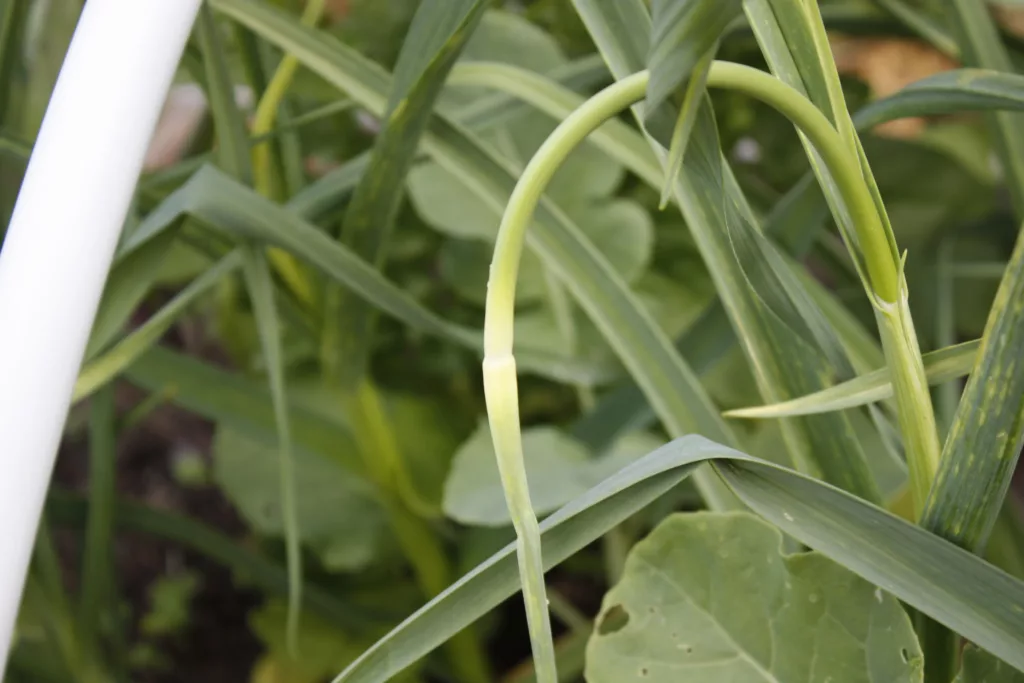
If you’re growing a hardneck variety, the first time you’ll harvest your garlic is as garlic scapes. These usually appear around mid-June in Zones 5 and warmer and are the flower/bulbil stalk of the garlic. You’ll want to cut the scapes off of your garlic to signal to the plant to put its energy into the bulb rather than to the bulbil. To harvest the scapes you can either cut the stem where it meets the leaves, or you can pull it out.
To pull the scape, you want to do this when the soil is dry to avoid accidently pulling the entire bulb out. Hold one hand on the garlic stem, while the other hand pulls on the scape (close to the base). If done carefully, you can actually pull an inch or two of the scape out from the plant where it wasn’t already visible. Just make sure to hold the main stem down so it doesn’t come out of the garden soil. Once you’ve harvested your scapes, they can be cut and sauteed in a pan or even pickled.
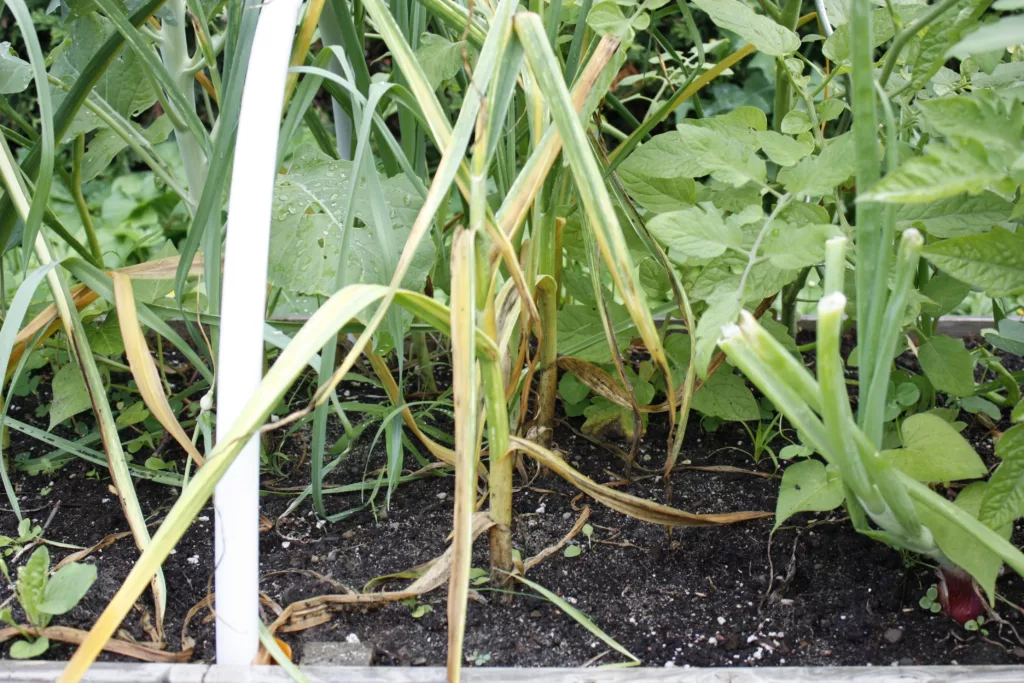
The final way to harvest garlic is by harvesting the mature bulb. Your bulbs will be ready to harvest when the bottom 2-5 leaves have yellowed and died. To harvest, just pull the entire plant up!

Curing and Storing Garlic
If you want to store your garlic over the winter you’ll need to cure it. However, if you intend to eat it all within a few weeks of harvesting you don’t need to do any curing at all.
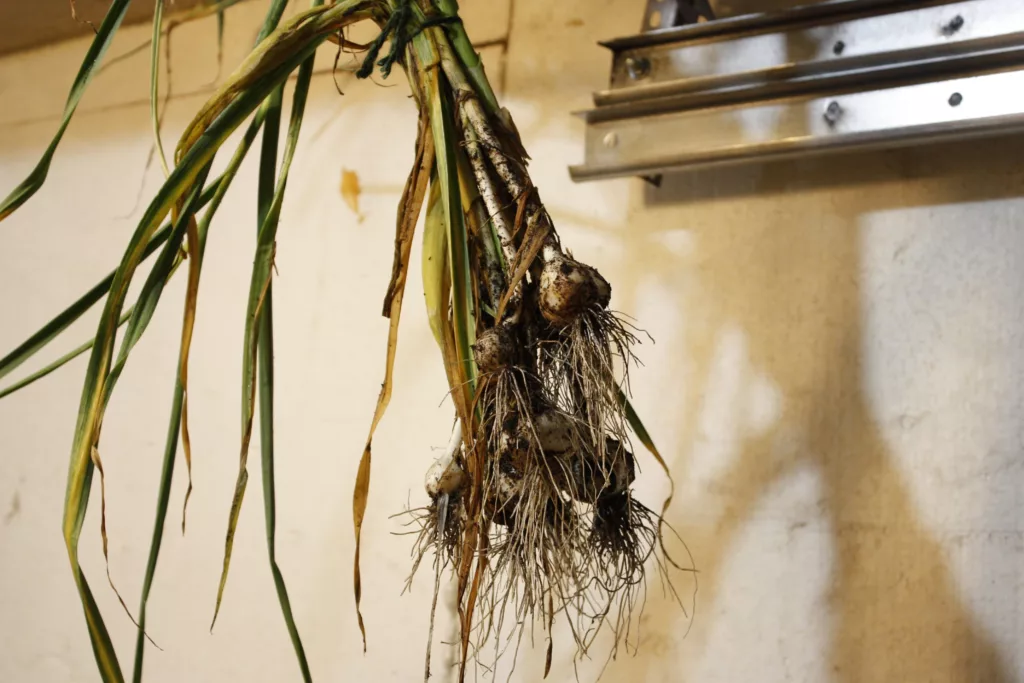
Curing the garlic means you’re allowing it to dry out and for the papery skin on the outside to thicken. If you’re growing soft neck varieties you can braid the leaves and hang it in the kitchen for a nice garden look.
If you’re growing hardneck varieties you’ll want to cure them in a place that is cool and dark, but with airflow, to prevent mould. Do not wash the garlic! Cure it – dirt and all. You can hang your garlic in your basement, in a shed or in the garage, bulb side down. If you have it laying on a shelf, try and use a wire shelf. Don’t stack the bulbs, but rather lay them in a single row. If you have your garlic on a shelf, turn your garlic regularly for the first week, to ensure even drying. If your space doesn’t have good airflow, consider using a fan.
Curing can take anywhere from 3-6 weeks and is complete when the entire stem of the bulb has turned yellow. If there is any moisture in the leaves, that means there is still moisture in the bulb so make sure that it’s dry and brown before separating the bulb from the rest of the plant.
Once the curing process is done cut off the leaves, except for 1 inch from the bulb. Clean the dirt off the bulbs using a potato brush or any other soft bristled brush.
Now you’re ready to store your garlic! Keep your bulbs in a cool, dark place to extend their storage time and avoid damaging the outer skin of the bulb to prolong its lifespan. Your garlic should be able to store for several months.
Ways to Enjoy Garlic
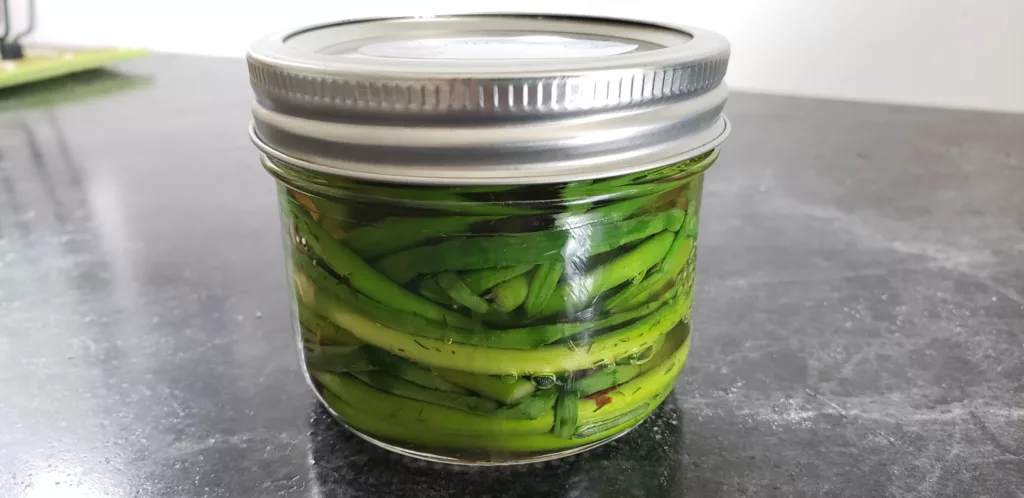
There are so many ways to enjoy garlic! If you’re growing green garlic you can eat it fresh by dicing it up and eating it raw or you could fry it with your favourite vegetables. Garlic scapes can be pickled (like the photo above), can be diced up and fried with your favourite vegetables, or can be turned into a pesto.
If you’re growing full garlic bulbs you can eat it minced and fried, you can dehydrate it into garlic powder, or even pickle it. Garlic is a very versatile crop that works with almost anything!
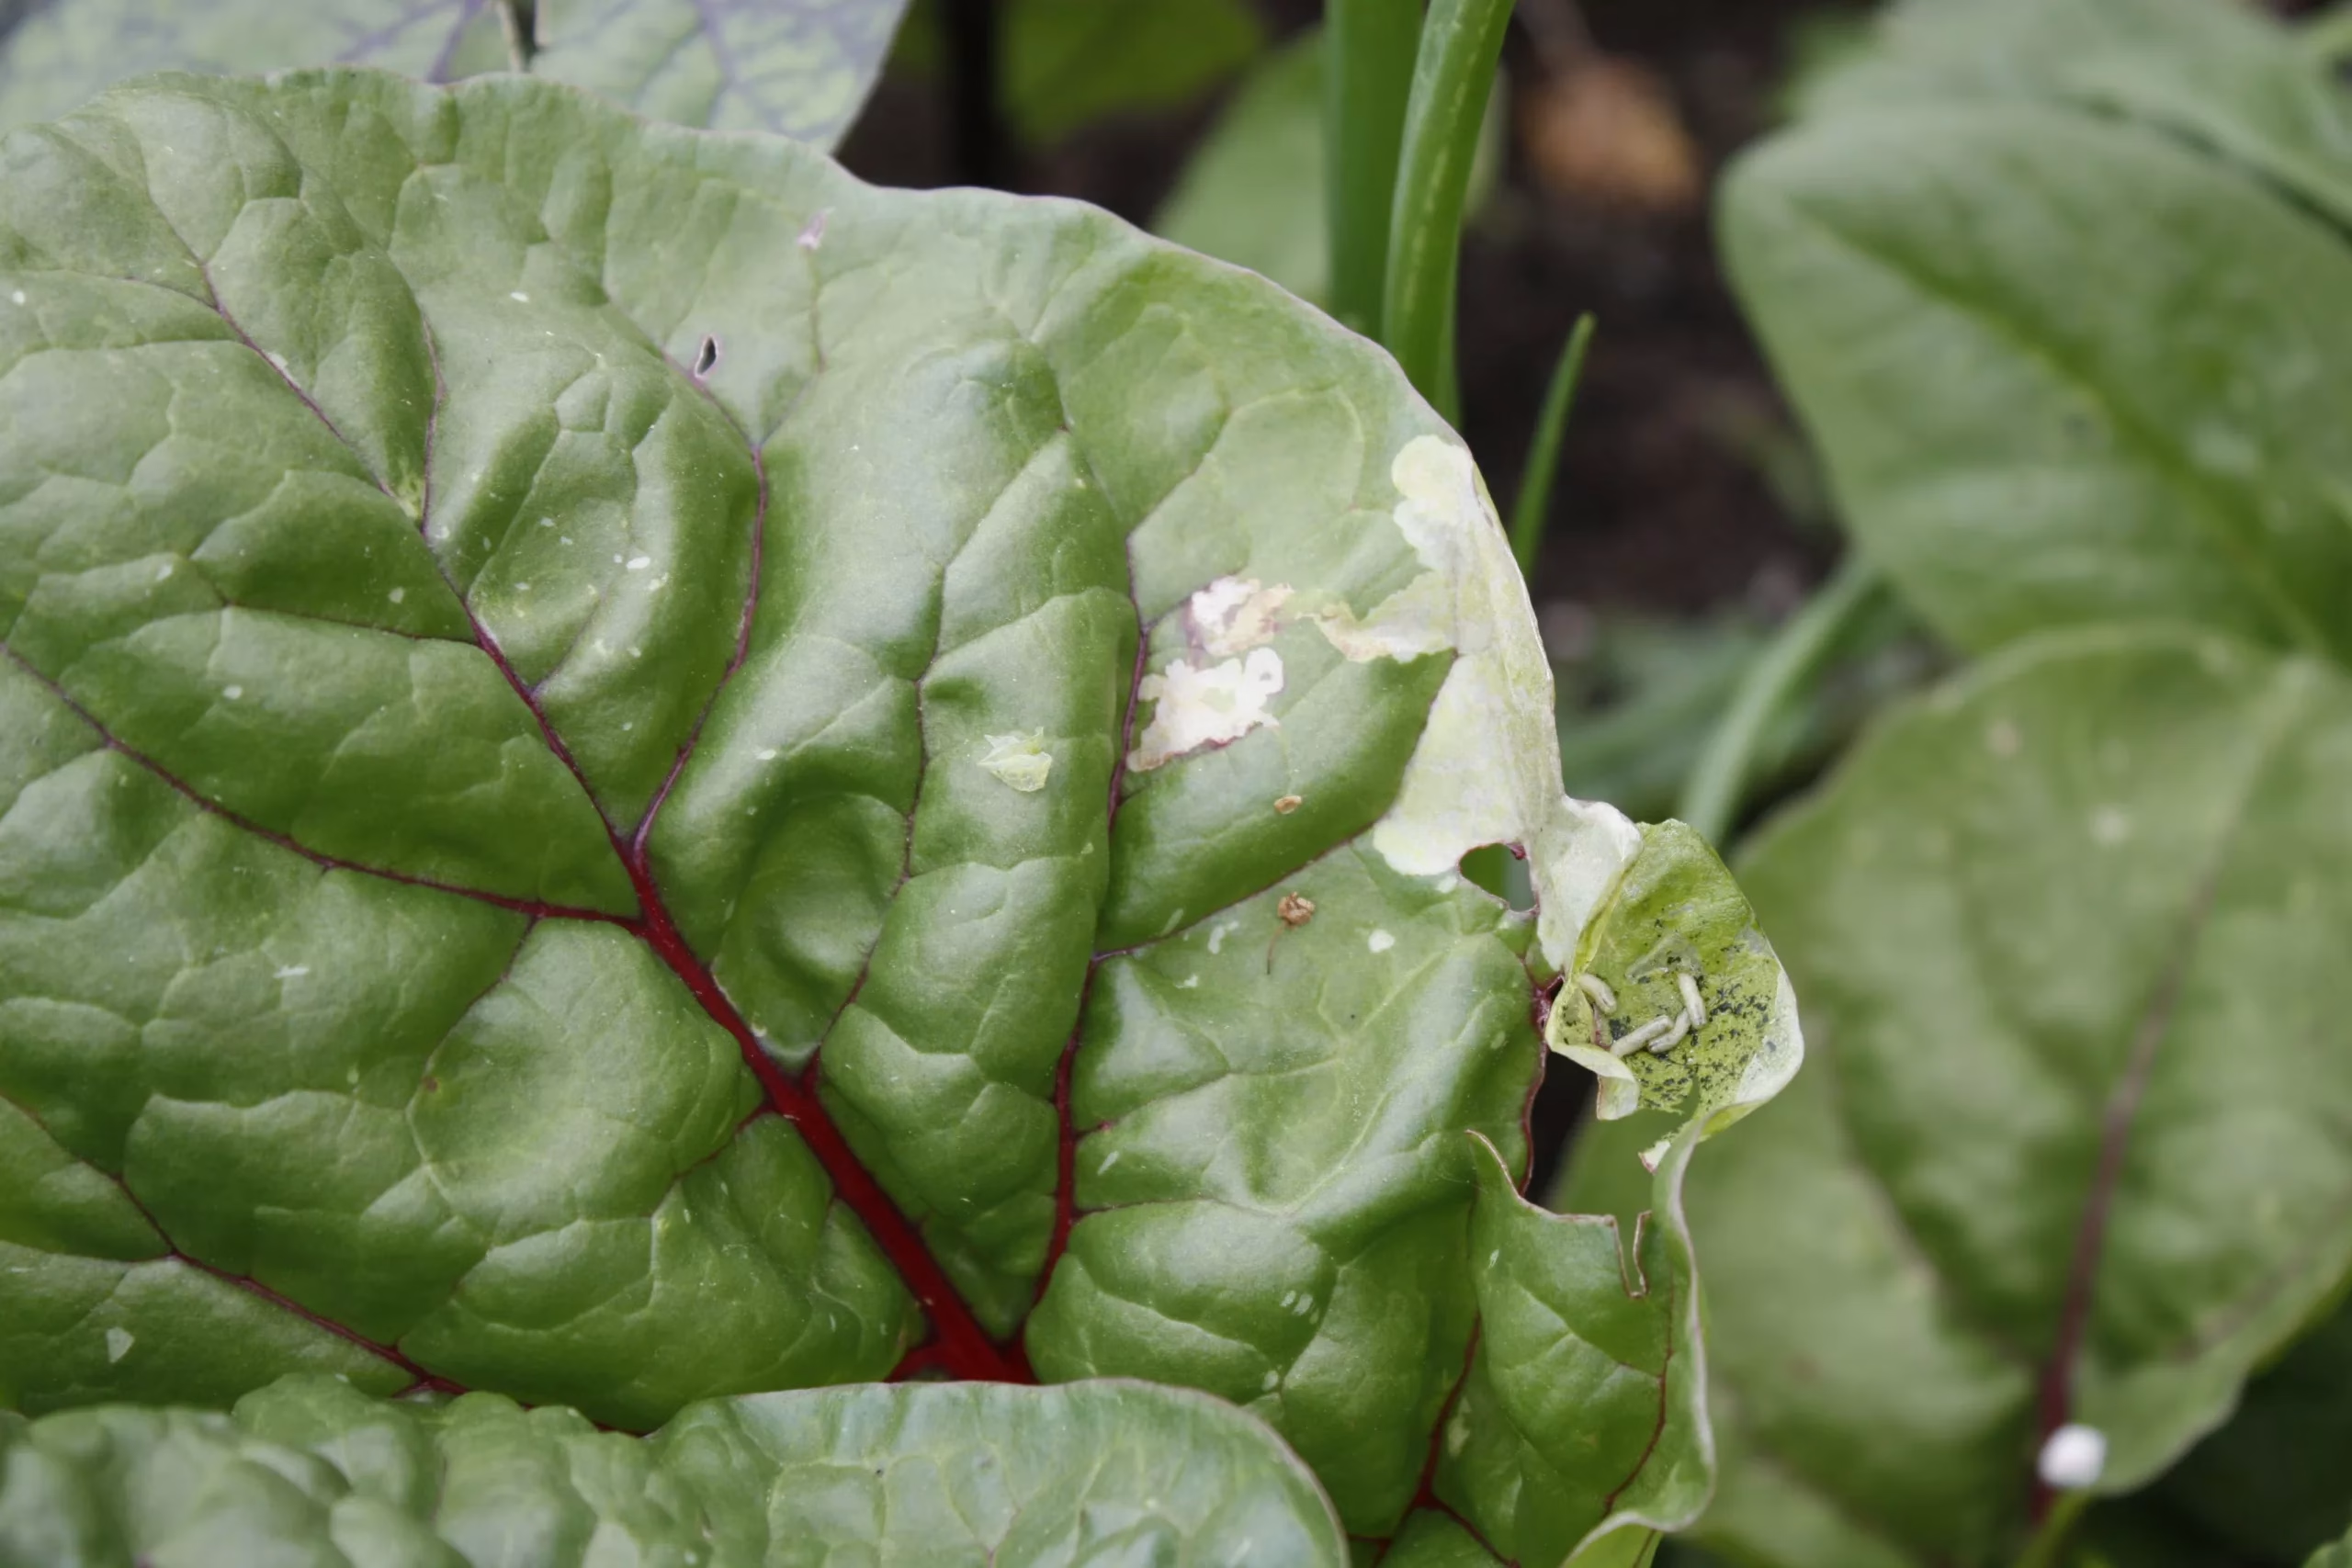
Common Pests & Problems with Garlic
Two common problems with garlic include the leek moth and rust. We haven’t had issues with anything on our garlic apart from these two, however there are many other issues that can occur so we have linked an article below.
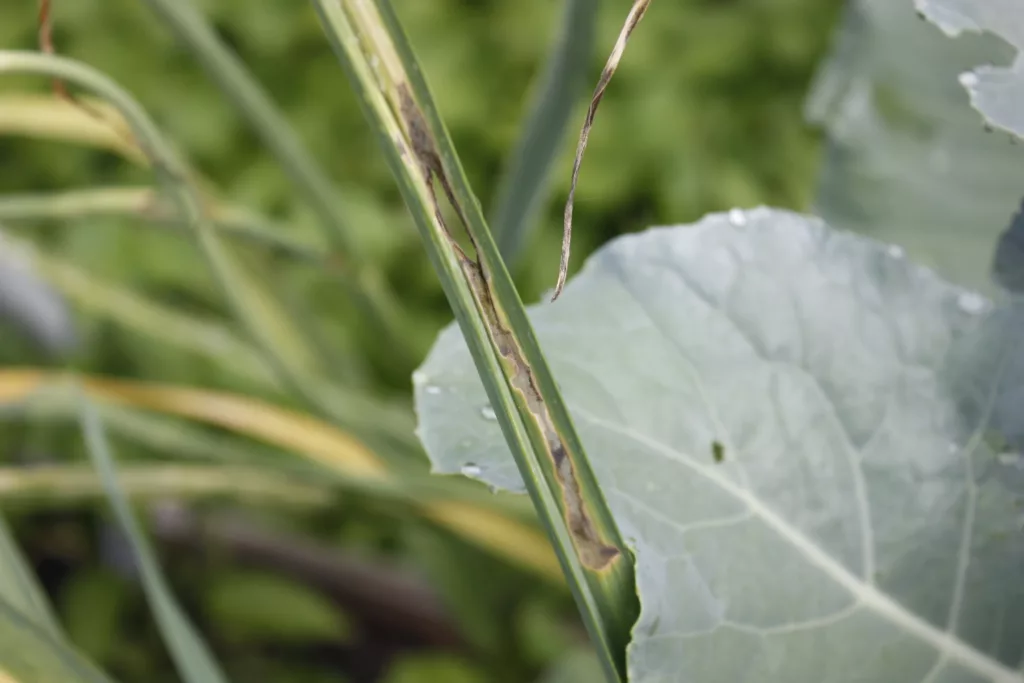
Leek moth can be identified by holes or damage on your garlic leaves. As you peel back the leaf you can find the larvae close to the stem of the plant, which will look like white clumps and small worms. To manage these pests, inspect all of your garlic and wipe off and remove any larvae from the plants. You can protect your garlic by placing them under insect netting, or manage the larvae as you find them.
Rust is damage caused by fungus that causes your leaves to yellow, and eventually have red spots on them. This fungus will make your plants look ugly and a little sick, however it shouldn’t prevent you from getting a garlic harvest.
Since we’ve only experienced a few problems with our garlic, we would like to direct you to check out this article from the University of Maine which gives a complete list of issues you can encounter with garlic!
Saving Garlic Seeds
What’s interesting about garlic is that if you plant a glove, harvest the bulb, then plant a clove from that saved bulb – you’re planting the exact same plant. Because cloves are just a clone of each other, the DNA stays the same. This is important for garlic health. If your garlic was healthy that season, it’s likely to be healthy in future seasons. However, if you had any issues with your garlic plants (other than leek moth), you’re going to get the same issues in future years because of it being a clone. Therefore, only save cloves from healthy garlic plants. To save seeds from garlic, keep the largest cloves from your bulbs to plant in the fall. After the bulbs have been cured, they will easily be able to store for a few months until planting season begins in mid to late fall.
FAQ
What happens if my garlic starts sprouting in the garden during the winter?
Garlic is used to growing in Canadian winters where we often get freeze-thaw cycles. If your garlic starts to sprout, it’s okay. When the next cold hits, the greens will die back and the plant will grow new greens once the weather begins to warm.
Why are my bulbs so small compared to the store?
There are a few reasons why this could be: Often the grocery store doesn’t list the variety so you could be growing a smaller variety than the store sells. Your bulb size could vary based on the depth you planted it. And finally, if you aren’t fertilizing your bulbs it can affect the size of the bulb. If you take your largest cloves and grow them for multiple seasons, there is a chance that your bulbs will continue to grow in size as it gets used to your growing zone, so don’t get discouraged!
When is the latest I can plant my cloves?
Here in Canada, garlic needs to be planted in the fall due to the ground freezing. If you’re looking to grow green garlic you can plant your garlic in the spring, however for full bulbs you’ll need to plant in the fall since garlic has a long growing season. So the latest you can plant your bulbs, for full bulbs, is a few weeks before the ground freezes.
Can I grow garlic in containers?
Yes, you can grow garlic in containers. Just make sure that you plant it at the right depth, and don’t overcrowd the pot. Since garlic is a heavy feeder you need to be on top of fertilizing and watering your bulbs to ensure they grow to the proper size.
Can I plant garlic cloves that are already sprouting?
This depends on how big the sprout is, and the time of year. If you have garlic cloves that have sprouted just an inch or less and it’s during the fall planting season, then you can plant your clove. However if it’s outside of the planting season, then I would not suggest planting the clove.