
Lately it seems like gardening has become an expensive hobby, but it doesn’t have to be. As beautiful as arches and moon gates are, there are affordable ways that you can grow your food vertically. In this article I’m going to show you three different ways you can make a vertical trellis for under $20!
Use What You Have
Gardening doesn’t need to be picture-perfect, it just needs to be useful. The plants don’t care how a trellis looks, as long as they can grow up it. Which is why I always suggest using what you already have. If you are growing sunflowers this year, keep the stalks for next year. Let them dry out and they make the perfect stakes for next years garden! And that costs absolutely nothing. If you have leftover stakes or sticks from a previous project, or you pruned branches off a tree, they also work great! But if you don’t have any of those, the below options are a great choice.
Bamboo Stake Teepee
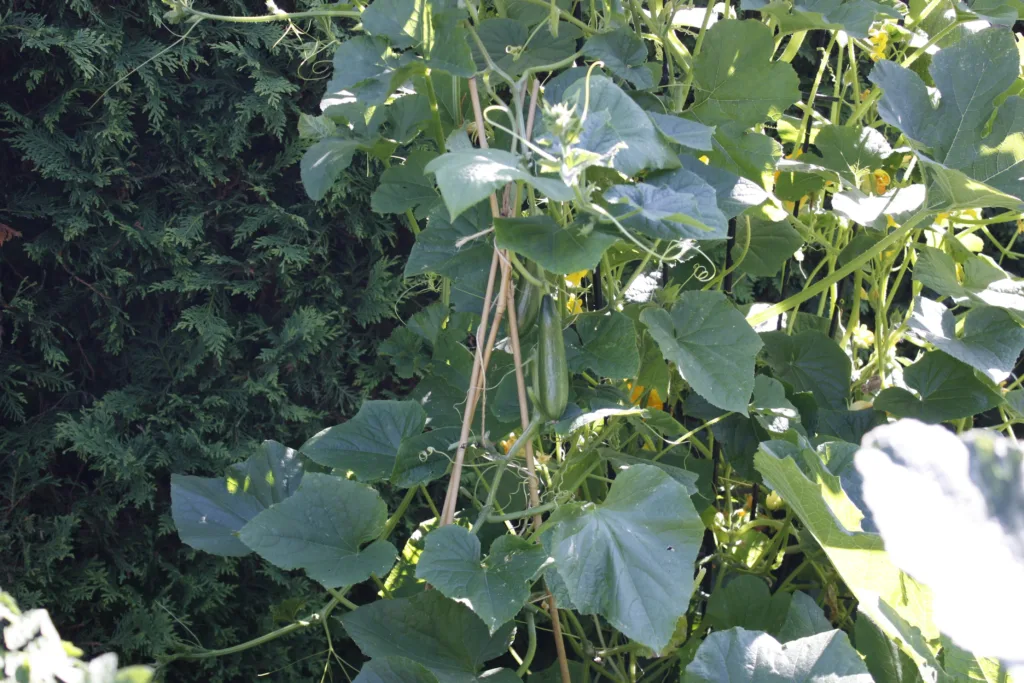
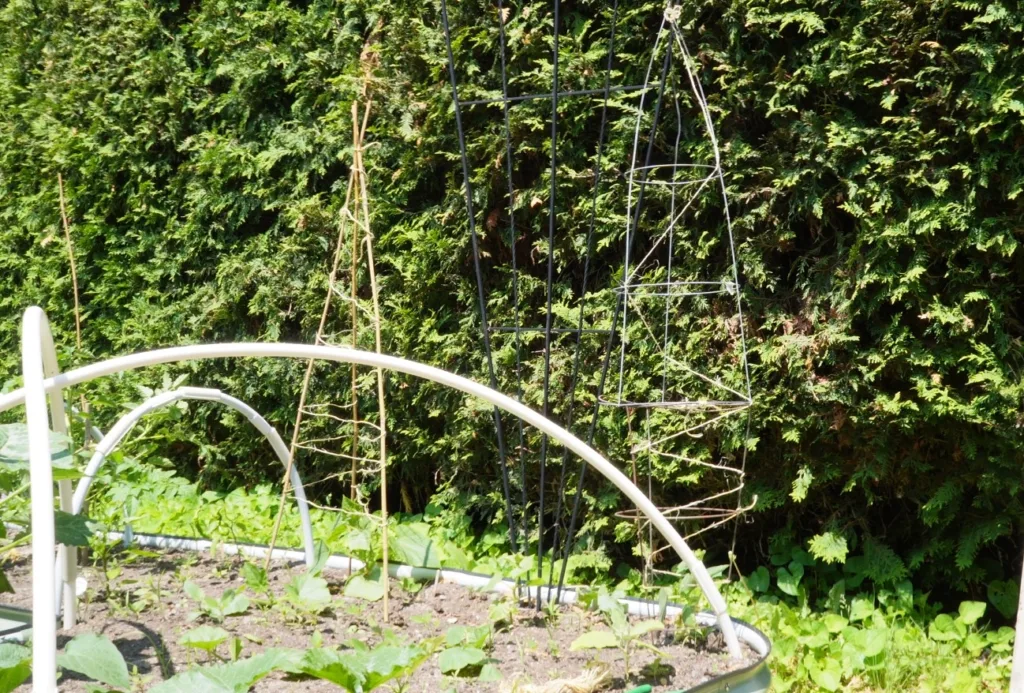
This is one of the easiest ways to build a climbing structure. Similar to an obelisk, but way cheaper and easier to store in the winter. The taller the bamboo stakes, the better, since climbing plants can get quite tall by the end of the summer. All you need is 3-4 6′ tall stakes and some twine. The photo at the beginning of this article shows what it looks like without cucumbers growing on it so you can see what it looks like when you first make it. This is simple to make: stick the stakes into the soil in a pyramid shape, with the top of the stakes touching one another. From here, you take the twine and tie the top of the stakes together and then slowly wrap the twine around the pyramid every few inches so that the cucumbers, or whichever plant you’re growing, has something to hold onto as it grows. As you continue down the stakes, every so often do a full circle around one of the stakes to help hold it in place, and you can even criss-cross through the centre of the pyramid for additional holding spots. Once you reach the bottom, tie the twine into a knot on one of the stakes and cut the twine.
The total cost of this trellis is $12 and you can make two trellises with these supplies, so that’s really $6 a trellis!
Use Two Tomato Cages
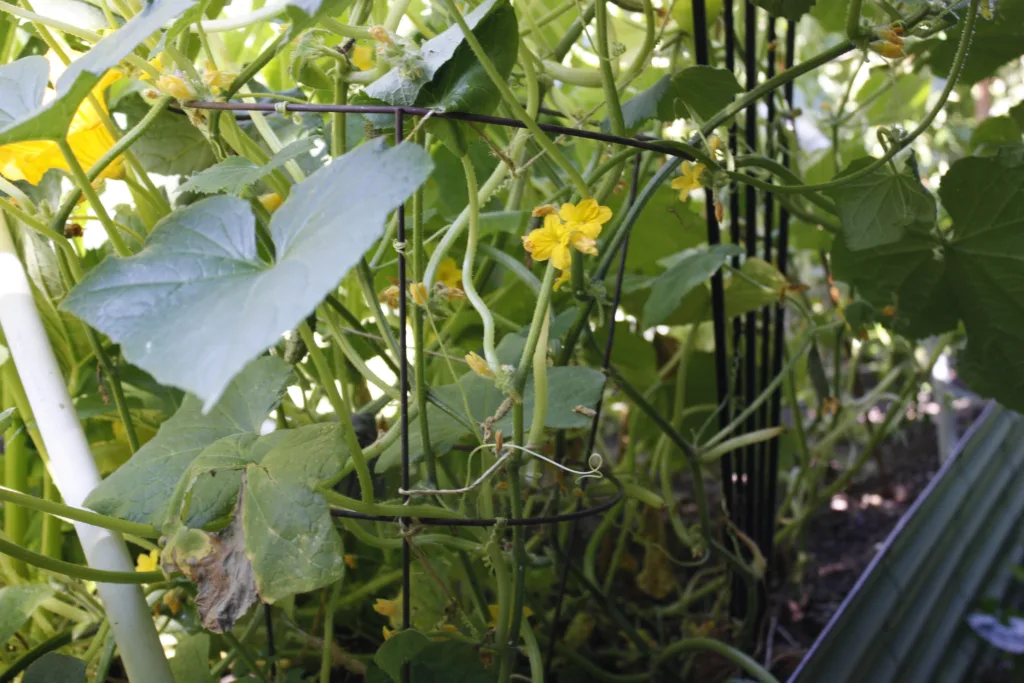
This is one of my favourite ways to use tomato cages, purely because tomato cages are useless for actual tomatoes. I’m not even sure why they’re called tomato cages since tomatoes outgrow them so fast. For this one, you’re going to need 2 tomato cages. The first one will go in the garden like you would normally use them, with the plant in the centre. However, the second tomato cage you’re going to flip upside down and place it on the top of the first. Then you’re going to take twine and you’re going to tie the two together. It’s possible to do this alone, but it is easier with two people. You can see this trellis in the very first picture above without any plants on it (on the right side of the garden). Then you’re going to do the exact same step as above, where you’re going to take the twine and tie the legs of the top tomato cage together and slowly wrap the twine around the tomato cages, around the outside and crossed through the cage until you reach the bottom.
This will cost you a total of $5 (if you have the twine), or $10 with 300′ of twine to use for later!
Fabric Netting on 2 Posts

It’s hard to see in the photo above because my hoop houses are in the way, but there is trellis netting here with bamboo stakes holding up the netting behind the hoops. You can use stakes, or you can even buy 2’x2′ treated lumber and screw it to the outside of your garden if you use a wood raised bed. All you do is staple the netting to the posts or stakes, or use small pieces of twine to tie them on the stakes and that’s it!
The netting is the most expensive of all of the options, but it also will give you the most amount of climbing space of the options. This will cost you $20 to set up, but you can make a large vertical space with it!