
If you’ve never tried oyster mushrooms before than this article is for you. I am telling you, these are the best mushrooms out there. They feel like a delicacy that you can only find at a fancy restaurant, meanwhile you can grow them at home in a $4 bucket. Stripped, fried, and salted, these are the greatest food around. If you don’t believe me, try them for yourself!
Oyster mushrooms are delicious, easy to grow and grow quickly (in under 3 weeks!). A few years ago oyster mushrooms were really difficult to get, but have made a big splash in the food scene. Every month it seems like more mushroom vendors are appearing at the Farmers Markets here in Ottawa, and for good reason. These mushrooms are GOOD. The only problem? They’re expensive! 1lb of oyster mushrooms can run you $20, and as is typical of mushrooms, once they’re cooked they don’t turn into much. So what’s the best way to enjoy mushrooms and save money? Grow your own!
In this tutorial we’re going to be growing Elm Oyster mushrooms from Grow Mushrooms Canada. We were gifted two bags of spawn to test which we’re super excited about since we love to eat mushrooms. If, by the end of this tutorial, you want to grow your own mushrooms – you can save 5% on kits (on top of any other promotion) by using the code Urbangardening.
Once you receive your mushrooms, store the spawn in the fridge until you are able to plant them. Make sure to plant them shortly after you receive them because the mushrooms will start to grow in the bags otherwise.

Growing mushrooms in buckets requires more tools and steps than growing outdoor Wine Cap mushrooms, however it’s still an easy project. To plant oyster mushrooms in buckets you need:
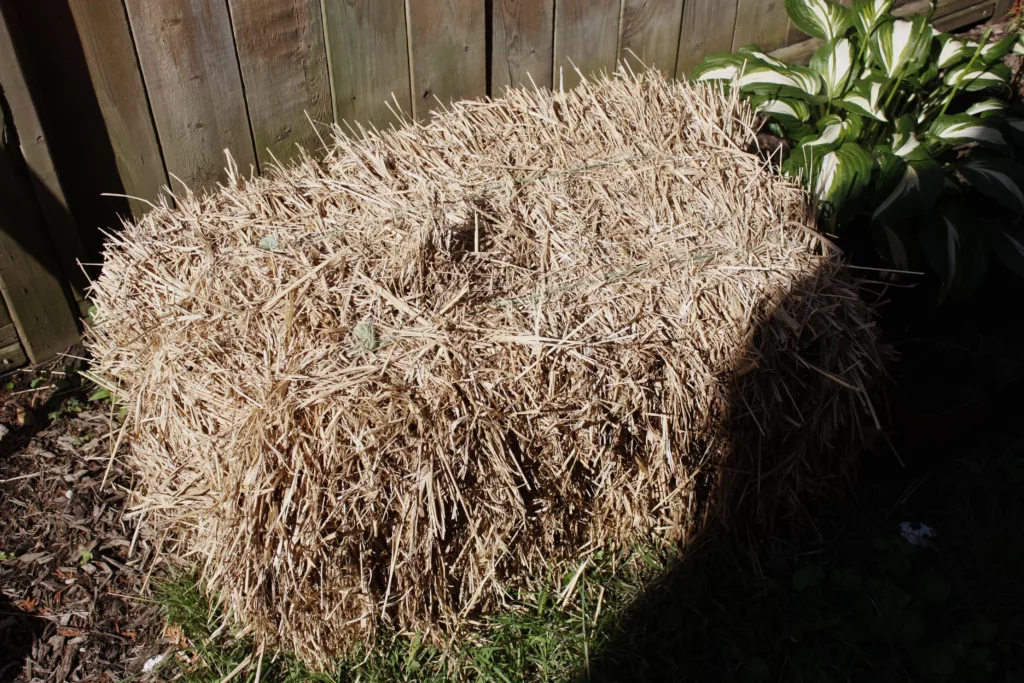
If you’ve ever grown other mushrooms (such as wine caps) that use substrates such as woodchips, you’ll see that oyster mushrooms need a mulch that breaks down faster. Using straw is the best option, or if you have access to switchgrass like I did, that is another great option. If your only option is hay, you technically can use this since the mushrooms will grow faster than the hay seeds will grow – however it is your last option.
Buying straw bales from a farmer will be a way better price than from a store, however if you only have access to box stores, you can buy straw pre-packaged. It is more expensive, but the good news is that there is a lot of straw included, so you can use it for mushrooms and mulch in your garden.
It’s important to note that you have to sterilize your substrate – which means that this is a two day project. Make sure you have time to do all of the steps. Sterilizing your straw can feel intimidating but it’s actually really easy!
In order to ensure healthy mushrooms, you need to sterilize your substrate. This kills any insects, seeds or potential pathogens that could cause issues with growing your mushrooms.
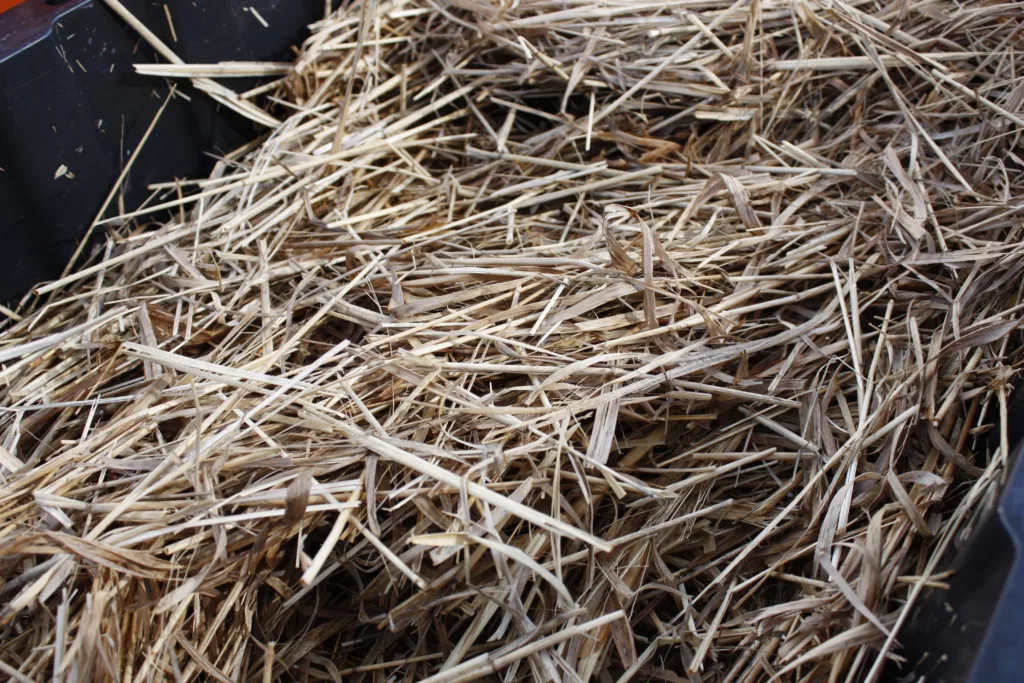
To do this, put your straw in a bin and pour near-boiling water over it until its submerged. We used our water totes from camping in order to transfer the water easily. And in our house, our hot water tank puts out water from the taps that is pretty close to boiling so we were able to just use tap water. If your tap puts out a normal temperature of hot water, you can mix the hot water from the tap with some boiled water to bring the temperature up.
The straw won’t completely sink under the water so try and submerge it as best as possible so the majority of it is under water. Leave the straw to soak for 60-90 minutes before draining. Once drained, bring it under cover to prevent anything from landing in the straw (such as a garage, shed or basement). Allow the straw to cool overnight, because if the straw is too hot it will kill the spawn.
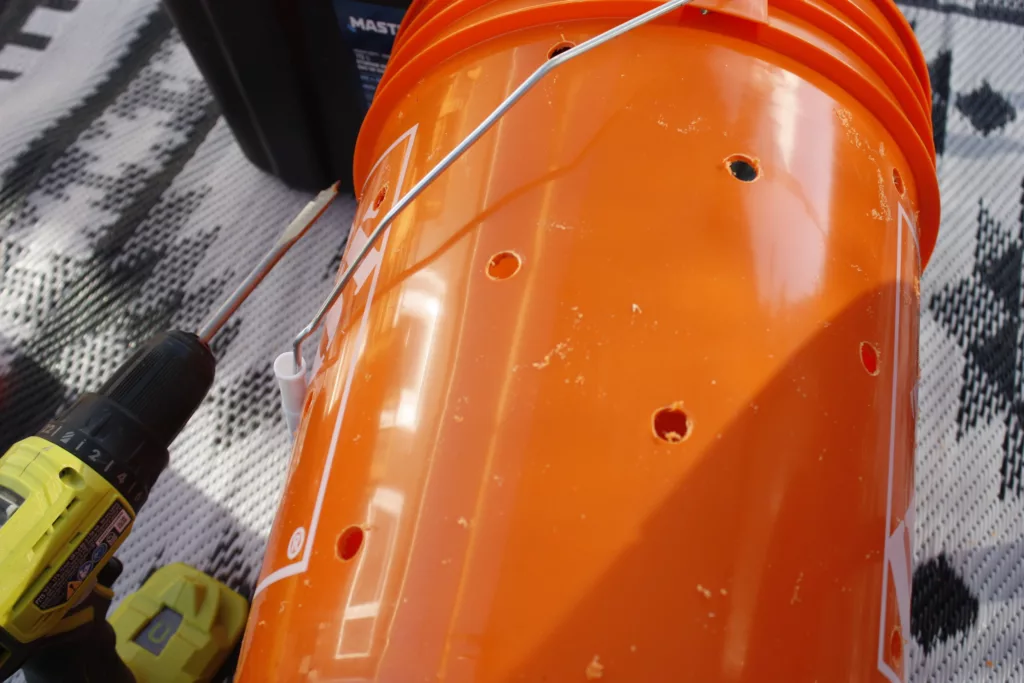
While you’re waiting for your substrate to soak, drill holes in the bucket. You want to drill holes every 3-4 inches, making sure there is space for the mushrooms to grow. One mistake that we made was drilling a hole where the handle rests (see below) so we recommend you avoid that area!
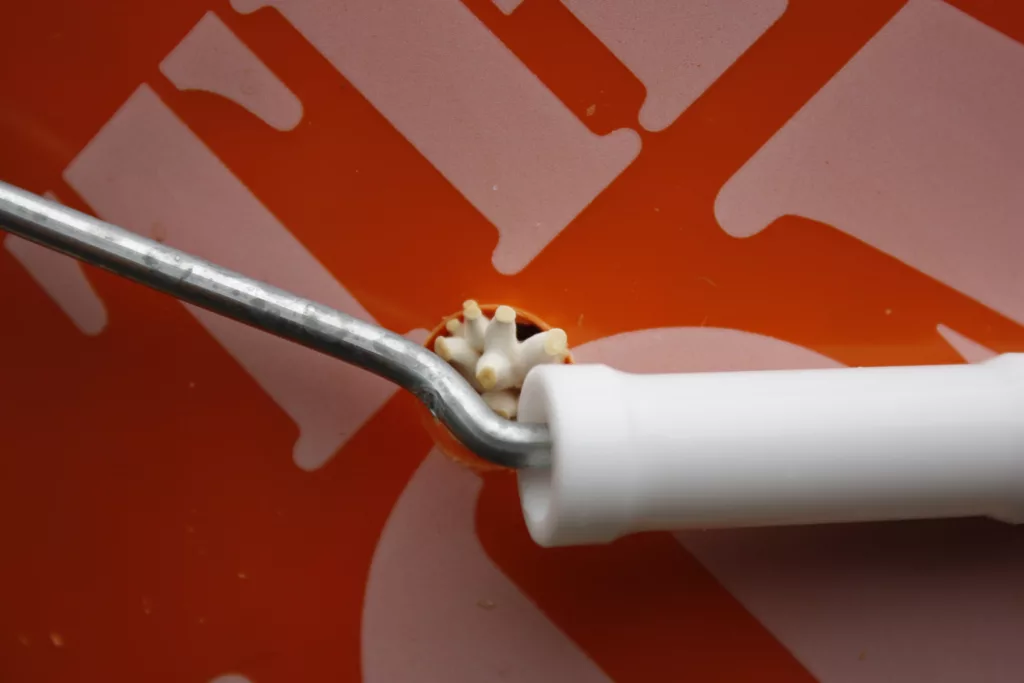
Think about where the handle sits and drill a hole above it, but not directly below it so that the mushrooms and handle don’t get in the way of one another. Continue to drill holes all the way around the bucket.
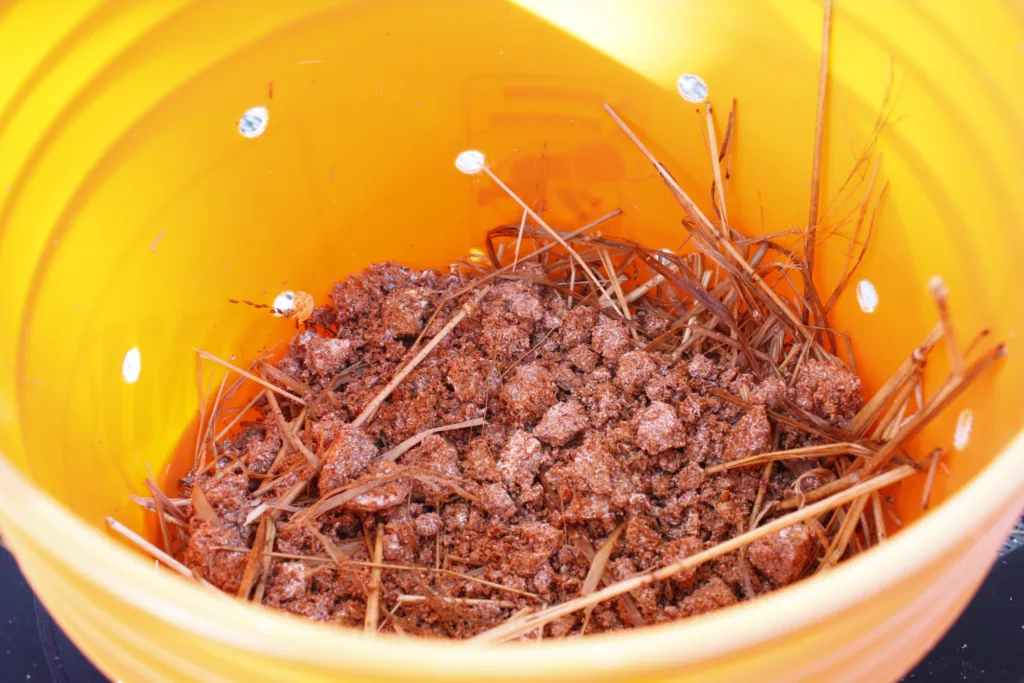
One bag of spawn can be placed in either one or two buckets. The more spawn you put in the bucket, the faster the mushrooms will grow. I chose to split my two bags into three buckets, so that was about 2/3 of a bag per bucket. The first step is to put a good layer of substrate on the bottom of the bucket, around 10cm in height. You want the straw to be moist, but not dripping wet so make sure that you don’t include too much water in the bucket.
Next, you are going to crumble an even layer of spawn across the layer of straw. Repeat this method until the bucket is full. You want the last layer to be your straw so plan accordingly for this. Once your bucket is full, put the lid on it and move it to a cool, dark place such as a basement or garage.
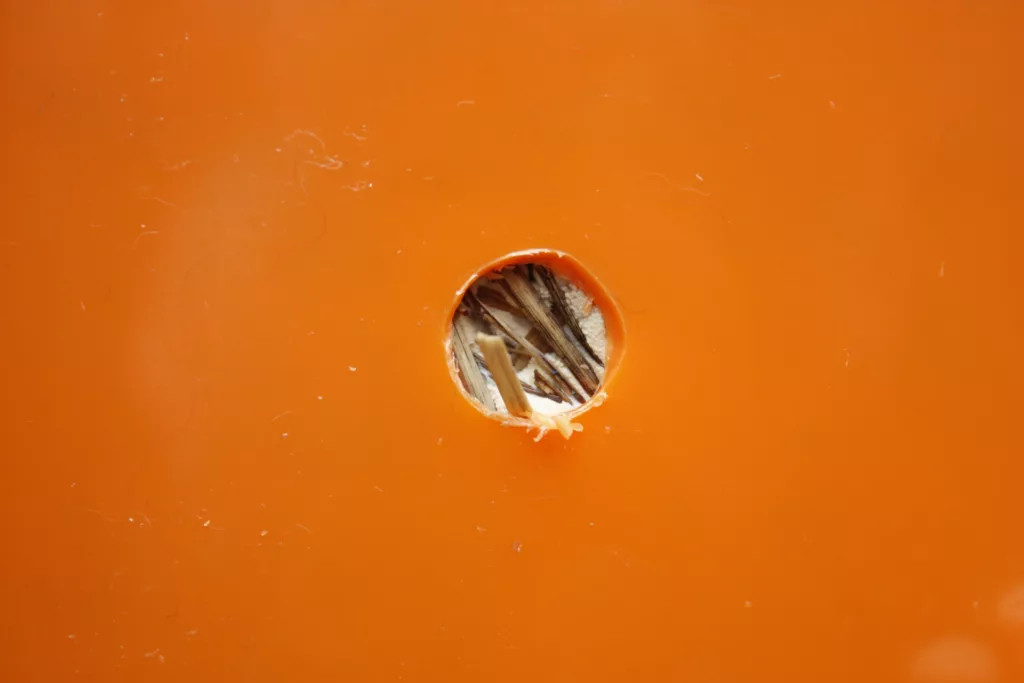
It will take anywhere from 10-14 days for noticeable growth in your bucket. After a week you can pop the lid open and look under the straw to see if there is any growth. If you see white clumps of growth, this is a good sign that your spawn is growing.
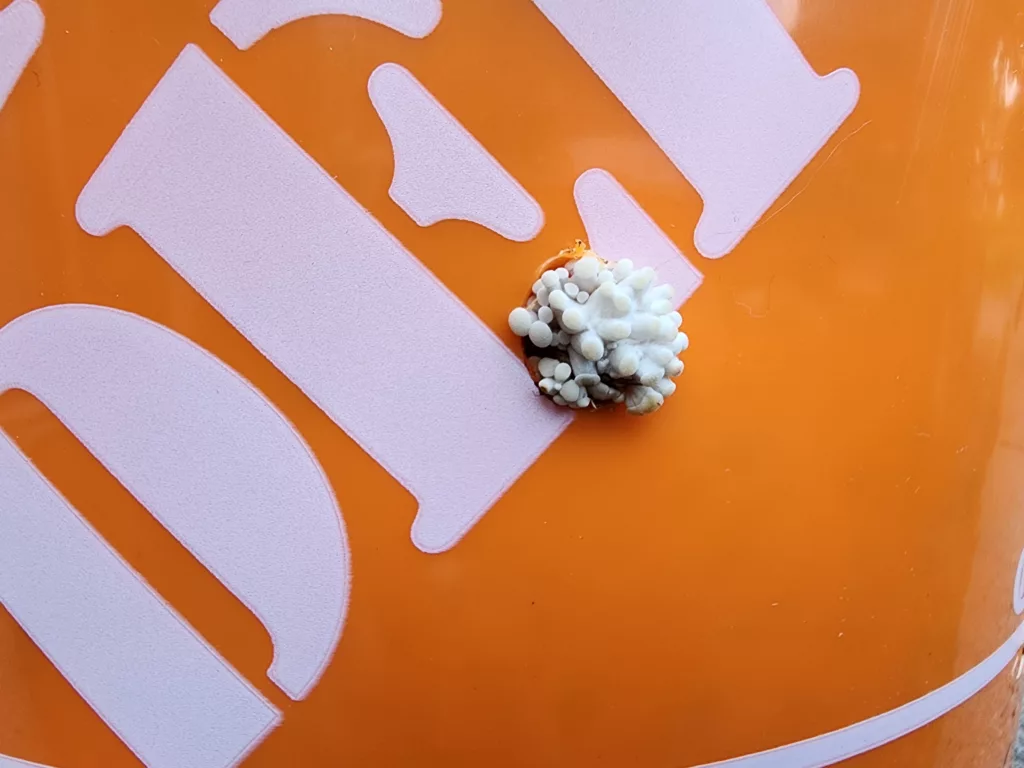
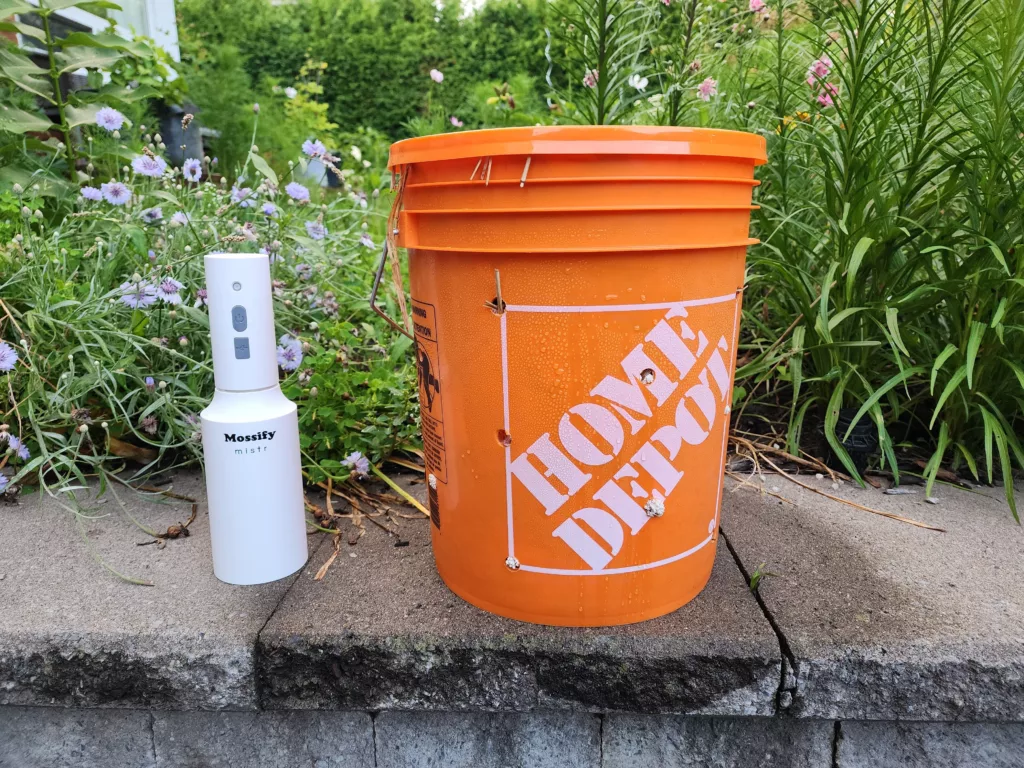
When you start to see bumps coming out the bucket, these are called pins. At this point you will want to start misting your bucket to make sure that the pins don’t dry out. I’m using the Mossify Mistr which is amazing to use since it’s automatic – it saves me from squeezing a misting bottle over and over. From this point on, your mushrooms are going to grow FAST!
If you look at the pins in the photo above and compare it to the photo below (look at the E in Depot) – this is growth over just two days! At this point you can continue to grow your mushrooms indoors, or you can now move them outside to a cool, damp place. We personally prefer to continue growing them in our garage to avoid any contamination from mould or bugs.
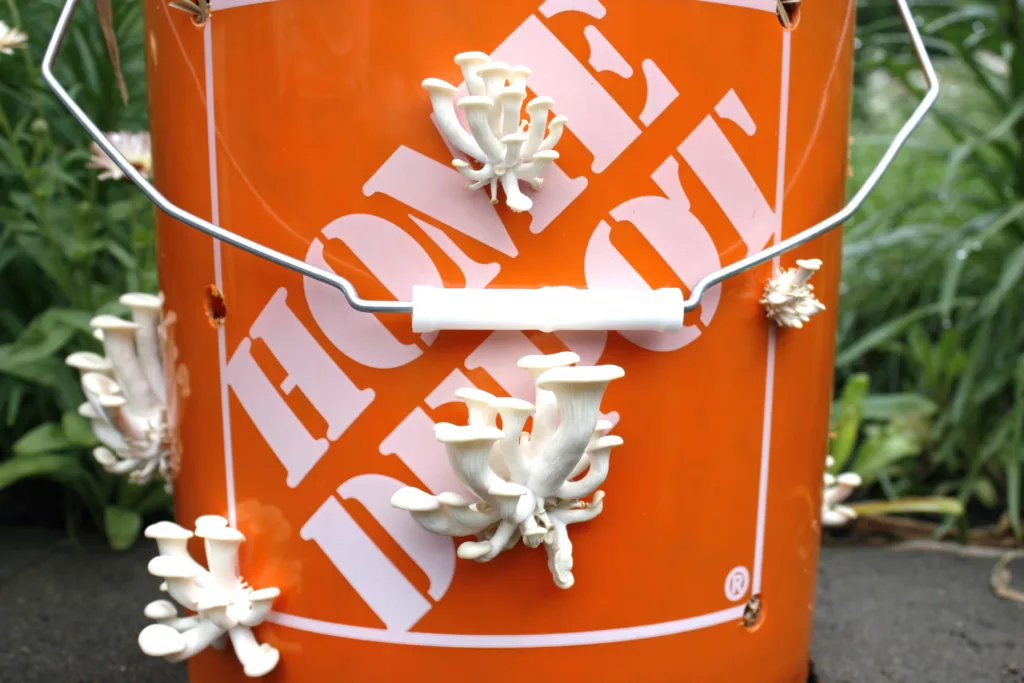
The mushrooms are ready to be harvested when the caps begin to flatten out (as they turn upward, like a broken umbrella). When the caps still have a curve downward they are immature. Mushrooms grow incredibly fast, so you want to check on them a couple times a day to make sure you harvest them at the right time.
When the caps flip upward it means that they are going to release their spores. If you are growing your mushrooms indoors, be careful as this can irritate your lungs.
Oyster mushrooms are so delicious! Pulling the mushrooms apart into strings and frying it in salt and oil until crispy is the perfect way to eat them. But, if you want to try it other ways, you can make a “pulled pork” with them by marinating them in sauce then cooking them, or you can even dehydrate them into a mushroom jerky.

There is always a potential for things to go wrong when you’re growing plants. This is why it’s important to properly sterilize your substrate. If you don’t sterilize it properly you can have insect infestations or mould take over your bucket, rather than your spawn. We’re growing elm oyster mushrooms which are really great for beginners, and we’re choosing to grow them in the garage in order to limit the mushrooms exposure to outside issues.
If you get an infestation, your bucket smells weird or your bucket is showing signs of mould or growth from mushrooms that are NOT what you planted, dispose of the entire contents of the bucket, sterilize it and try again. When in doubt, throw it out!