
Peas are one of the best vegetables to add to your garden! They are fun to snack on and love the cool weather. They can be planted early, kicking off the garden season and giving you fresh snacks quickly! I have memories of going into my grandmothers garden and enjoying fresh peas. They were one of the best parts of her garden and I have carried that feeling on into my own garden. By the end of this article, you too, will be growing peas and making memories!
Varieties
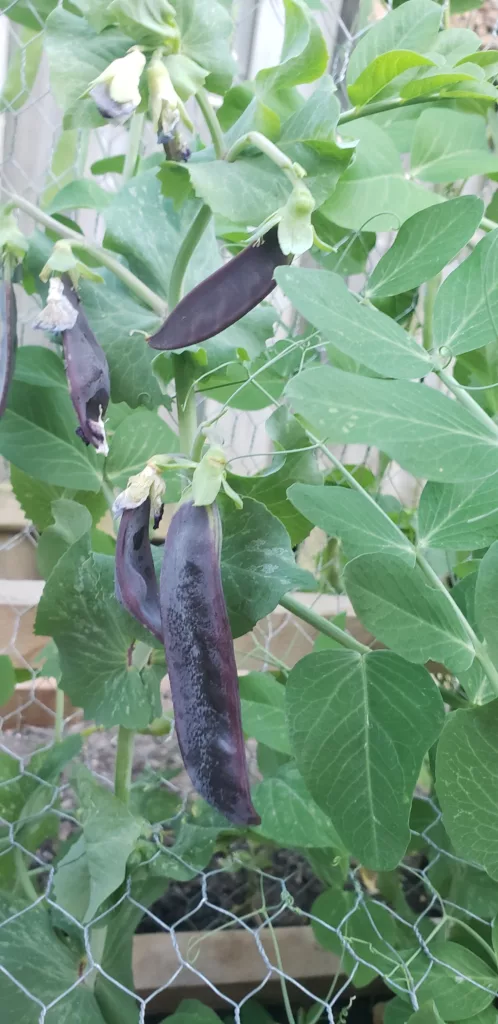
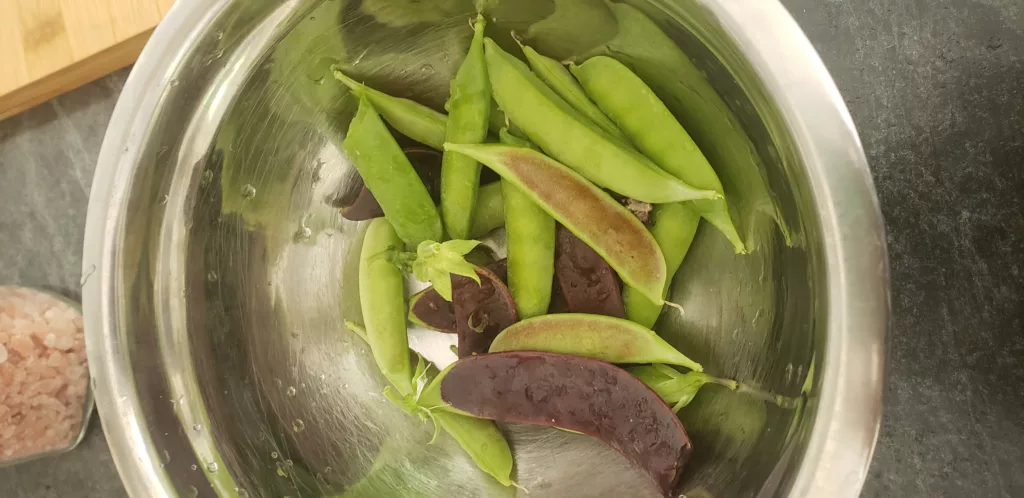
There are many varieties of peas available on the market, from snap to sugar to snow peas. They even come in different colours with the flowers ranging from white to purple and the pea pods growing deep purple, blush pink on green or fully green. There are also dwarf varieties that don’t require much support so they are perfect for container or balcony gardens.
Sun & Soil Requirements
Peas don’t have a preference for soil types other than they want well draining soil. They want to be planted in an area of full sun with 6-8 hours of sunlight, however they are a cool season crop so make sure to plant them in an area that receives this length of sun in spring and fall. If you’re growing them into the warmer months, plant them in an area that gets morning sun when the weather is cooler.
How to Plant Pea Seeds
Peas do best when sown directly outside. You can start them inside but it isn’t necessary and takes up space in your grow room. You can plant peas directly outside as soon as the soil is workable. Even if you get a freeze or two after planting your peas, they will still come up when the weather warms!
Some people choose to soak their peas in water overnight before planting to help with germination, however this step isn’t required. You can try it both ways and determine if one way works best for you.
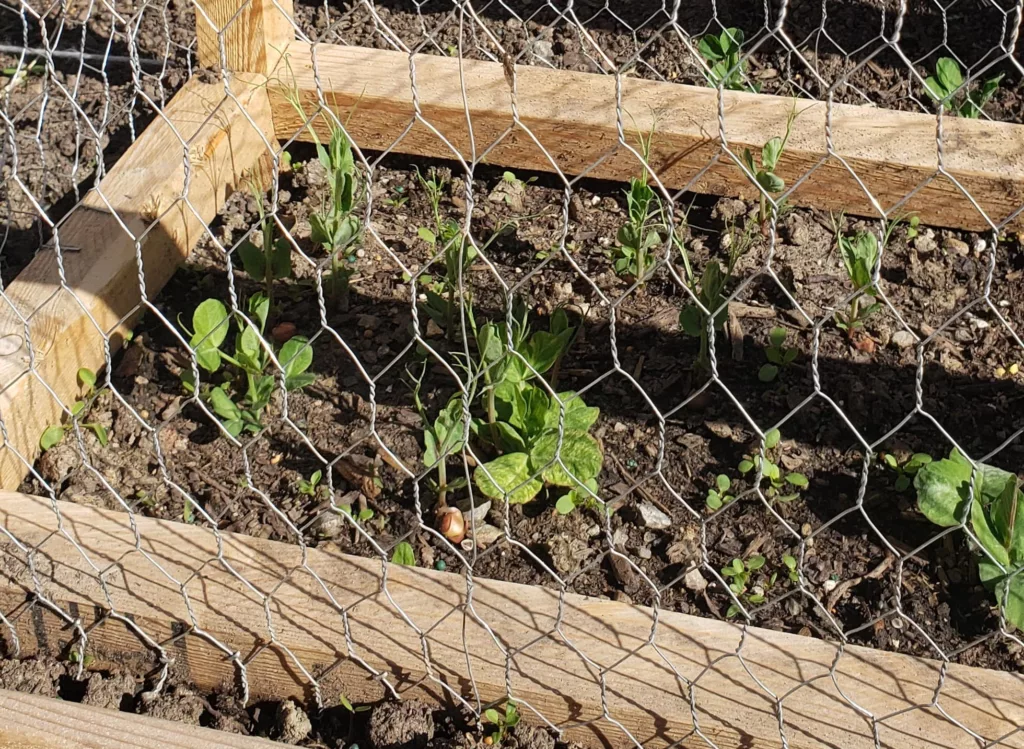
When planting outside, leave 2-3″ between each pea seed. If you love peas you’ll want to plant over a dozen plants to get a good harvest, and even more if you absolutely love them. Planting seeds is super simple, with your finger, push them into the soil around 1.5″ deep then cover them in soil. Give them a good watering and they should sprout within 1-2 weeks, depending on the weather. Don’t let the soil dry out, but also don’t water it if it rains or snows because you don’t want your peas to rot in the soil.
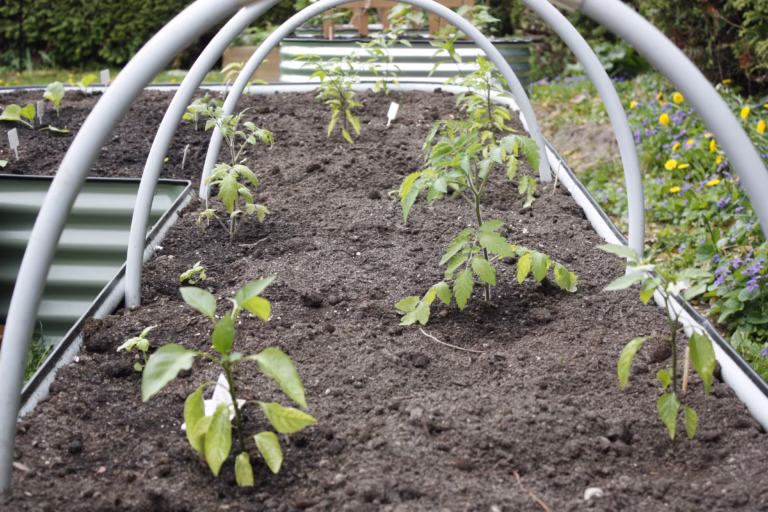
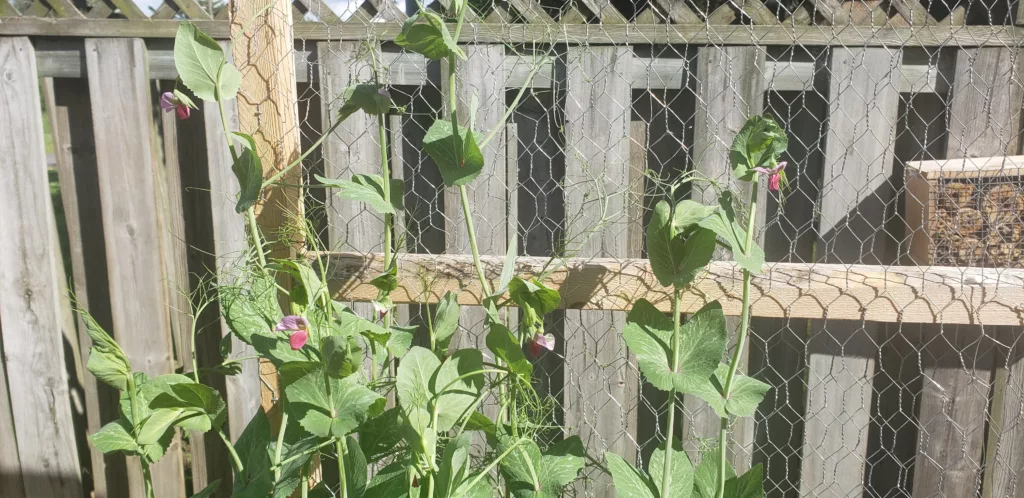
Peas require something to climb up so plant them near a vertical growing support such as a trellis, chicken wire or stakes.
Caring for Seedlings
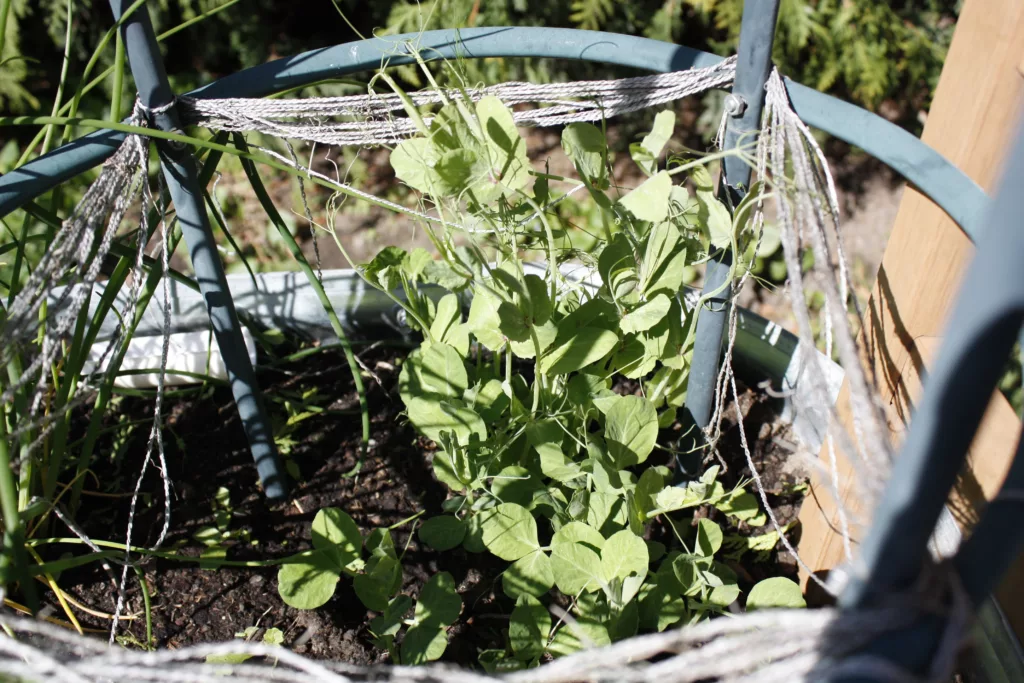
Peas are super easy to grow and are quite low maintenance once they germinate. As long as you provide them support to climb they will happily grow for you. You’ll notice once they get their first tendrils wrapped around support that they’ll get a nice growth spurt and continue to grow for you. Keep weeds at bay because they will compete with your pea plants. A well weeded and mulched garden will benefit your peas greatly.
Watering Peas
Don’t overwater your peas before you see sprouts in the garden, to avoid rotting the seed. Once you see sprouts give them a good water about once a week. Don’t let the soil dry out, but peas aren’t particularly thirsty plants. If it rains or snows, refrain from watering. Finally, don’t water the plant itself but water at the base to reduce the risk of disease.
Continue your garden learning:
- 8 Tips to Build Healthy Soil (When Yours Sucks)
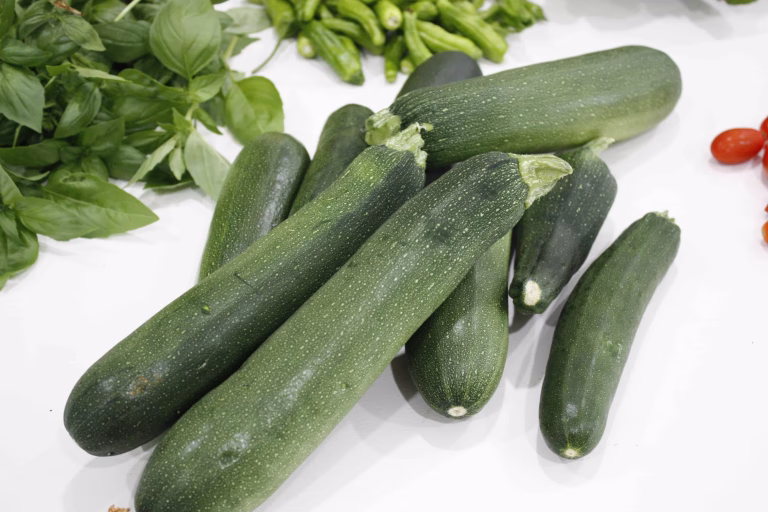
- Drowning in Zucchini? Here are 11 Ways to Use Your Harvest!
- 6 Spring Garden Pests You Should Know
- Are Organic Chemicals Safe To Use in a Home Garden?
- Save Your Lawn: How to Control Lawn Grubs
Harvesting Peas
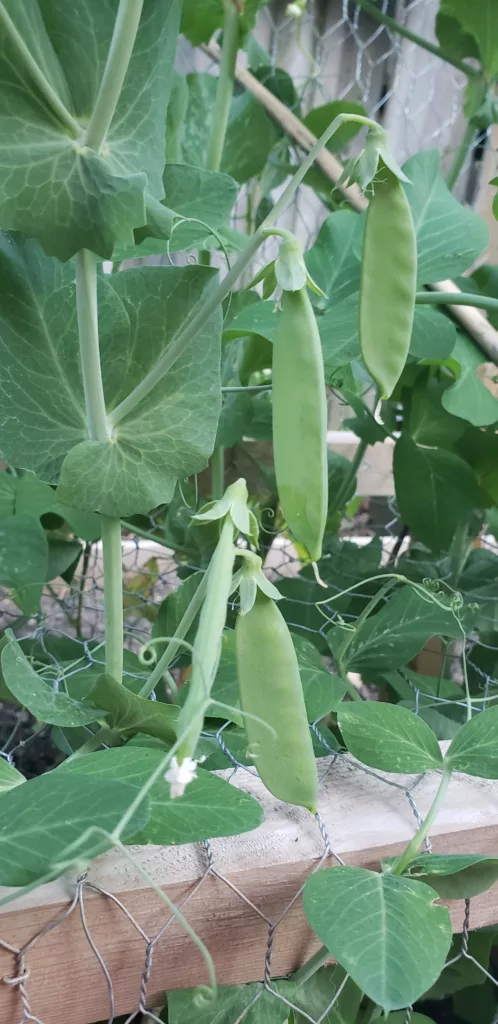
Peas ripen from the bottom of the plant up. The plant will flower while continuing to grow vertically so you’ll find the ripest peas at the bottom. Depending on the variety you’re growing, you will either harvest them when you first start to feel the peas forming inside the pod (sugar peas), or if you’re growing shelling peas you want to harvest them while the shell is still tender but the peas have formed inside. If you harvest them too late the peas will taste chalky and dense. When this happens, harvest earlier.
Ways to Enjoy Peas
In my opinion, peas taste best eaten fresh directly off the plant! But, if you do manage to get your peas inside, you can fry them in your favourite dish or enjoy them as snacks indoors.
Common Pests & Problems
The first pest you’ll encounter is squirrels. They love to dig up any part of your garden that looks disturbed and will eat your pea seeds. To prevent your peas from being dug up you can grow them under some kind of cover or cage or once you plant them, cover them in mulch to help hide the disturbed soil from them.
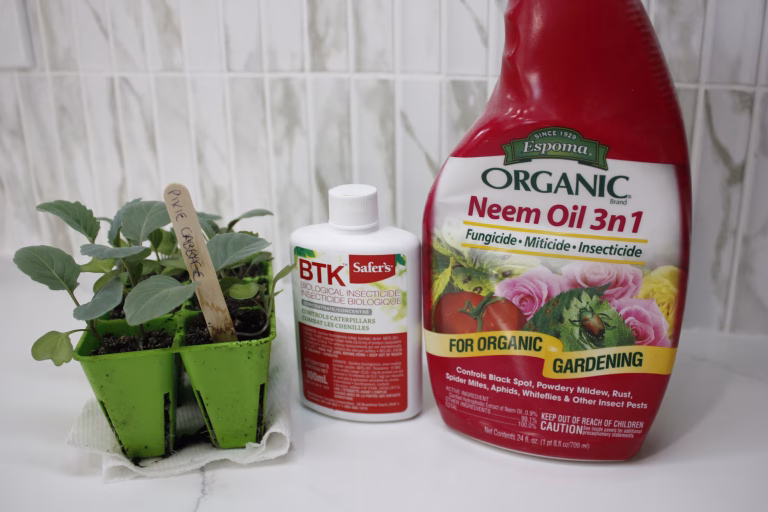
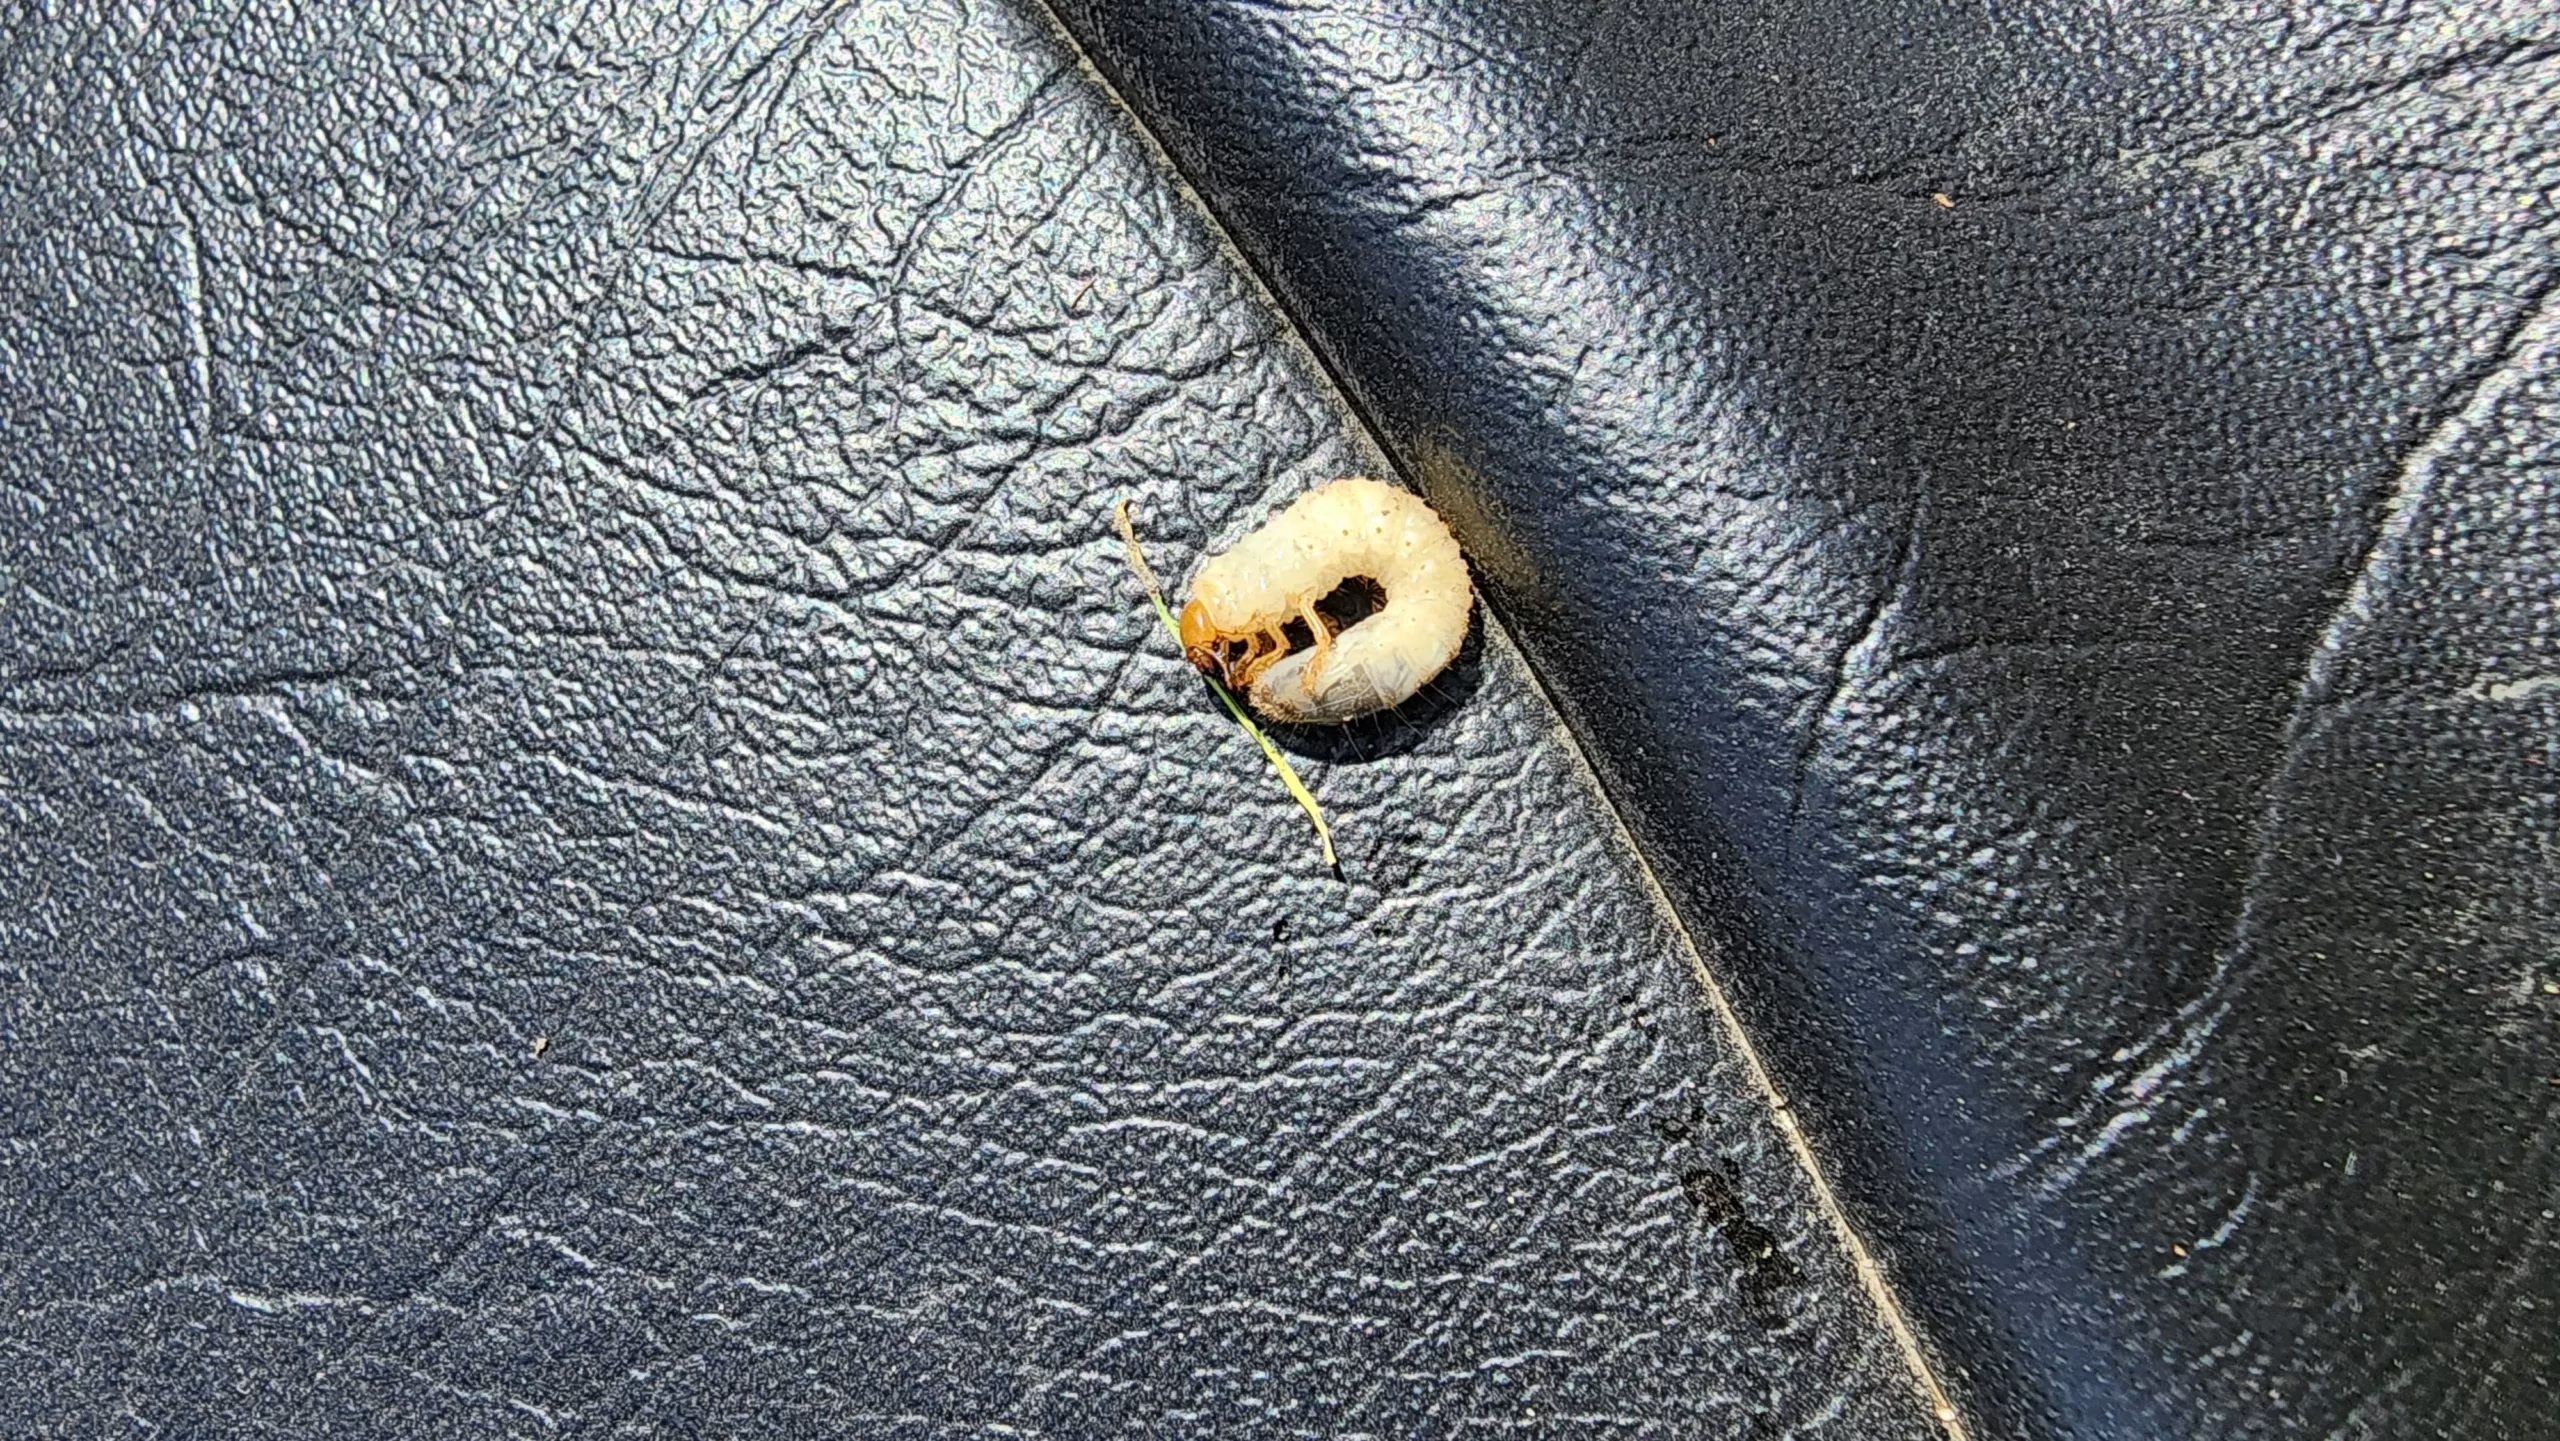
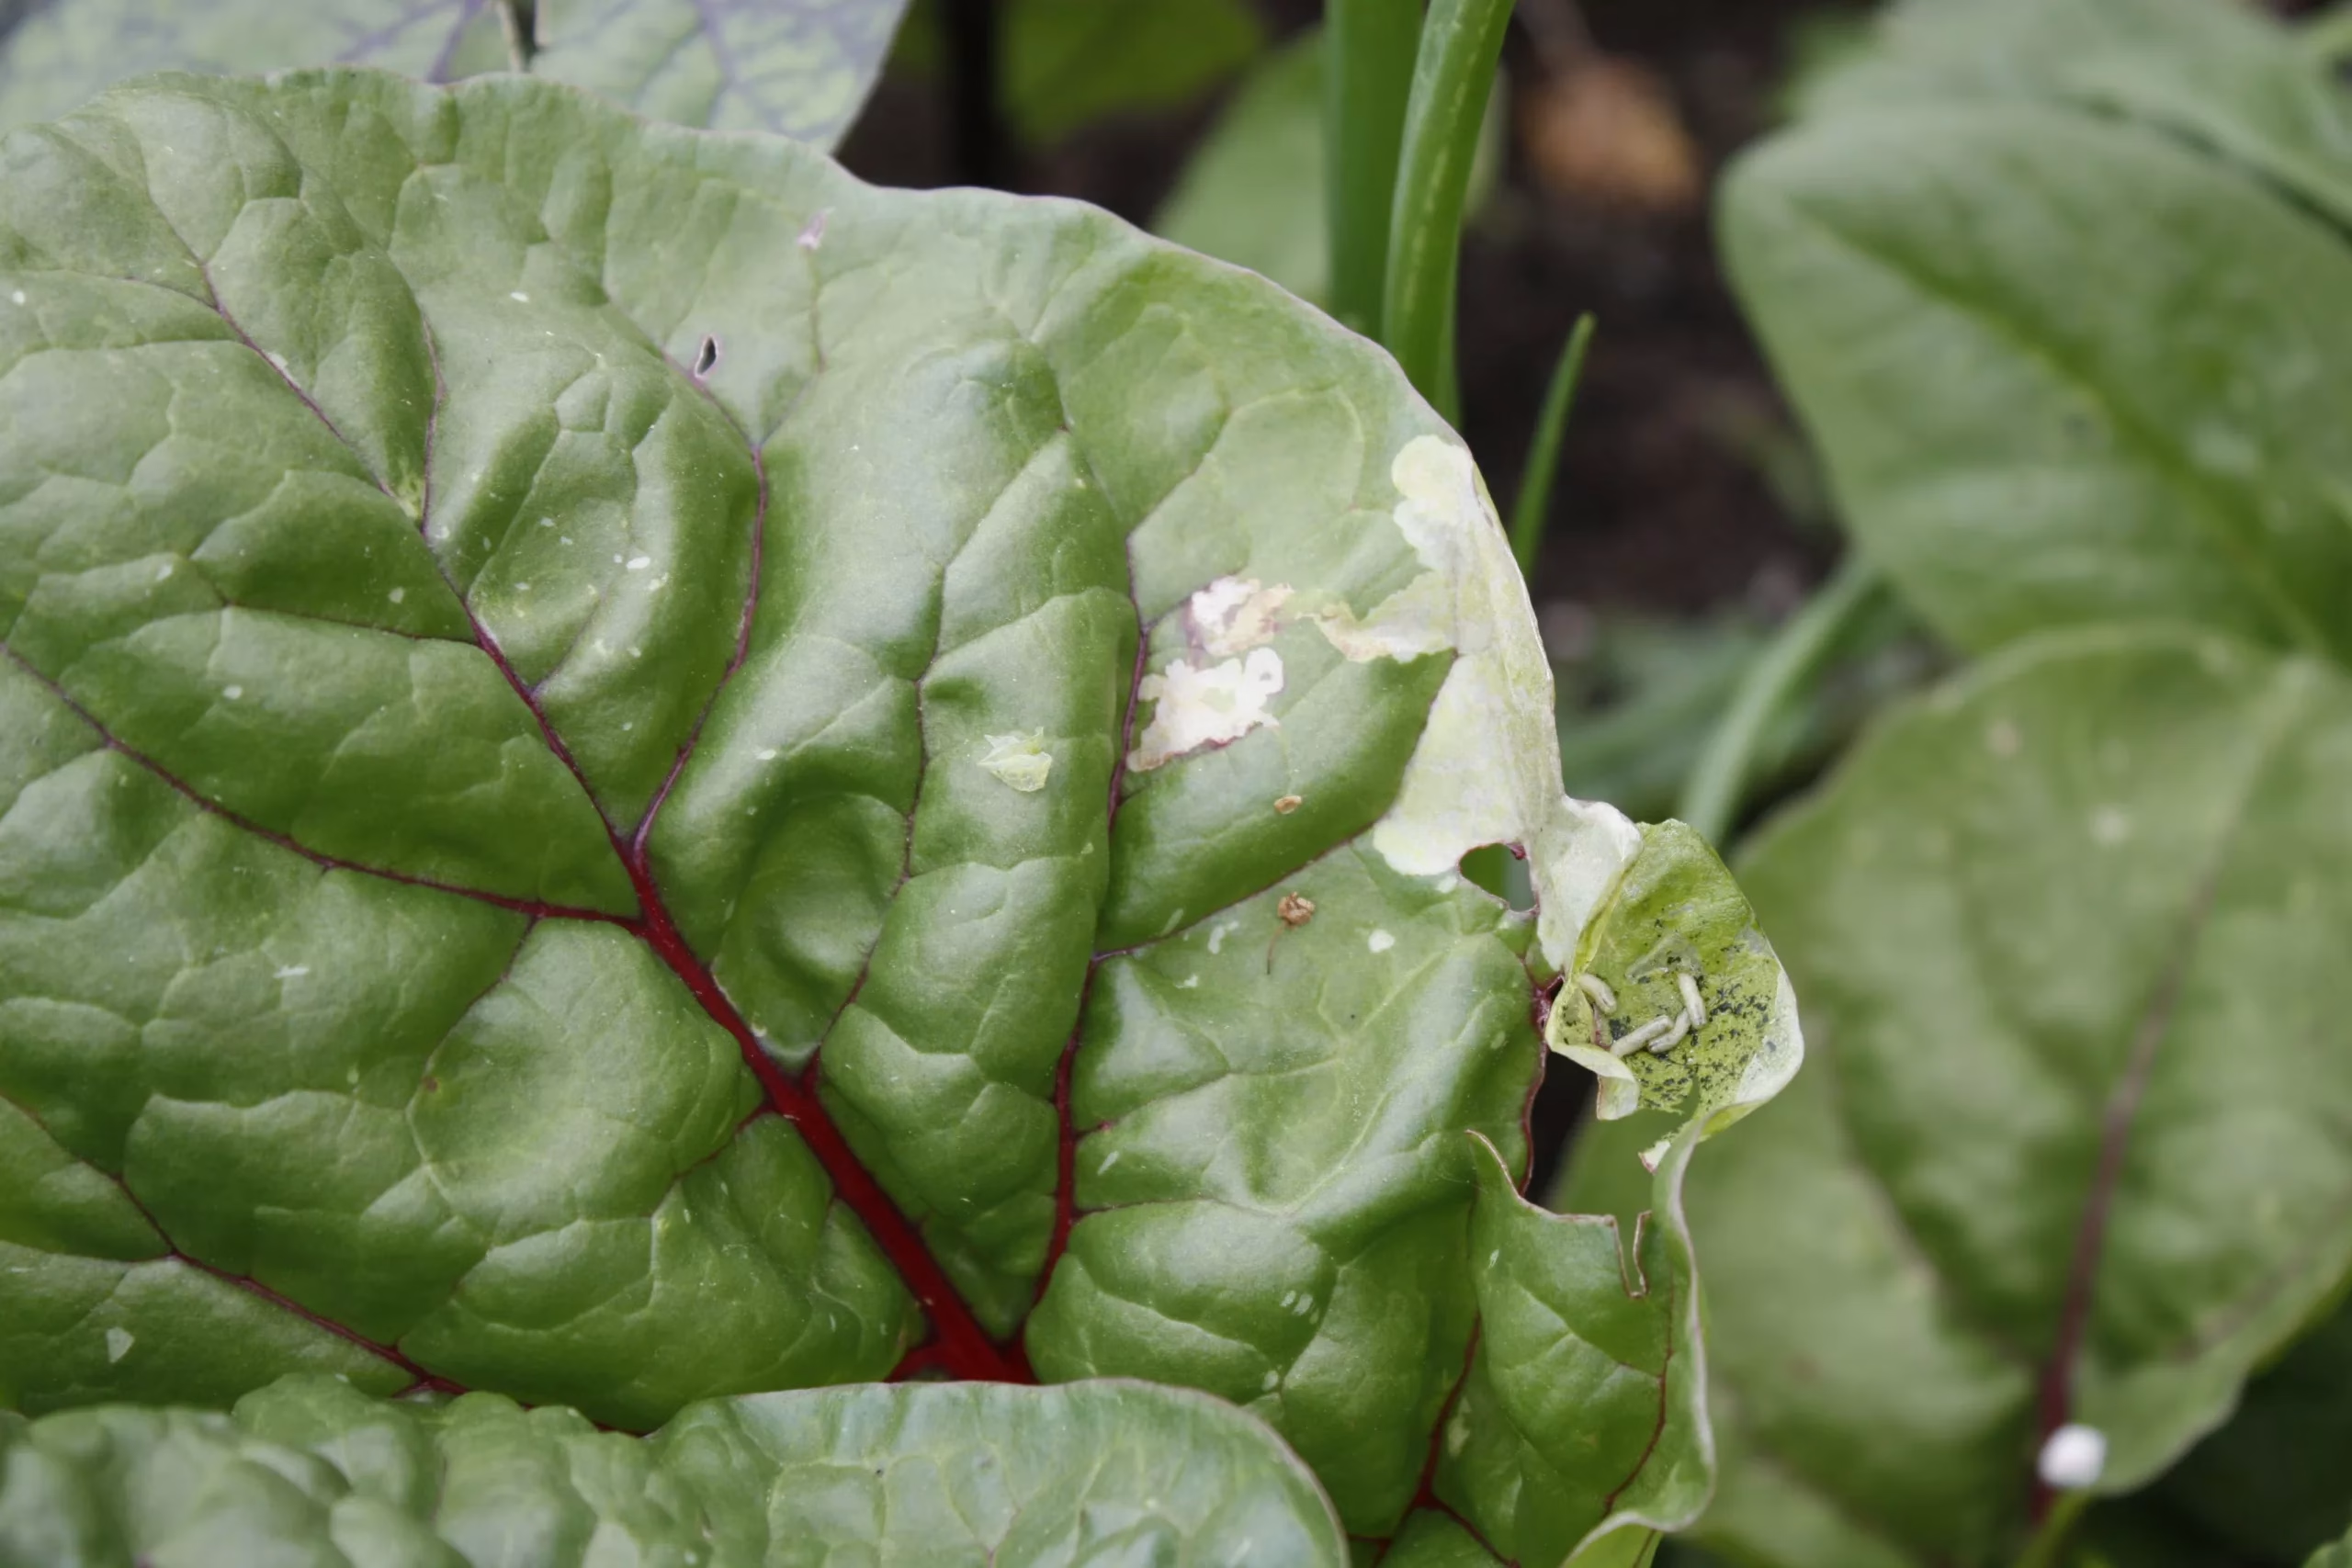
The next pest you might encounter are cut worms which are the larvae form of some moths. They’re called cut worms because they will wrap their bodies around the base of your plant and eat it at the base (it looks like the plant has been cut at the base, hence the name). Finally, as your plants grow you might get aphids on them – and the best way to manage aphids is to wash them off with your hose and to plant flowers near your peas that will attract predators such as ladybugs.
The most common non-pest problem is powdery mildew. This can happen since peas love to grow in the cool, wet season. Water your peas at the base and avoid watering the leaves. When you do water, water in the morning to ensure the leaves have enough time to dry during the day. Oftentimes powdery mildew will come at the end of the growing season, or in a fall planting because the conditions are right for it. If your plant gets powdery mildew, you’ll want to pull the affected plants out to try and prevent it from transferring to healthy plants.
Saving Seeds
Saving seeds from peas is very simple! When your pea plants begin to wind down, as the weather warms or winter comes in, allow a few pods to stay on the plant and let them grow to their full size. As they ripen and mature the pod will turn brown and dry out. Collect the pods once it’s fully dried. Label them and store them in a cool, dry place. If you collect them in spring you can plant these new seeds in the fall!