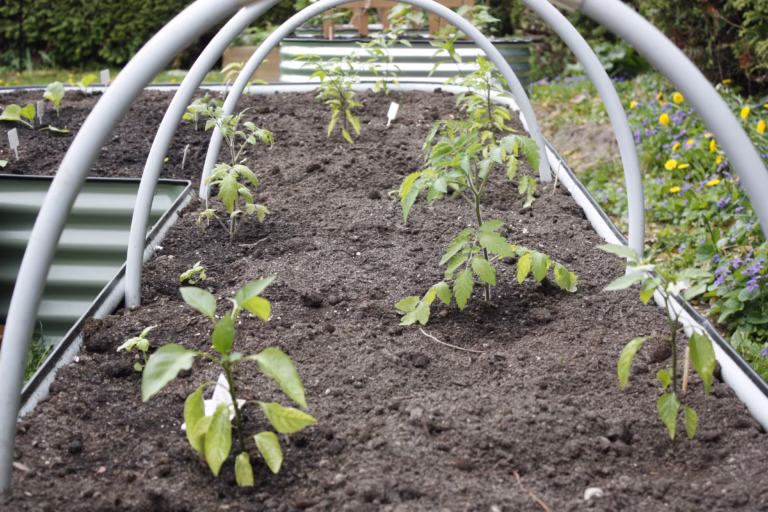
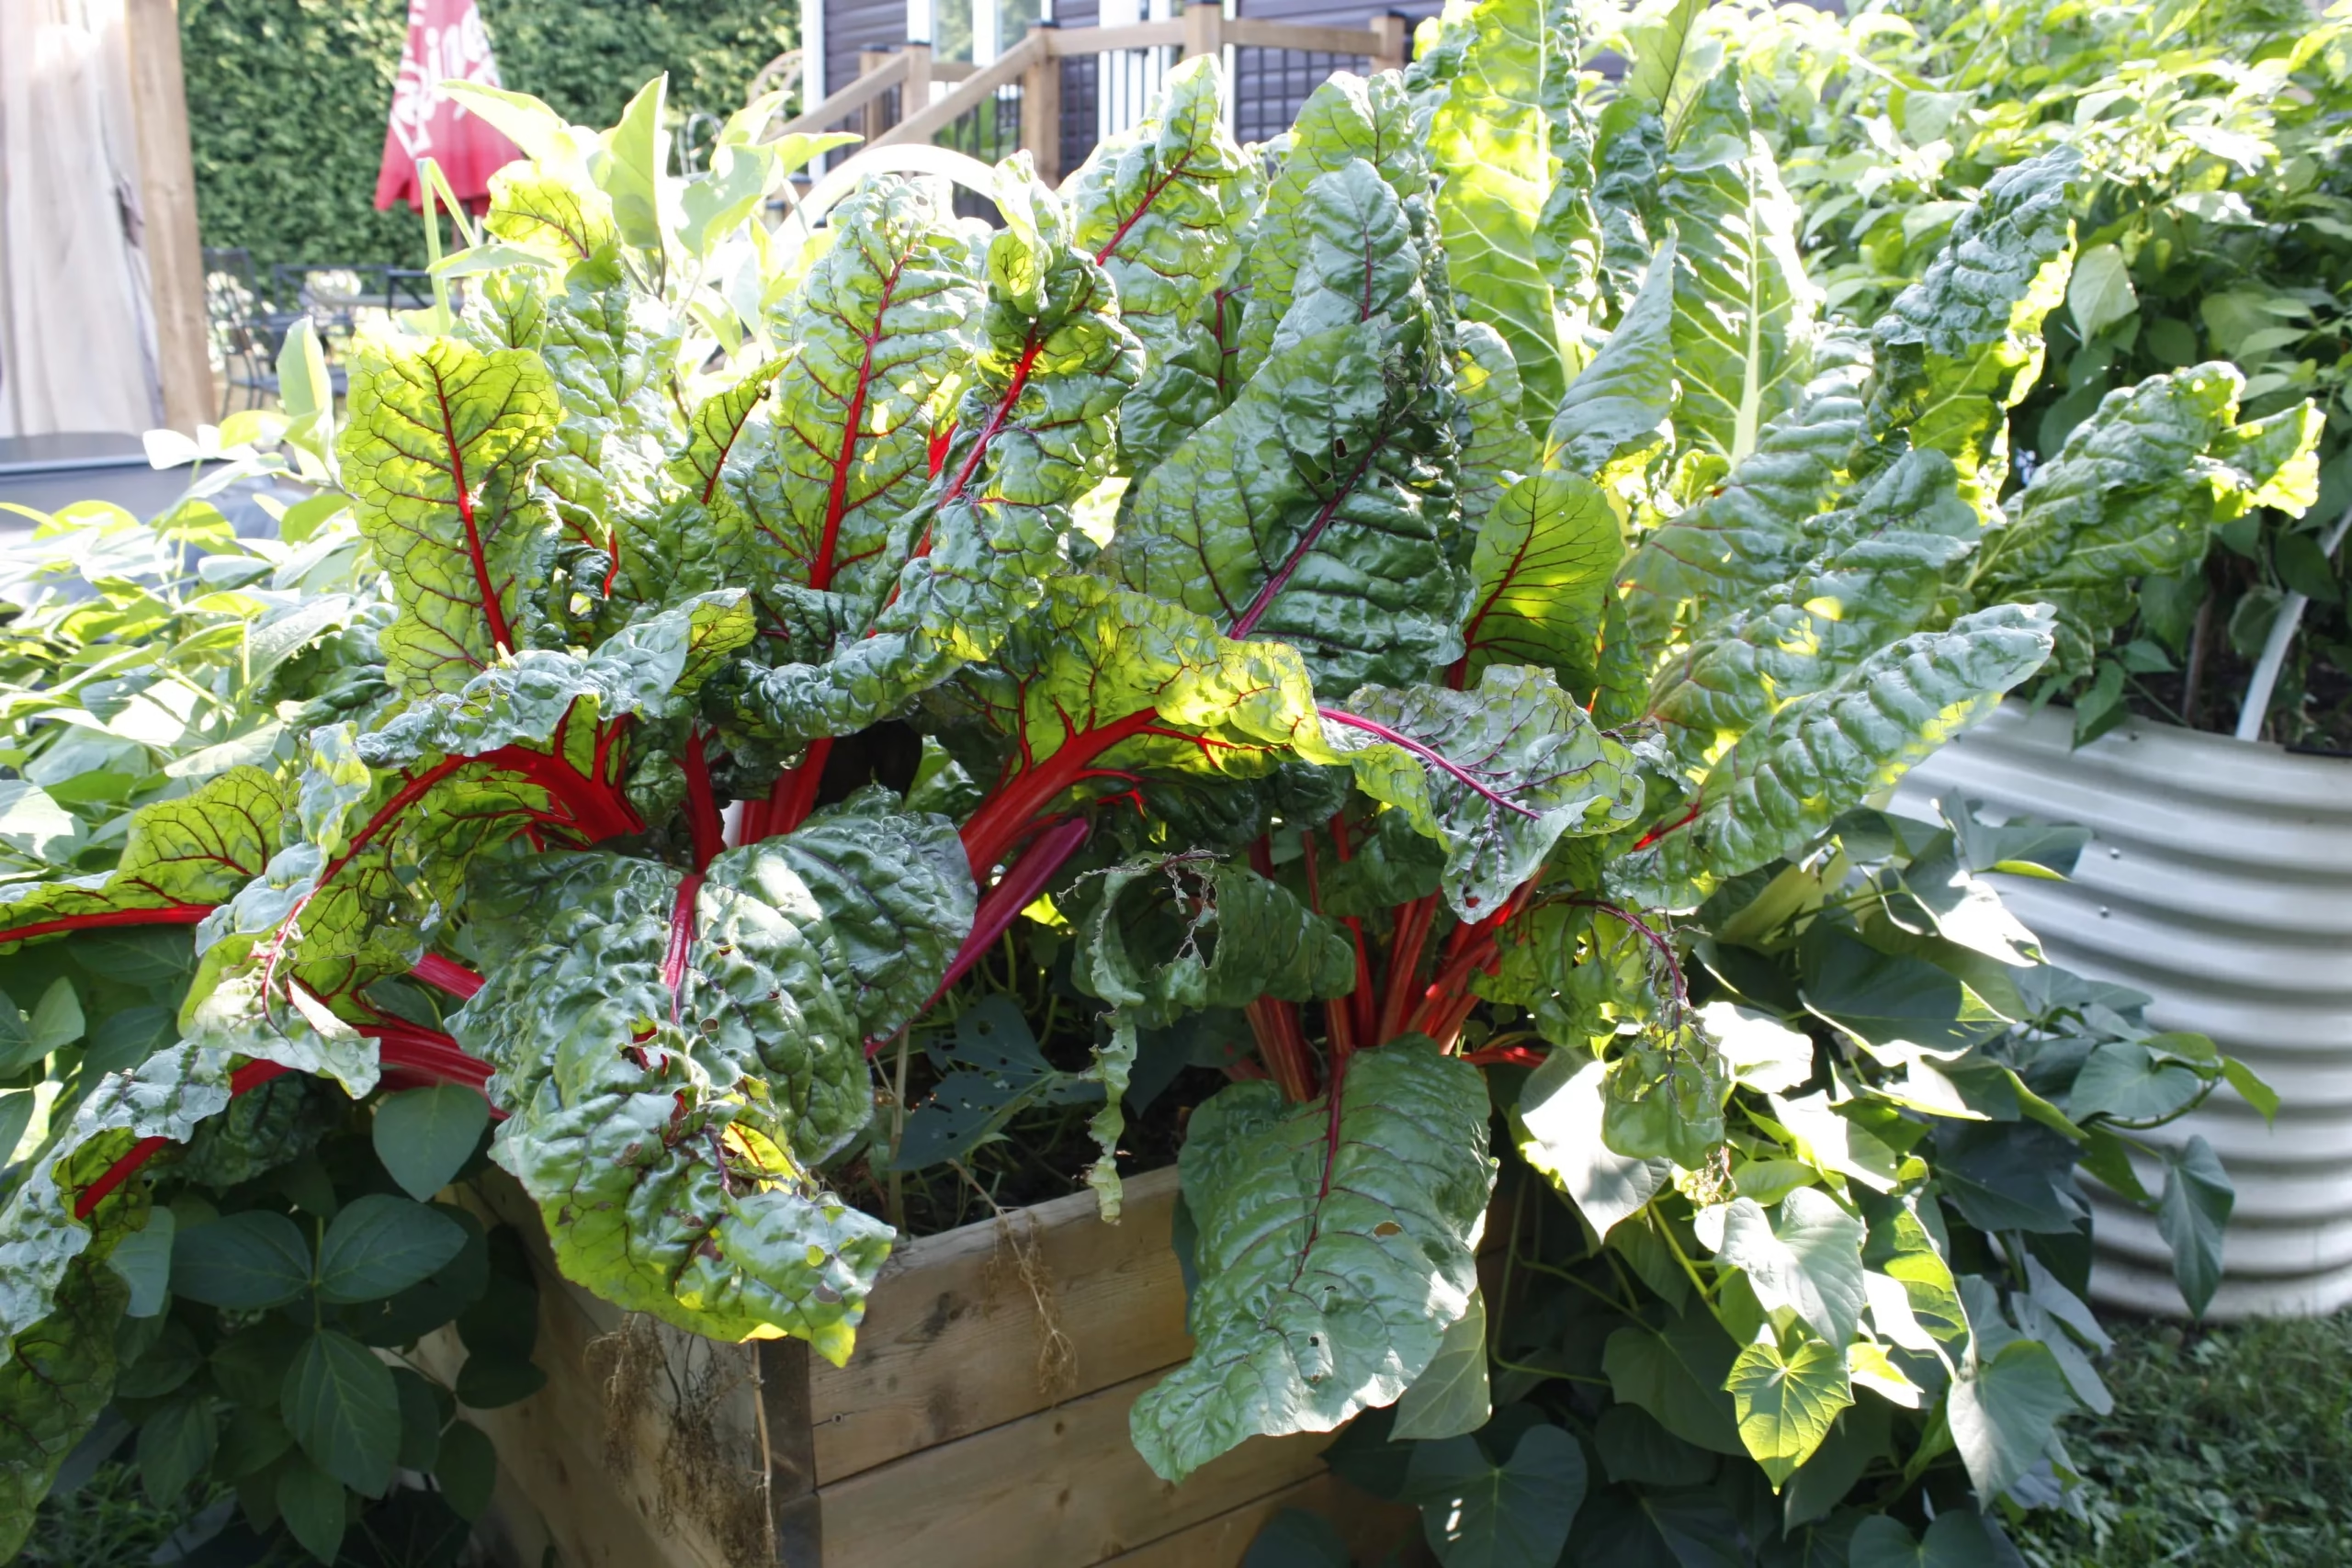
Swiss chard is a versatile, low maintenance garden plant that is highly underrated. This leafy green is packed full of nutrients, can be used in many dishes and is easy to grow. What makes Swiss chard so amazing is that it will grow from spring straight through to late fall, giving you food for months. The photo above is just three plants that easily fill up a 5 foot wide garden!
A Quick Summary of Swiss Chard
Swiss chard is a cold tolerant and drought tolerant plant which means it’s an extremely reliable garden plant. You can plant it in the early spring before your last frost and it will continue to grow, all summer long, until the first hard frost comes. Swiss chard can take many light frosts and continue to grow, and because of the succulent like stems of the plant, it can handle droughts in the summer.
Swiss Chard Varieties
This blog is reader supported. Some of the links in this article are affiliates which earn us a small commission, at no cost to you.
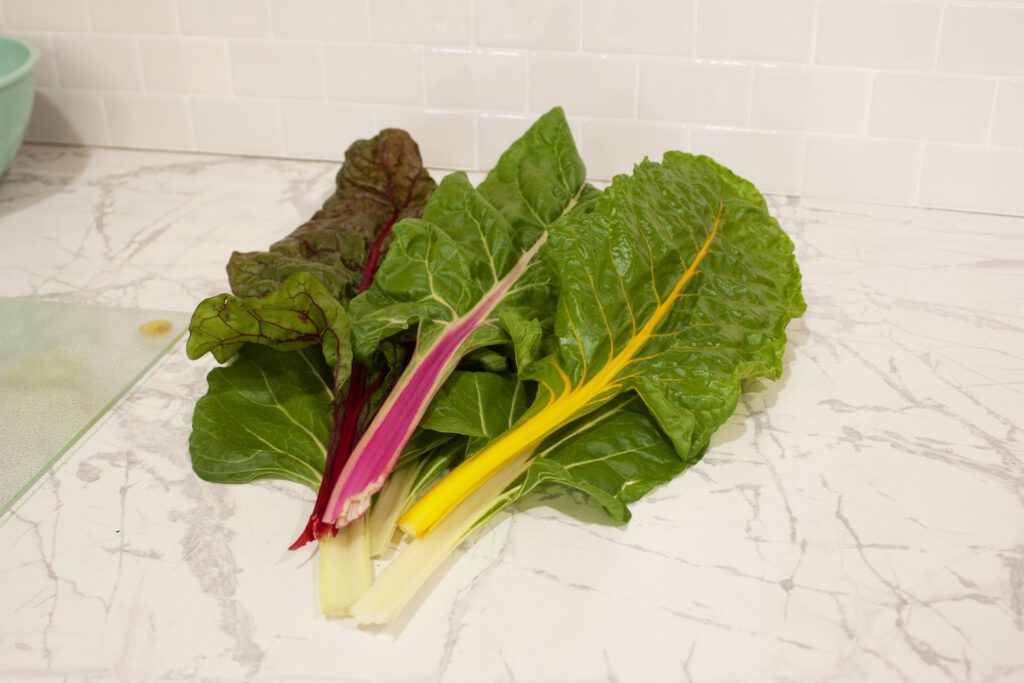
Swiss chard is so fun to grow because of the colour selection you can choose from. One of the best varieties to grow is Bright Lights because it’s a mix of colours in one seed packet, allowing you to grow a rainbow of colours! I have found over the years that if you want large, thick stems that the white varieties do best such as Fordhook Giant.
Swiss Chard Sun & Soil Requirements
Since Swiss chard is a leafy green it means that it can handle part sun, however it does best in full sun. In terms of soil, it’s a low maintenance plant and will do well in loose, well draining soil. Fertilizing the plant will help it grow large, however I never fertilize my Swiss chard beyond topping up new soil in the spring time and it continues to grow well for me. Keeping it well watered in spring will give it a good start to the season, and once it grows larger it can handle more drought-like conditions because of the succulent-like stems.
How to Plant Swiss Chard Seeds
Swiss chard grows in compound seeds which means there might be more than one plant per seed that comes out. Therefore, sowing seeds close together in a container means you can do less work upfront since you’ll have to separate them anyway, rather than if you just sowed one seed per cell. The photo above is a picture of the Bright Lights seed packet, where you can see yellow, pink, red and white varieties mixed together.
Since they do come in compound seeds, be mindful of how many seeds you sow or you might end up with significantly more plants than you originally wanted to plant. In our household of two, we don’t need more than 2-3 plants in the garden since they are such heavy producers. If you plan to grow some to freeze for future use though, grow up to twice that amount (and change based on your household size).

To sow Swiss chard seeds, plant them at twice the depth of the size of the seed into peat-free seed starting mix. Cover them with a dome, and if you own one, put them on a heat mat to speed up germination, however it’s not required. Remove the lid once 60-70% of the seeds have germinated and keep them under grow lights. Since Swiss chard is so cold hardy, you can plant them outside around a month before your last frost date. If you wish to start them early, plant them 8 weeks before your last frost date, for an outdoor planting 4 weeks before your last frost date. However, if you intend to plant them with the rest of your summer crops, start them 4 weeks before your last frost date.
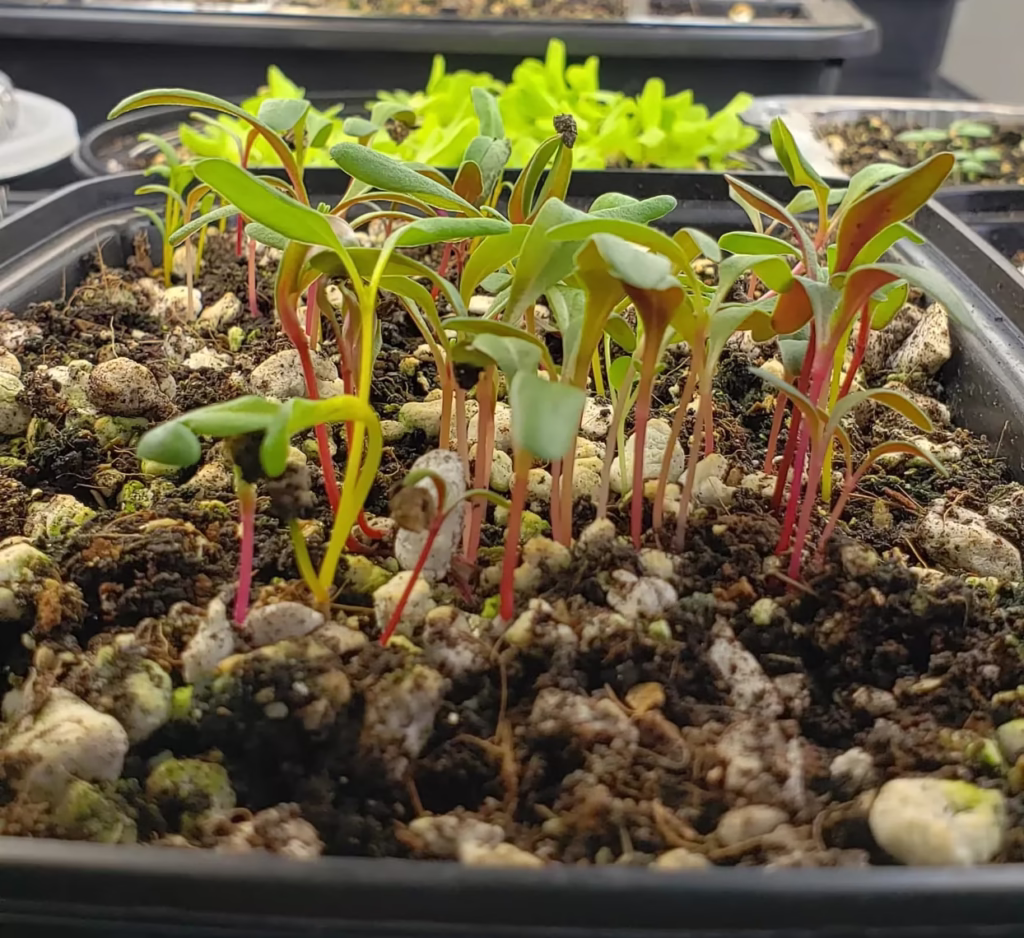
Caring for Seedlings
Once your seedlings have grown their first or second set of true leaves, it’s time to separate them from one another. Upgrade them to a 1-2″ pot since Swiss chard does have quite large root systems. Make sure to keep them well watered and you can provide a weak nitrogen fertilizer every 2-3 weeks.
Swiss chard can handle temperatures as low as -9°C, however, growing them under cover when it’s below 0°C will help keep them healthy and alive until the weather warms up. If you plan to plant them outdoors before your last frost date, it’s important to harden them off before they’re planted outside. Follow the usual steps of hardening off by starting off during the daytime. Start slow so you don’t shock the plants since they will be going from 20°C indoor temperatures to potentially a 30° swing when they go outdoors.
Continue your garden learning:
- 8 Tips to Build Healthy Soil (When Yours Sucks)
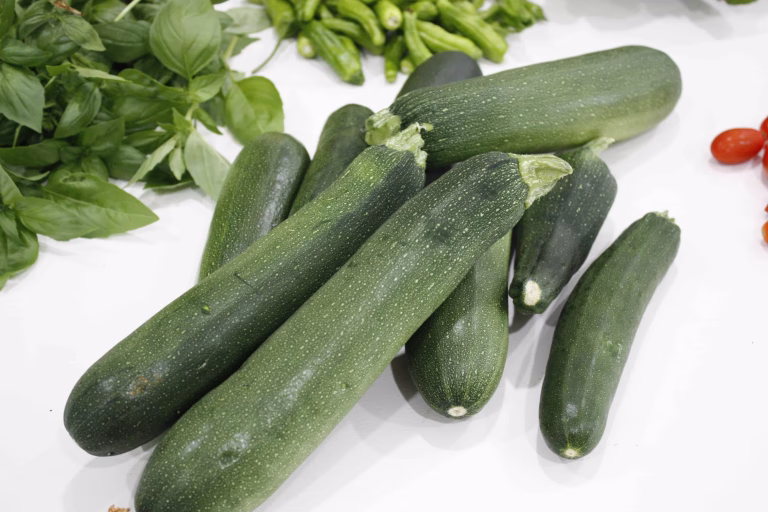
- Drowning in Zucchini? Here are 11 Ways to Use Your Harvest!
- 6 Spring Garden Pests You Should Know
- Are Organic Chemicals Safe To Use in a Home Garden?
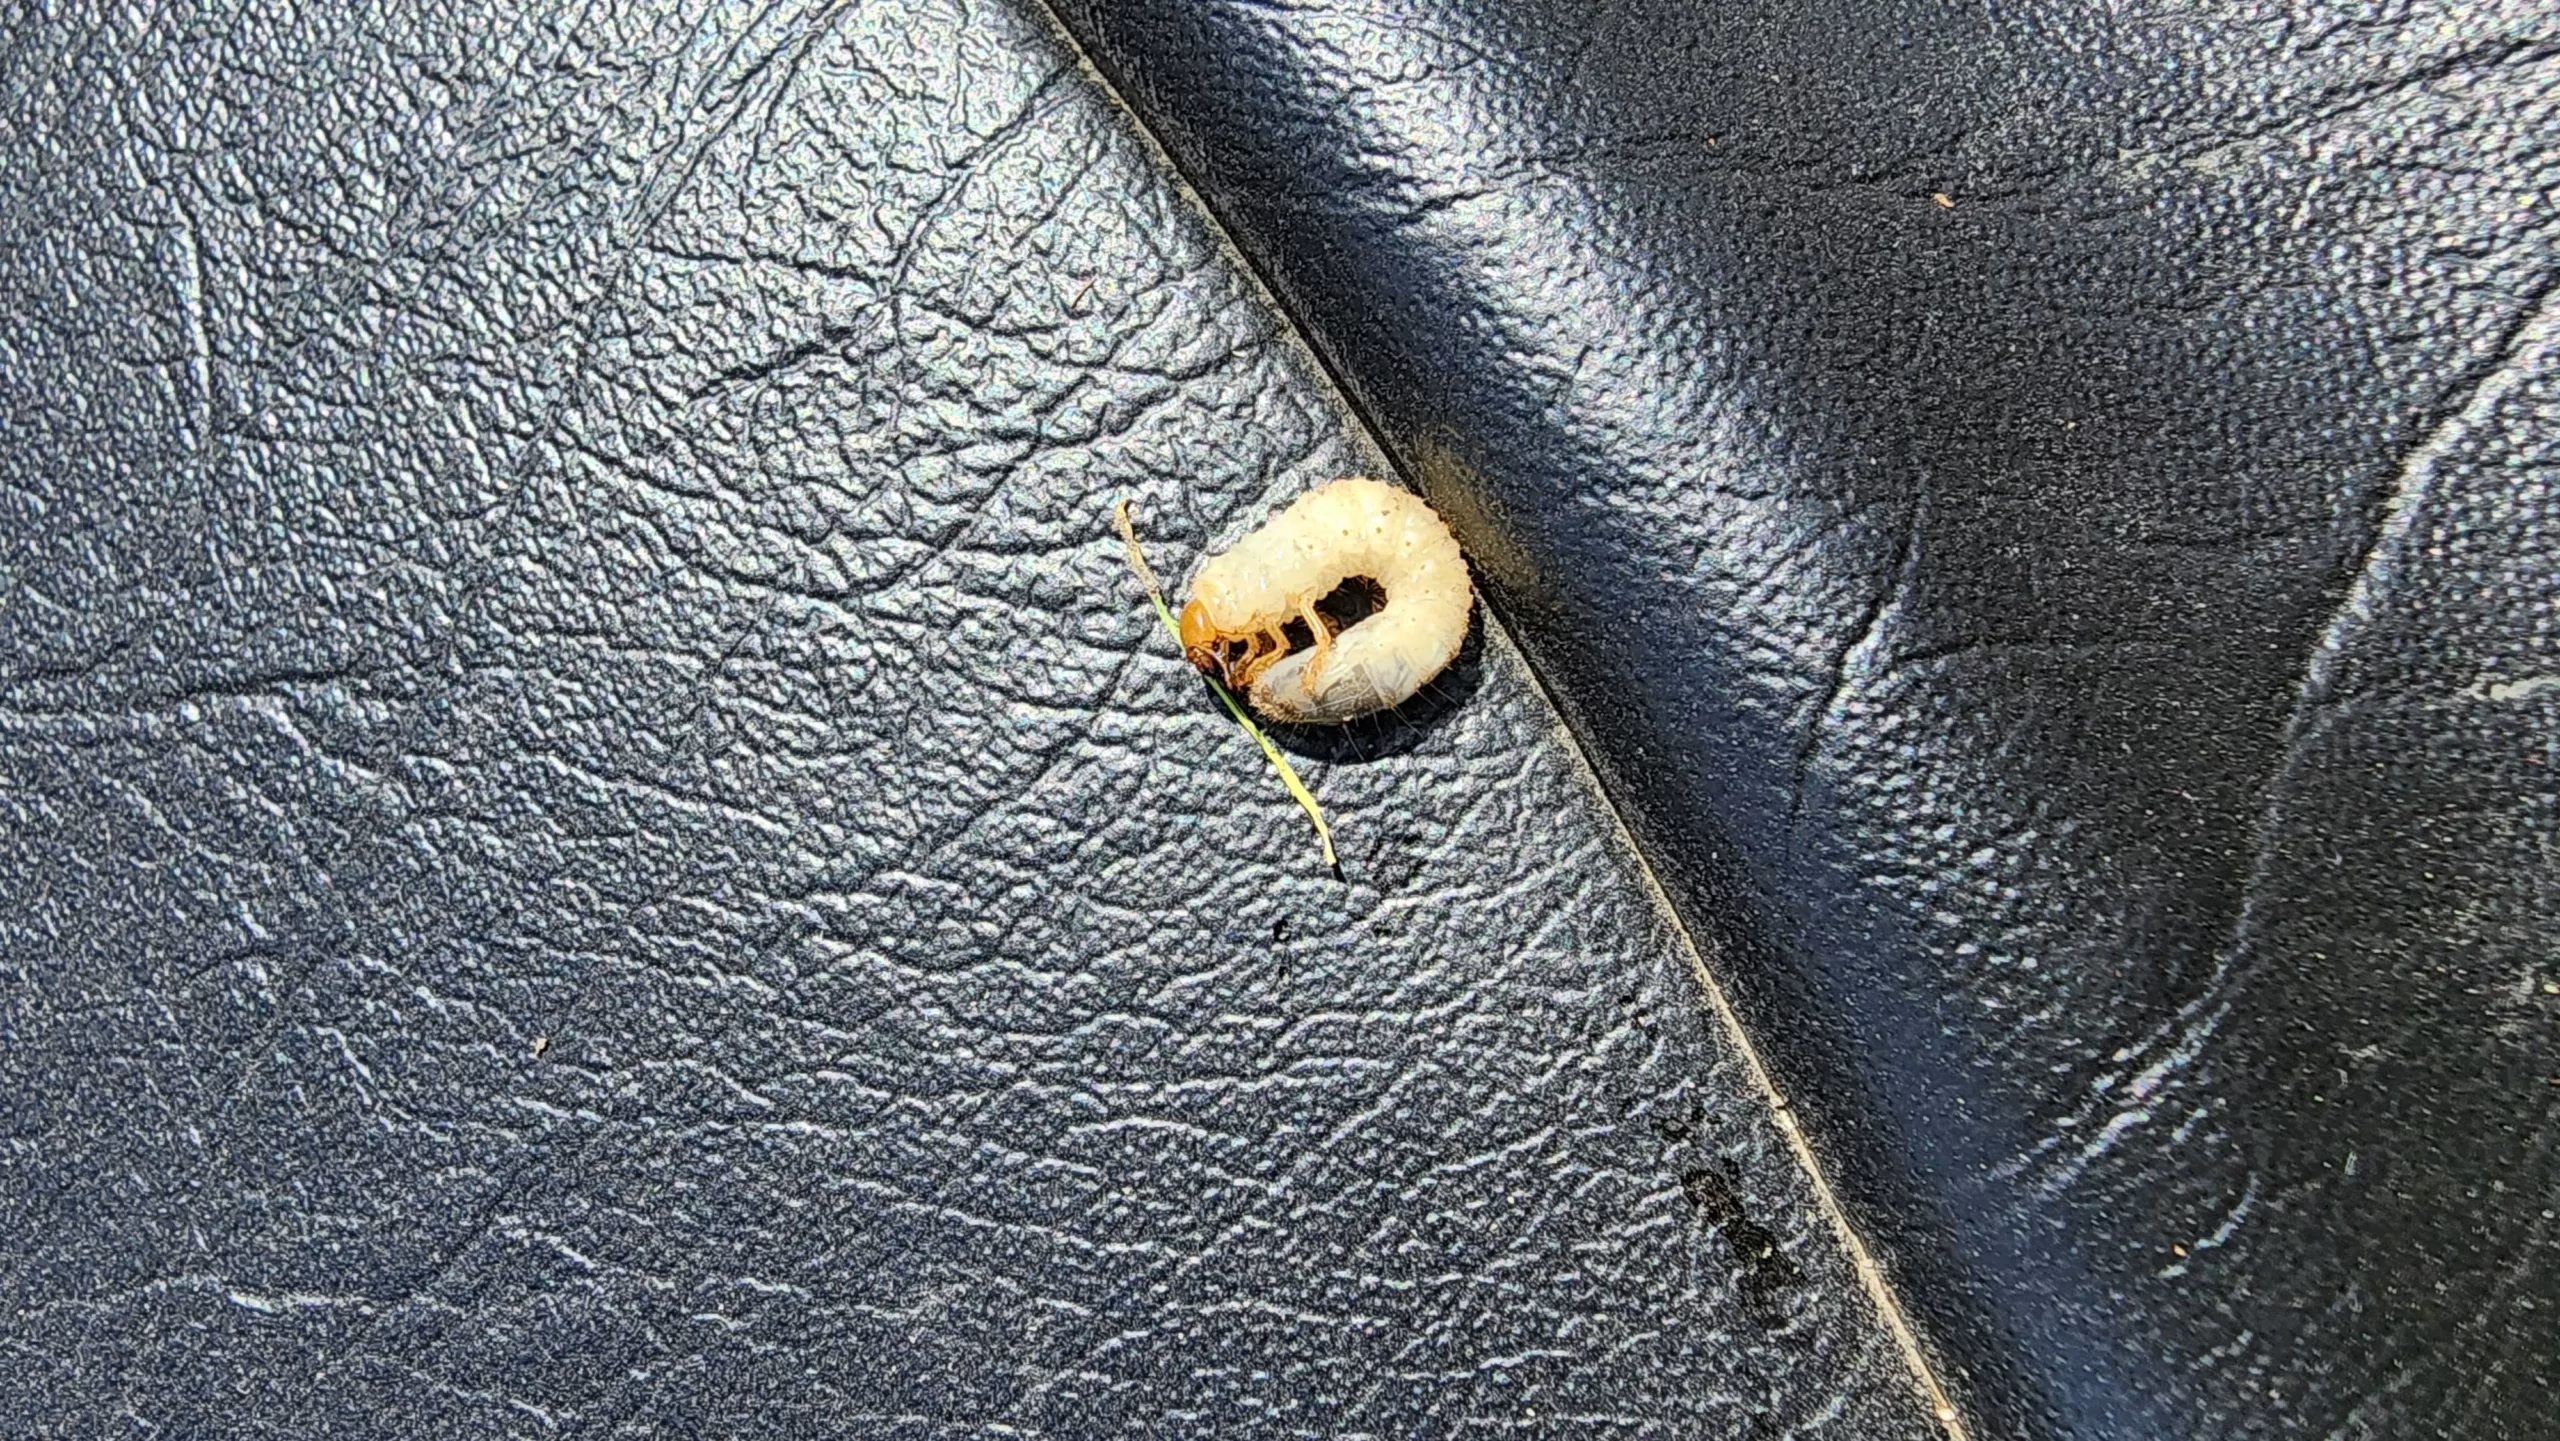
- Save Your Lawn: How to Control Lawn Grubs
Planting Guide

Swiss chard can be grown in pots, in ground or in raised beds. The plants can get quite large if they’re allowed to, so choosing a pot that is 30cmx30cm minimum is best. If you want to grow Swiss chard for salads, and plan to only harvest small leaves, you can plant 4 plants per square foot. However, to allow them to grow to their maximum size, plant only one or two per square foot. By the end of the season, the stalk can easily reach 2-3″ thick!
When planting, make sure to not cover the base of the plant where new stems are forming. Ensure all of the roots are buried, but that the base of the stems sit above the soil level.
Watering
Swiss chard is quite drought tolerant so watering isn’t as essential by mid season. However, when your seedlings are first planted you’ll want to water them the day of planting, and every few days for the next 2-3 weeks. Then you can reduce to once a week for the remainder of the season, unless you see heat stress or are going through a prolonged drought period.
Harvesting

Swiss chard can be harvested as baby leaves for salads, or you can wait until they get large. The larger the leaves, the more bitter the stem will taste. However, if you’re growing any of the bright coloured varieties, remember that there are tons of nutrients in the stem contributing to that colour. Therefore, don’t just throw the stems away, but cut them up into small pieces to sauté and enjoy with your meal.
Harvest using the cut and come again method. This means that you don’t pull the entire plant out! Just cut, or rip off, the pieces that you plan to use. Cutting the stems closer to the base keeps the plant cleaner and more maintained.
Ways to Enjoy Swiss Chard
As I mentioned above, Swiss chard is incredibly versatile! There are so many ways you can cook Swiss chard. The first way is by cutting up the leaves and stems and sauteing them on the stovetop with your other vegetables. This is a great way to get dark leafy-greens into your diet. You can also eat Swiss chard raw in salads or wraps. I love to bake my leaves into Swiss chard chips, and you can find the recipe here! And finally, if you’re drowning in Swiss chard you can freeze it for later in the season! To do this, wash your leaves, pat them dry and cut them up. Then you can throw them into a freezer safe container and place them in the freezer for a smoothie or stir fry later in the season!
Common Pests & Problems

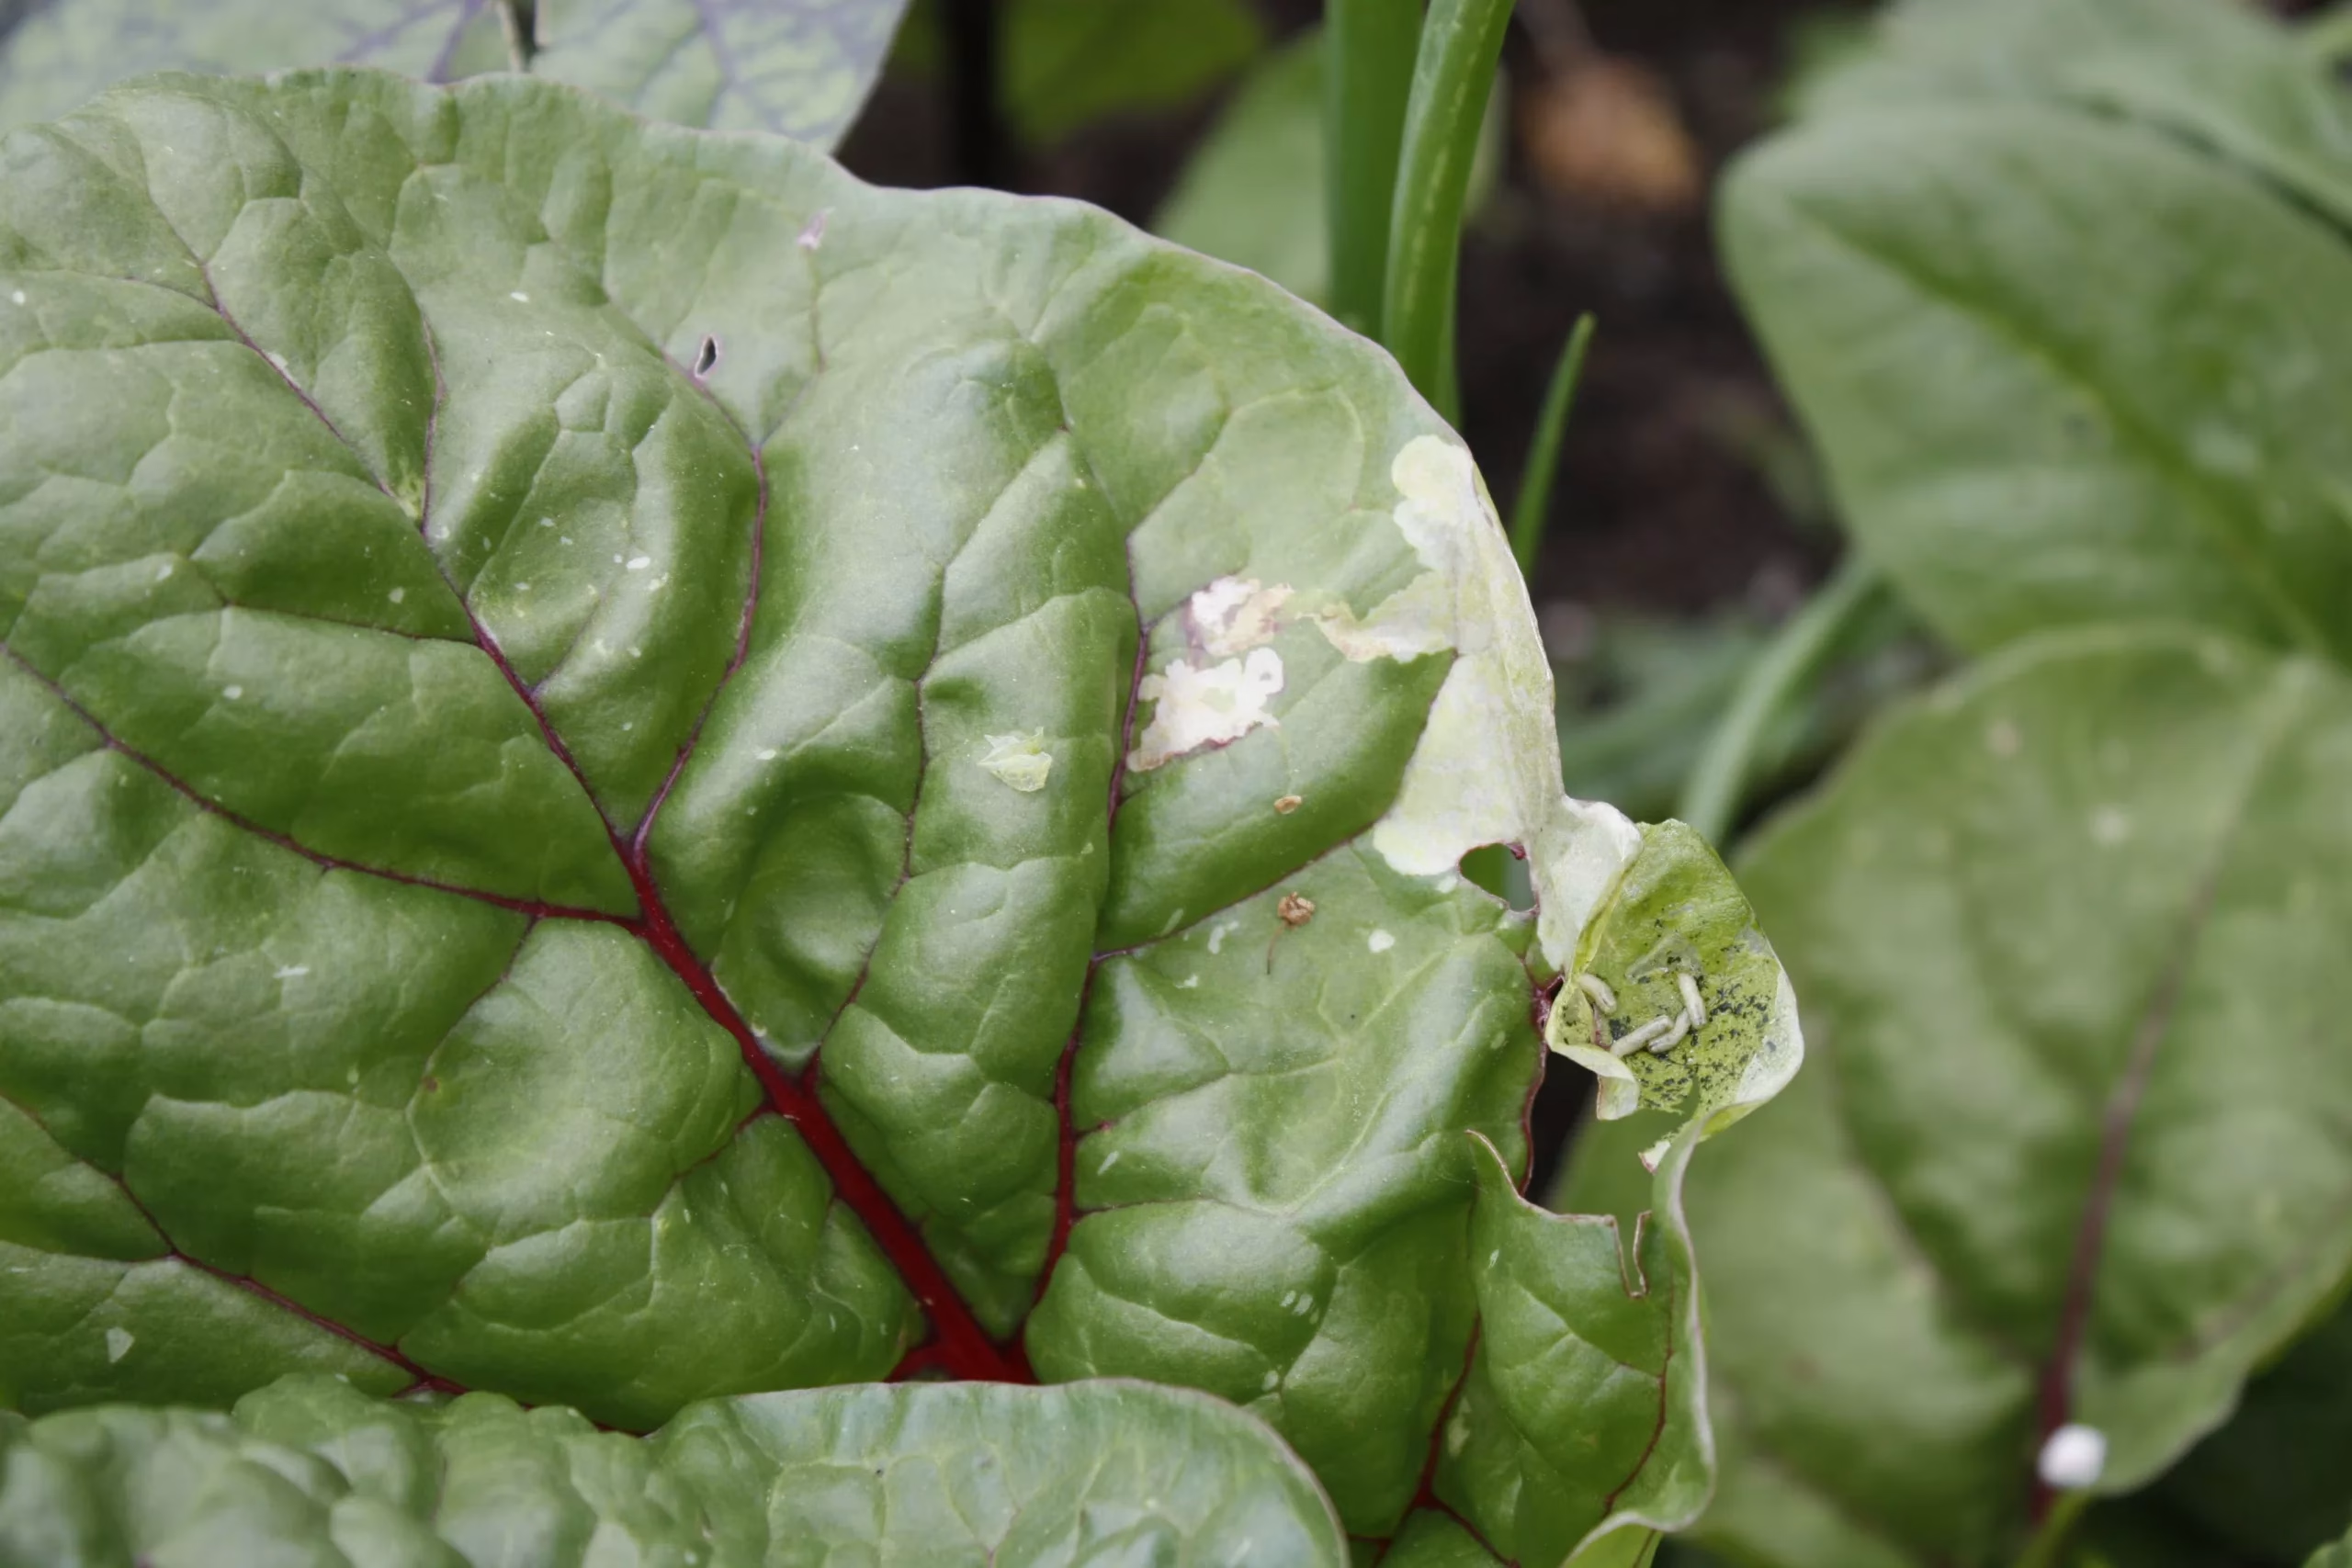
The most common pest for Swiss chard is the leaf miner. The good thing about leaf miner is that they’re super easy to manage and are mainly a spring pest. So once the spring moves into summer you don’t have to worry about these insects anymore. By monitoring for eggs or damage, you can easily avoid too much damage.
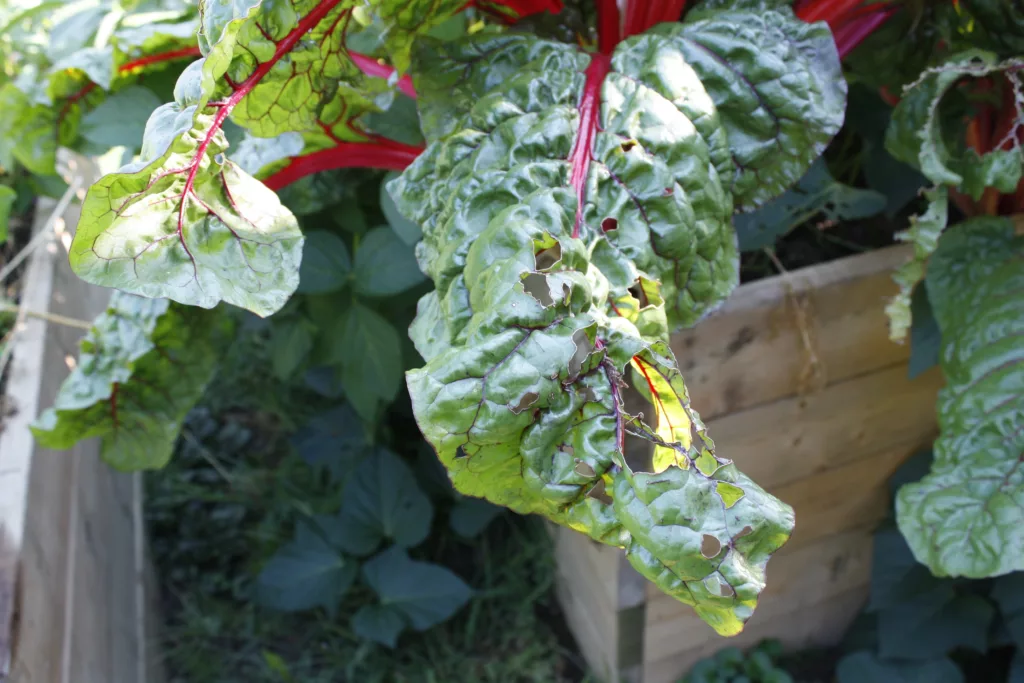
The other common ‘pest’ of Swiss chard is the American goldfinch. They love to eat Swiss chard because of the calcium content in the leaves as it helps them replenish this mineral after nesting season. Therefore, I always allow the birds to feed on the leaves of my chard. There’s more than enough to share between our family and the birds so I don’t really consider them a pest! The above photo is damage caused by the birds.
If you want to protect your plants from leaf miners you can cover your plants with insect netting to help prevent any insects from reaching your plants. However, I recommend pulling it off by mid-summer since these pests will be gone and it does allow you to share with the birds around you.

Saving Seeds
Swiss chard is a biennial which means that it seeds in the second year of growing. The good thing about this is that you never have to worry about your chard bolting in the summer heat. However, if you get extremely cold winters and your chard doesn’t survive the winter then it won’t bloom the next spring to give you seeds. If you want to save seeds from your chard, and your winters get quite cold, consider mulching heavily around your plants in fall and covering them in the winter with poly or frost cloth to help keep them slightly warmer. If they do survive the winter, in spring they will put out a flower stalk, that once pollinated, will turn into seeds for you to save from. When the seeds are brown and dry, they are ready to be harvested. Label and store these seeds in a cool, dark place for next season!