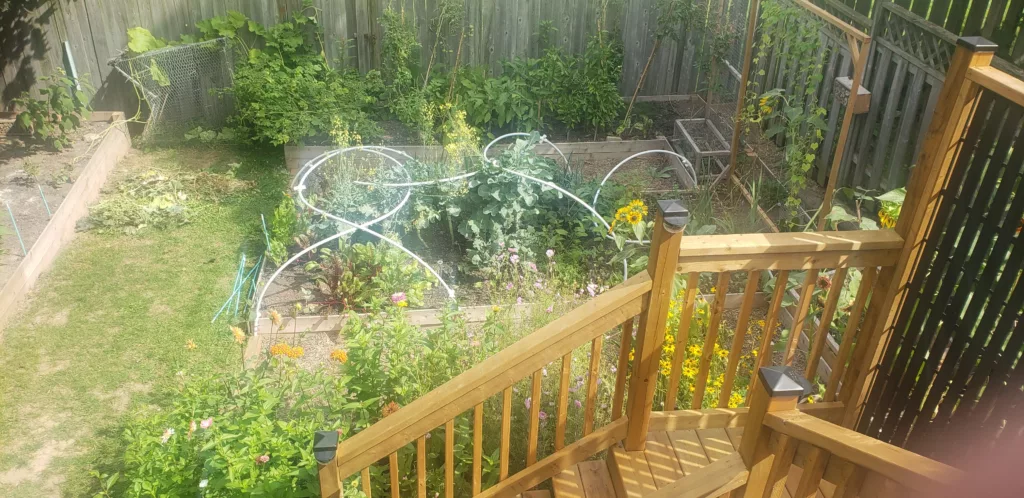
If you think hoop houses are only good as a greenhouse in spring and fall, then you’re wrong, and you’ve been doing it wrong. Hoops can actually be kept up all season long where you switch out the covers, depending on the season and the need. And whether you grow in the ground, in a metal or wood raised beds or even in containers, yes containers too, you’ll find this article helpful.
Now, I’ve been using hoops for quite a few years now and have had a lot of failures along with the successes so I want to share with you the products I use, how I build them, what I’ve failed with and how they hold up now. Plus I’ll take you through the three different uses for them that span from spring, through summer and into fall. You’ll understand why I keep them up year round by the end of this video!
Here in Canada the products that we get aren’t the same as in the US so this will help you if you’ve been struggling to find the products used on US based garden websites or videos. Plus, we all do things differently so you’ll see new things here that you might not have seen before!

So let’s first talk about the products. The first thing you need is piping. In a perfect world I’d love to have metal piping that I bend to shape to use for my hoop houses but I just haven’t had the time to research it and test out products, and I’ve had this plastic piping for about 5 years now. I do hope to try this at some point and if I do I’ll be sure to include an article on how to do it!
But for now, I am going to show you how to make hoops using Pex Piping and it’s used for plumbing work. I think in the US you can get straight Pex piping that bends easily, however here in Canada the straight piping isn’t very flexible (I tried) so you need to get it in a roll.
The most difficult part about rolled up Pex Pipe is that it has been in it’s roll for so long that it’s hard to work out the kinks. We have saw horses where we drilled a hole in the centre of them to pull the piping through to straighten it out, but you don’t necessarily need that, it just takes a bit of work to unroll it into the shape you need. Thankfully it’s fairly easy to cut and you just need a hacksaw or mitre saw.
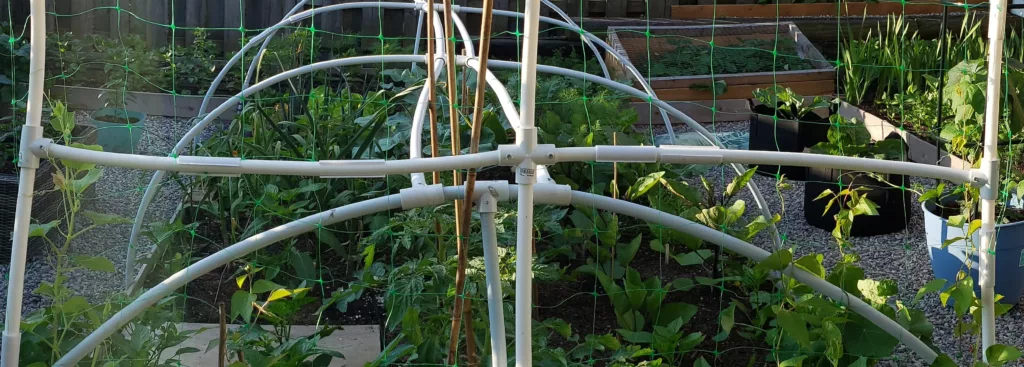
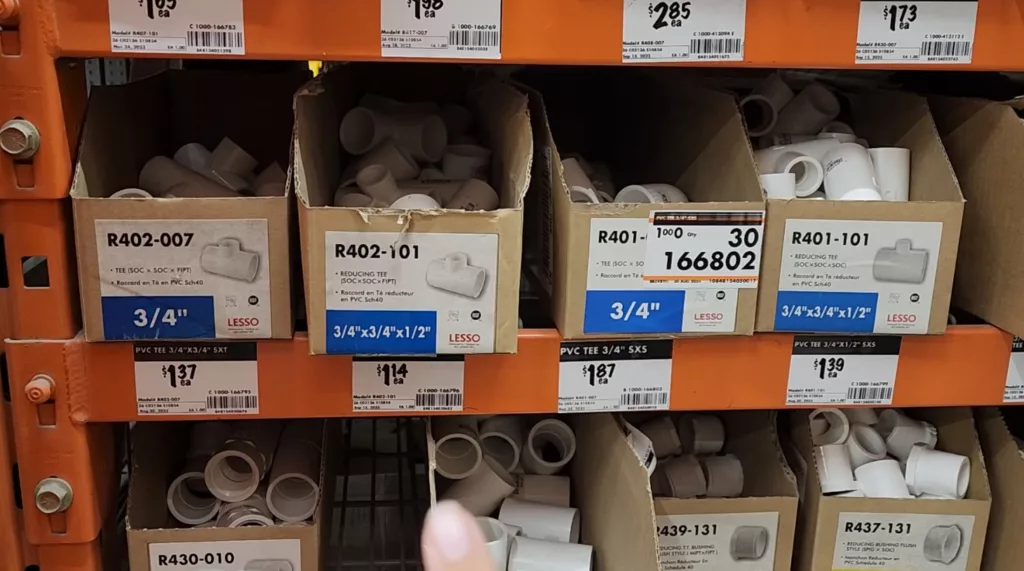
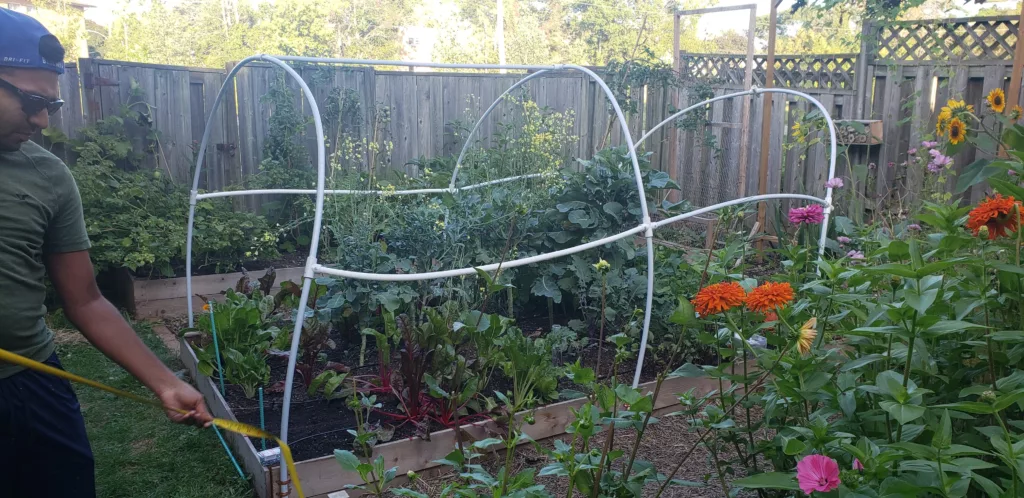
Now, if you want to connect it like I have, you need T or X connectors. This just allows you to connect pieces across the sides or the top if you wanted to give support in the middle – like you can see above. These fittings can also be found at Home Depot, they were at the end of the aisle where the piping was, in boxes.
When I was first building my hoops these were the hardest pieces to find but thankfully they are now on the shelf which means it’s easier for you! Just make sure that the fitting size you choose matches the same thickness as the piping you get. So if you get 3/4” piping, make sure to get 3/4” fittings. You can also find these fittings at Lee Valley but they’re more expensive.

The next thing you need is greenhouse clips. These can be found at Lee Valley, on some websites like West Coast Seeds or Johnny’s Selected Seeds and on Amazon. They can be called greenhouse clips, cloche clips or even PVC U-clips but this is what will hold your cover on the piping. Same as the fittings, make sure that you get the right size clips to match the thickness of your pipe.

And finally you need to get your cover. I mentioned earlier in this article that I use three different cover types on my hoops so you’ll want to get all three of them or whichever is most relevant for your garden space.

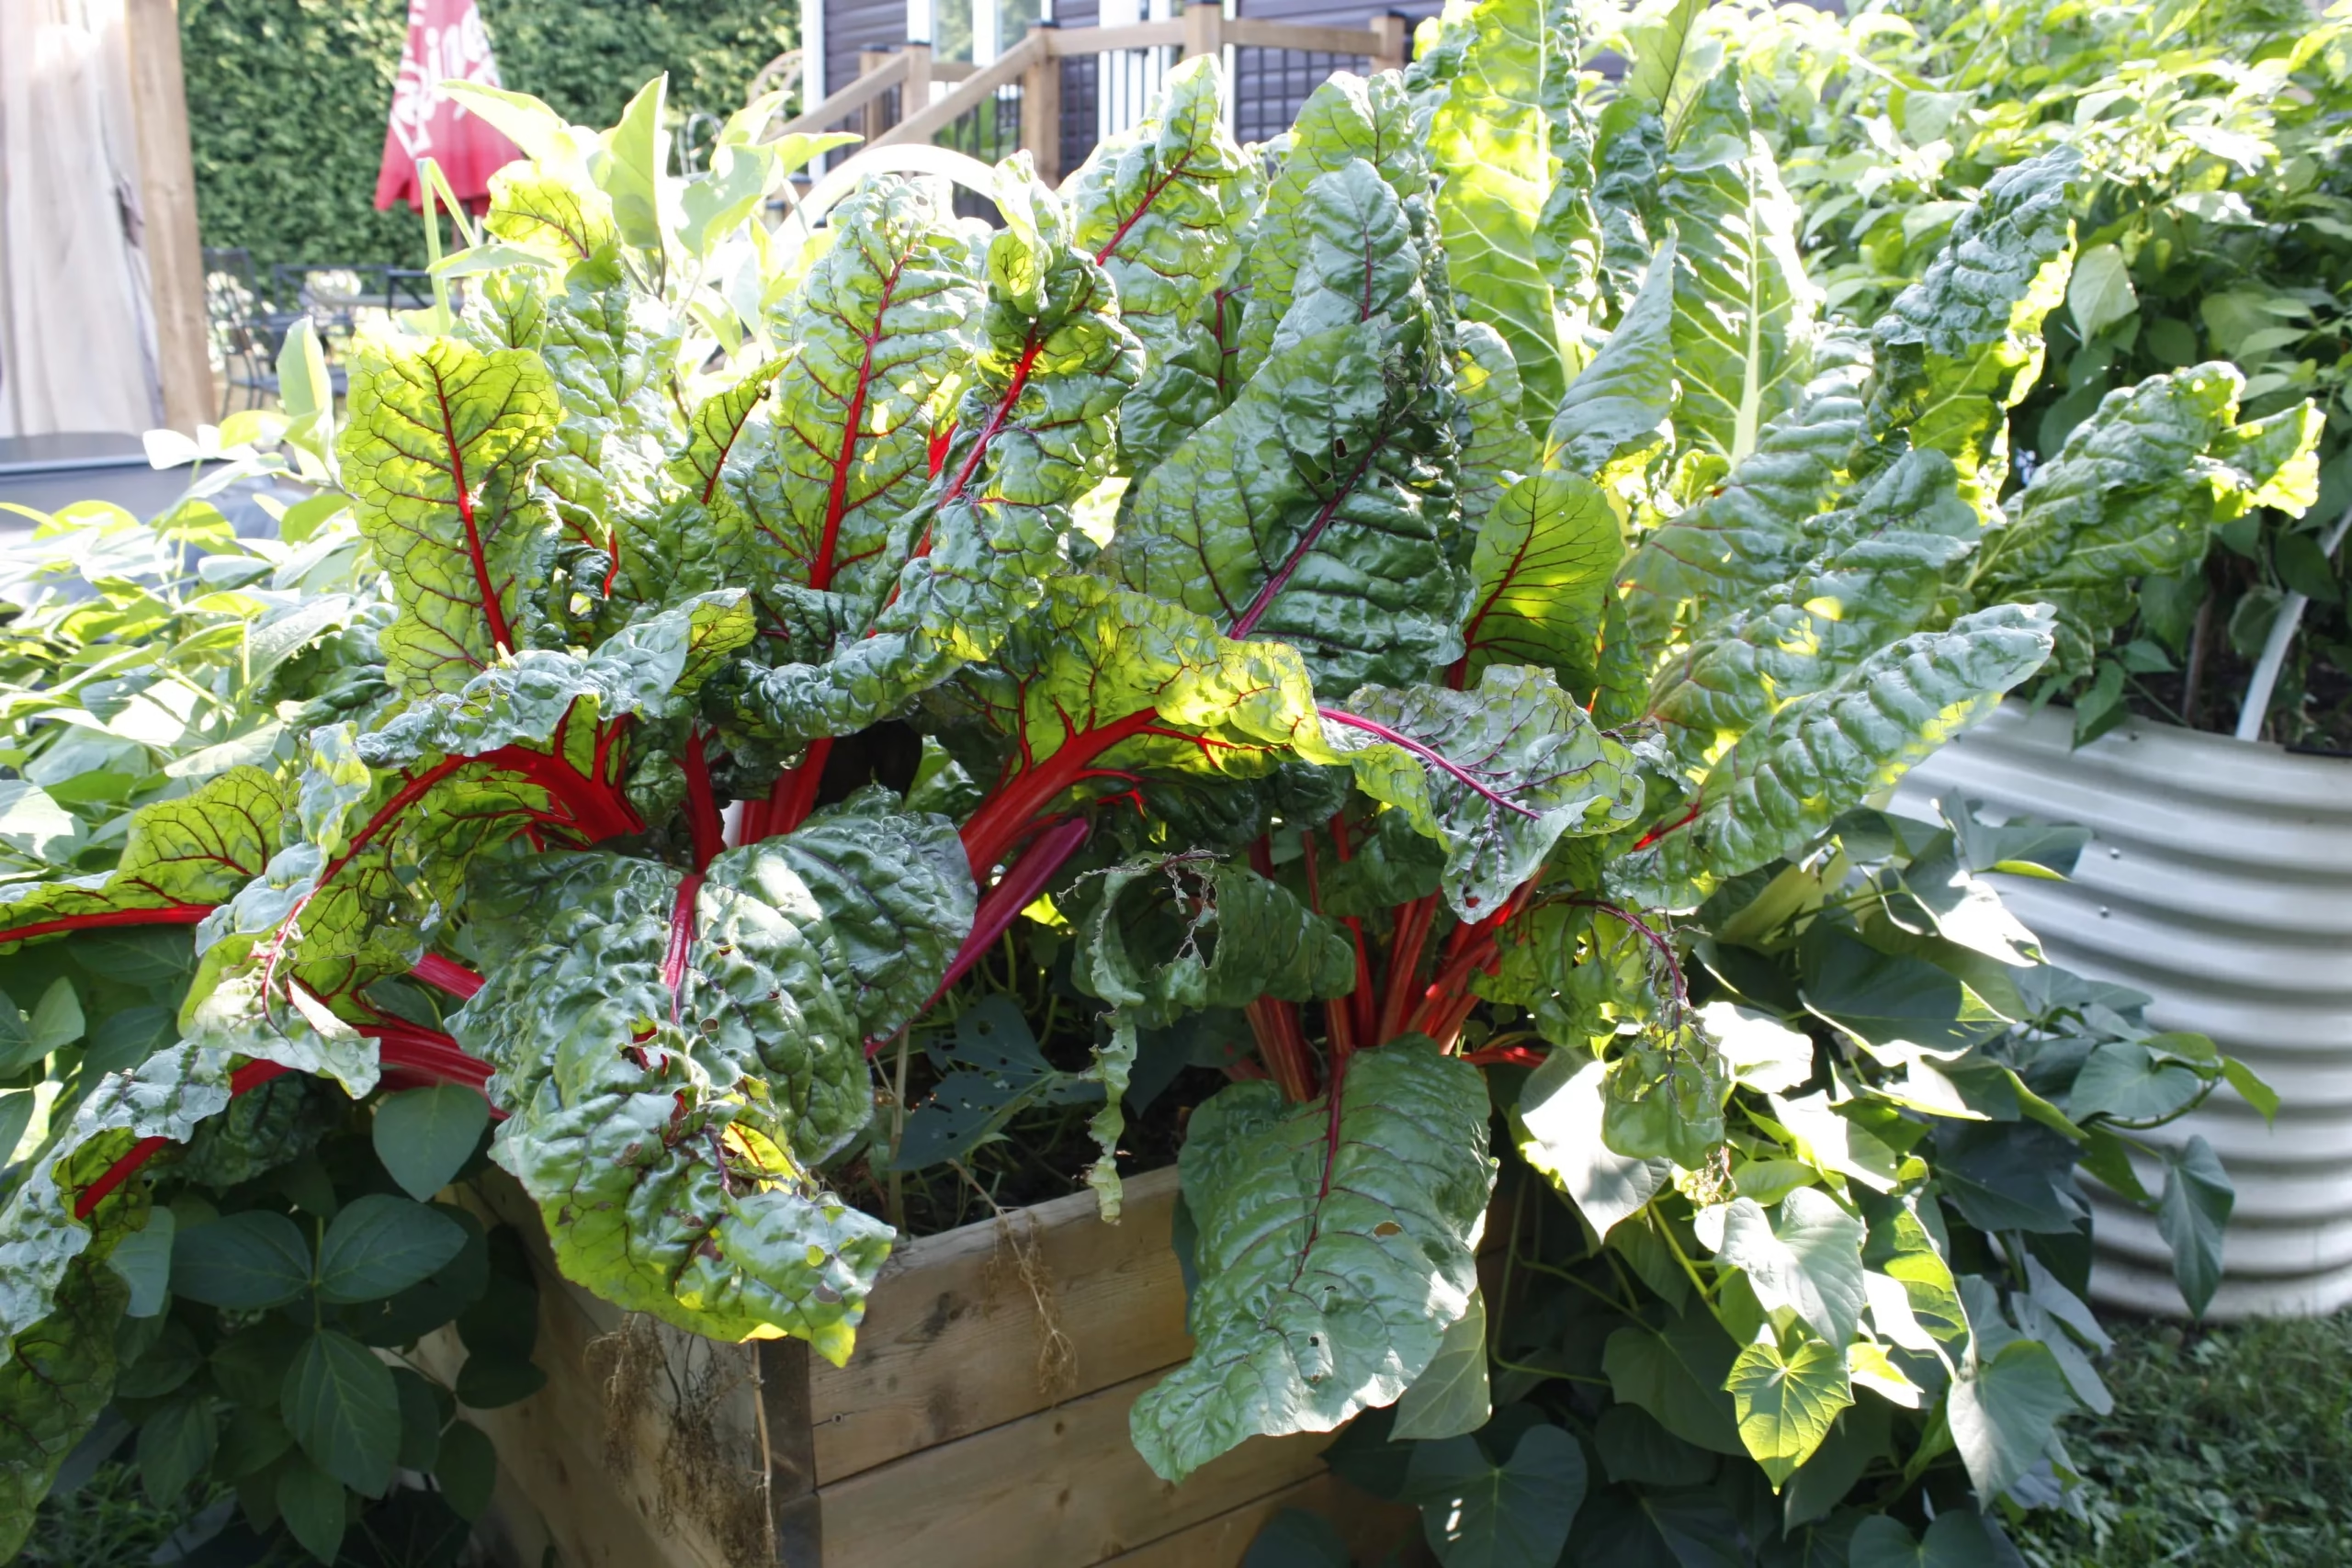
The first is poly – this is what is used to turn your garden into a hoop house, cold frame or mini greenhouse. You can get this at Home Depot – it’s called Vapour Barrier and you want to get the 6 mil thickness because it’s the best thickness for what you’re using it for. It’s a thick, clear plastic sheet that you’ll cut to size to to create your greenhouse that you’ll use in the edge season, in both spring and fall. I also like to use it in June when my plants first go out in the garden because it helps boost temperatures for the heat loving plants like peppers and eggplants and gives them a jumpstart on the growing season.
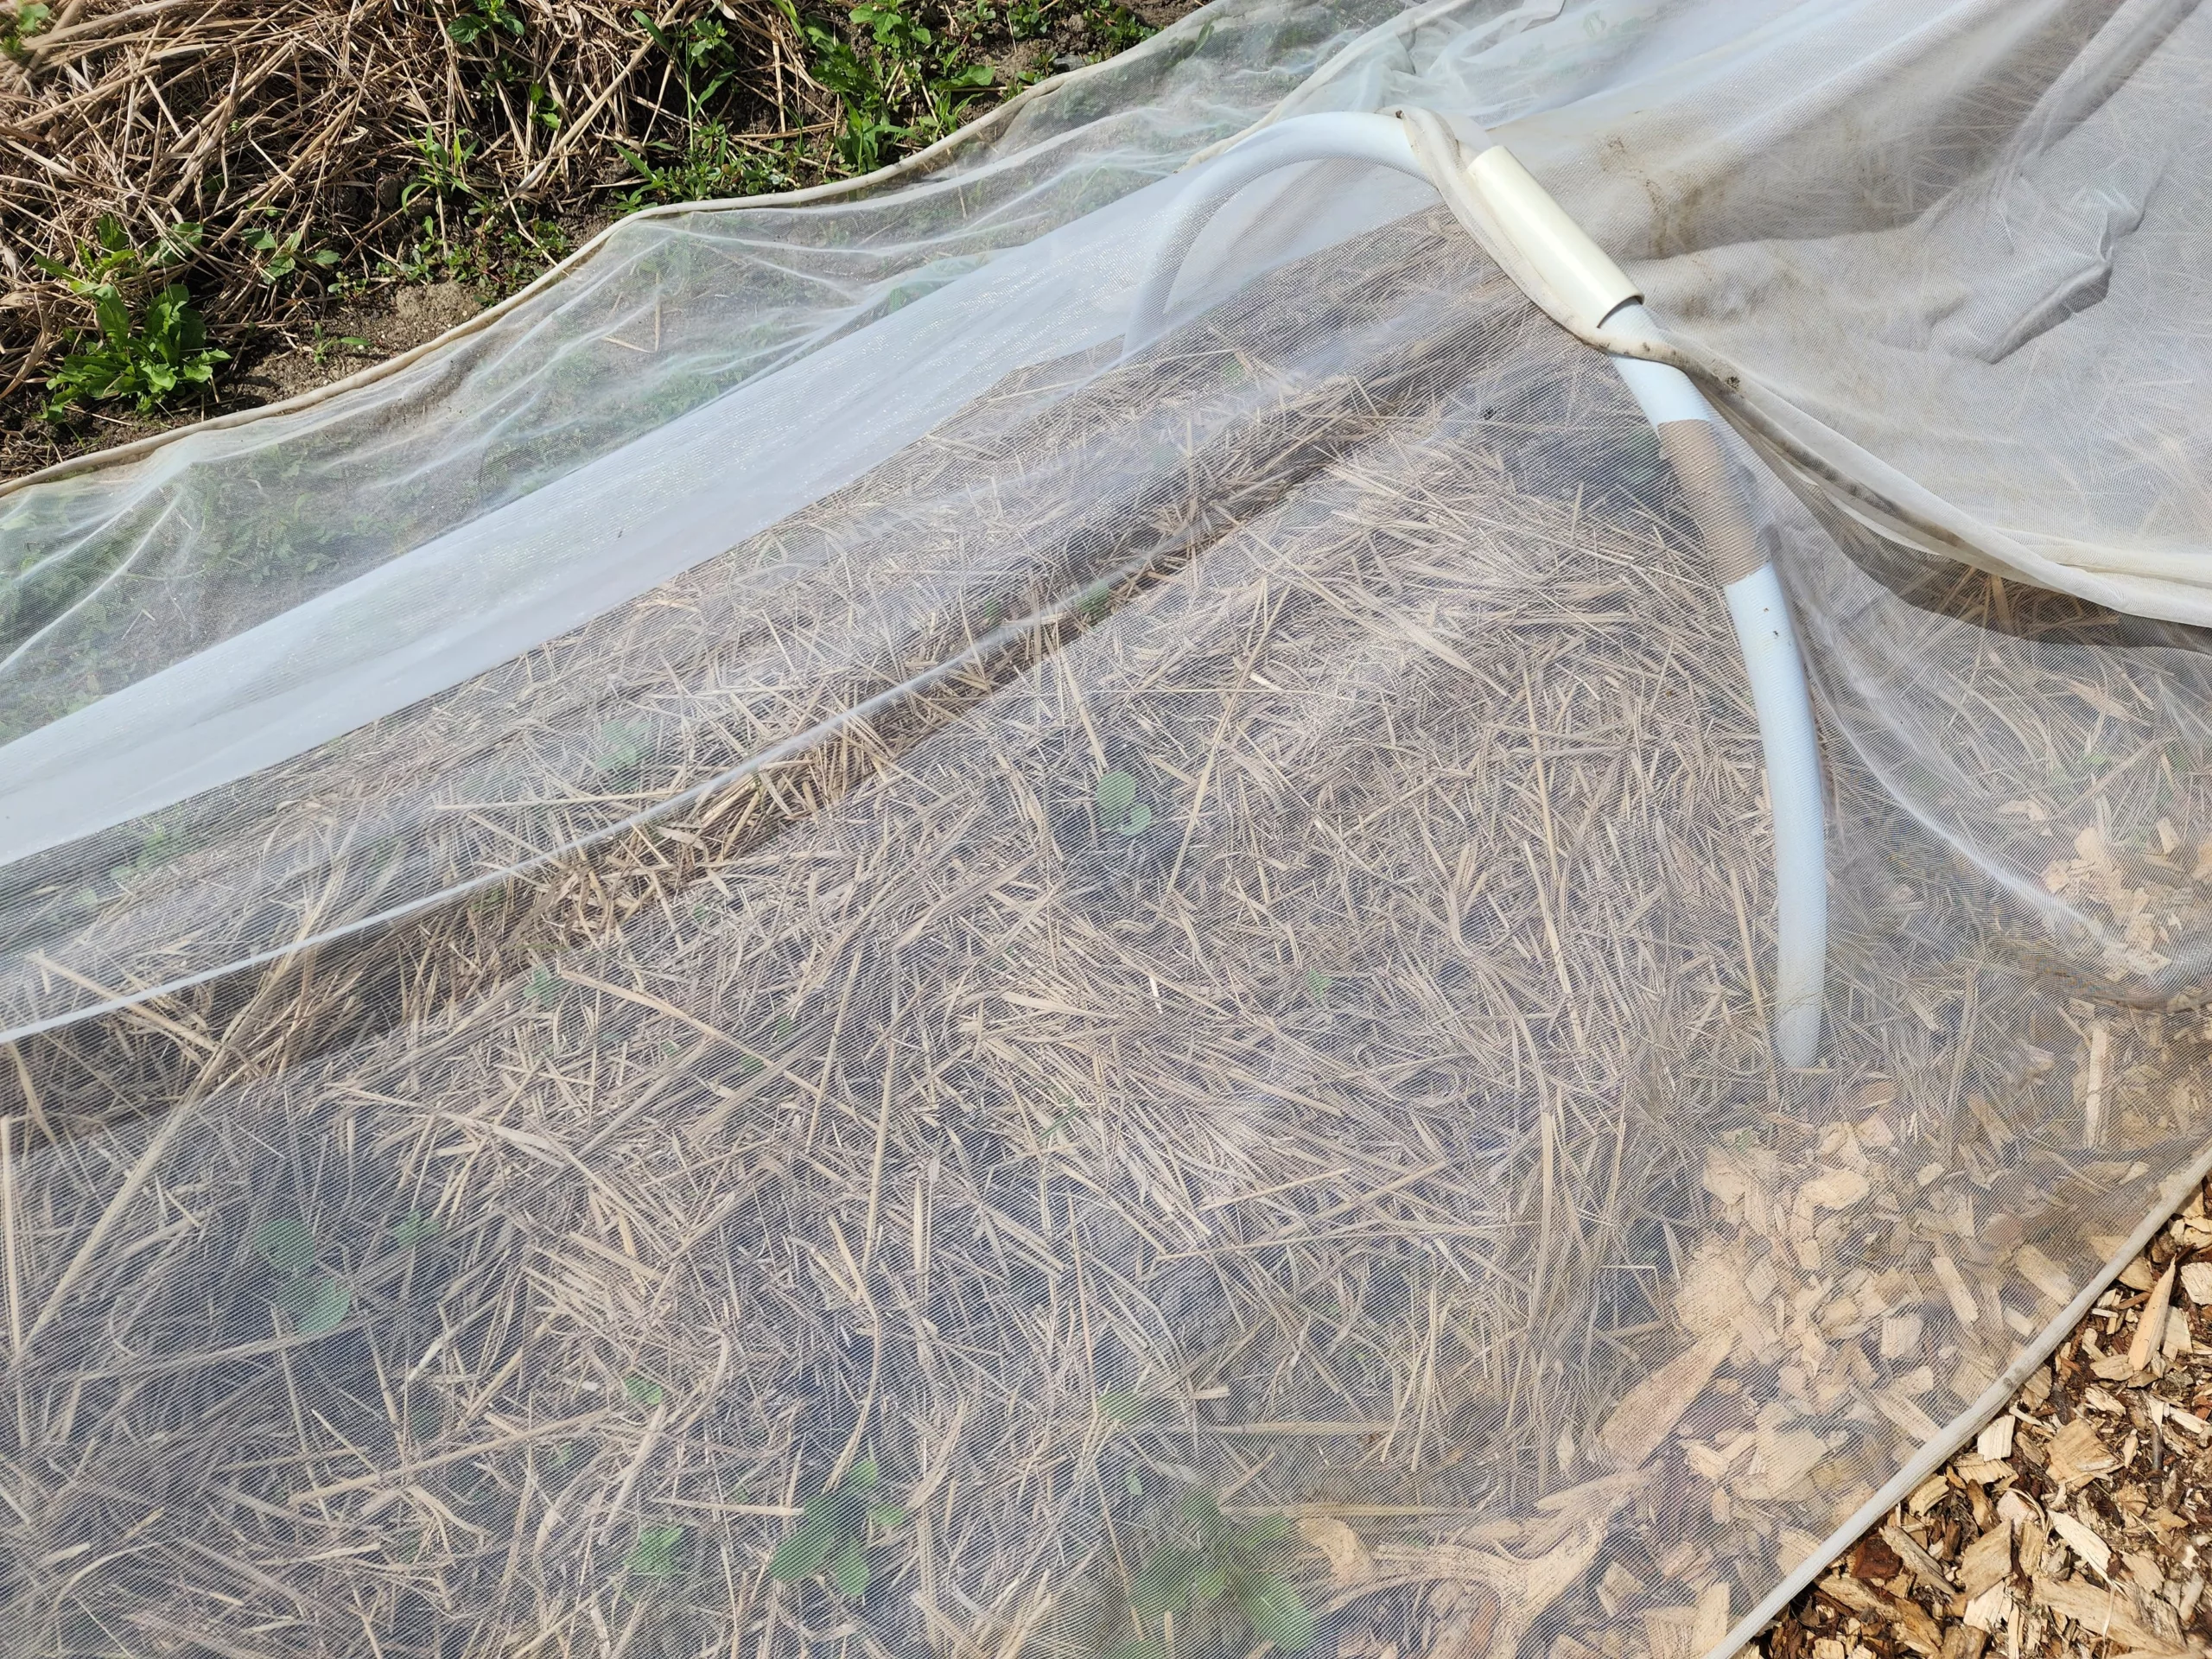
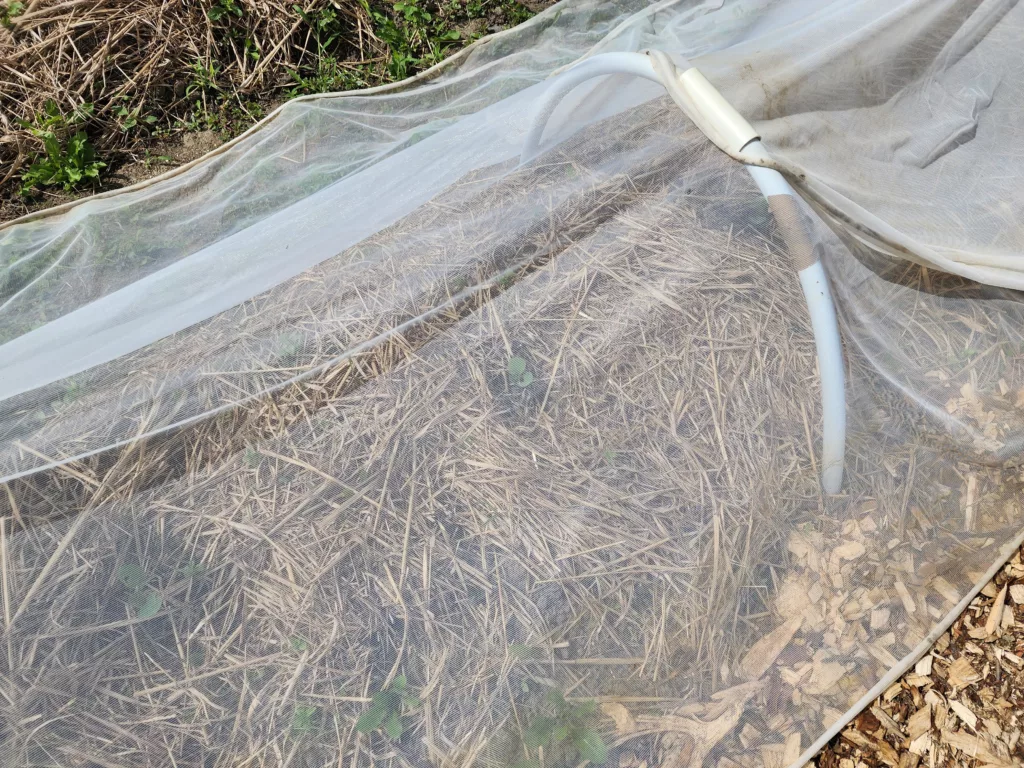
The next is insect netting. When the weather is warming up and you don’t need the poly anymore you can switch it out to bird or insect netting. This is particularly useful when you’re growing leafy greens, cabbage, broccoli or cauliflower and you want to keep flea beetles away and cabbage moths off your plants. You can get insect netting off Amazon but the quality isn’t that great. I really recommend getting it from a company that also offers farming equipment – so somewhere like William Dam Seeds or Johnny’s Selected Seeds. Luckily, William Dam sells their insect netting in affordable sizes, however a common issue with getting it from a farm supply store is that the sizes are what farmers require which can make it expensive. So check a few different places to see if one might offer backyard garden quantities. But trust me, the quality is massively better from these places in comparison to Amazon.

Finally, the third product you can put on your hoops is shade cloth! Shade cloth is used during heatwaves to help reduce the amount of sunlight that reaches your plants, while providing shade and keeping the temperature cooler. This is important for plants that don’t love a ton of heat such as your leafy greens like lettuce and spinach. It can also help with tomatoes too, since the fruit won’t ripen if temperatures are above 28°C. Again, I recommend looking at a farm supplier like William Dam or Johnny’s Selected Seeds because that is where you’ll find cloth at widths like what you see in the photo above.

This entire setup using the poly, insect netting and shade cloth are all important skills to learn as the weather changes. Learning the right timing on when to use these will help you be able to protect your harvests, and grow food regardless of if the temperatures are unseasonably hot or cold. This is the type of information that I teach in my online, self-paced gardening course. It’s all about the right knowledge and tools to protect your garden, no matter the weather. For many of us, we grow as a hobby but also to learn the necessary skills for food security. And we all want a successful garden this season.
So let’s talk about how to set up your hoops. There are a few different ways you can set them up and it’s going to be a bit of trial and error depending on the size of your garden and the span you want to cover.
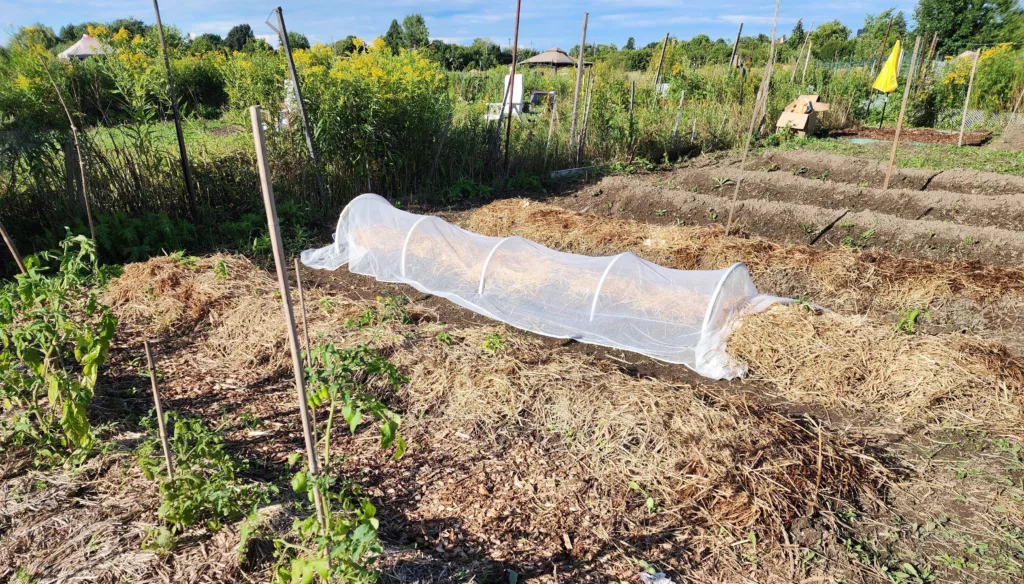
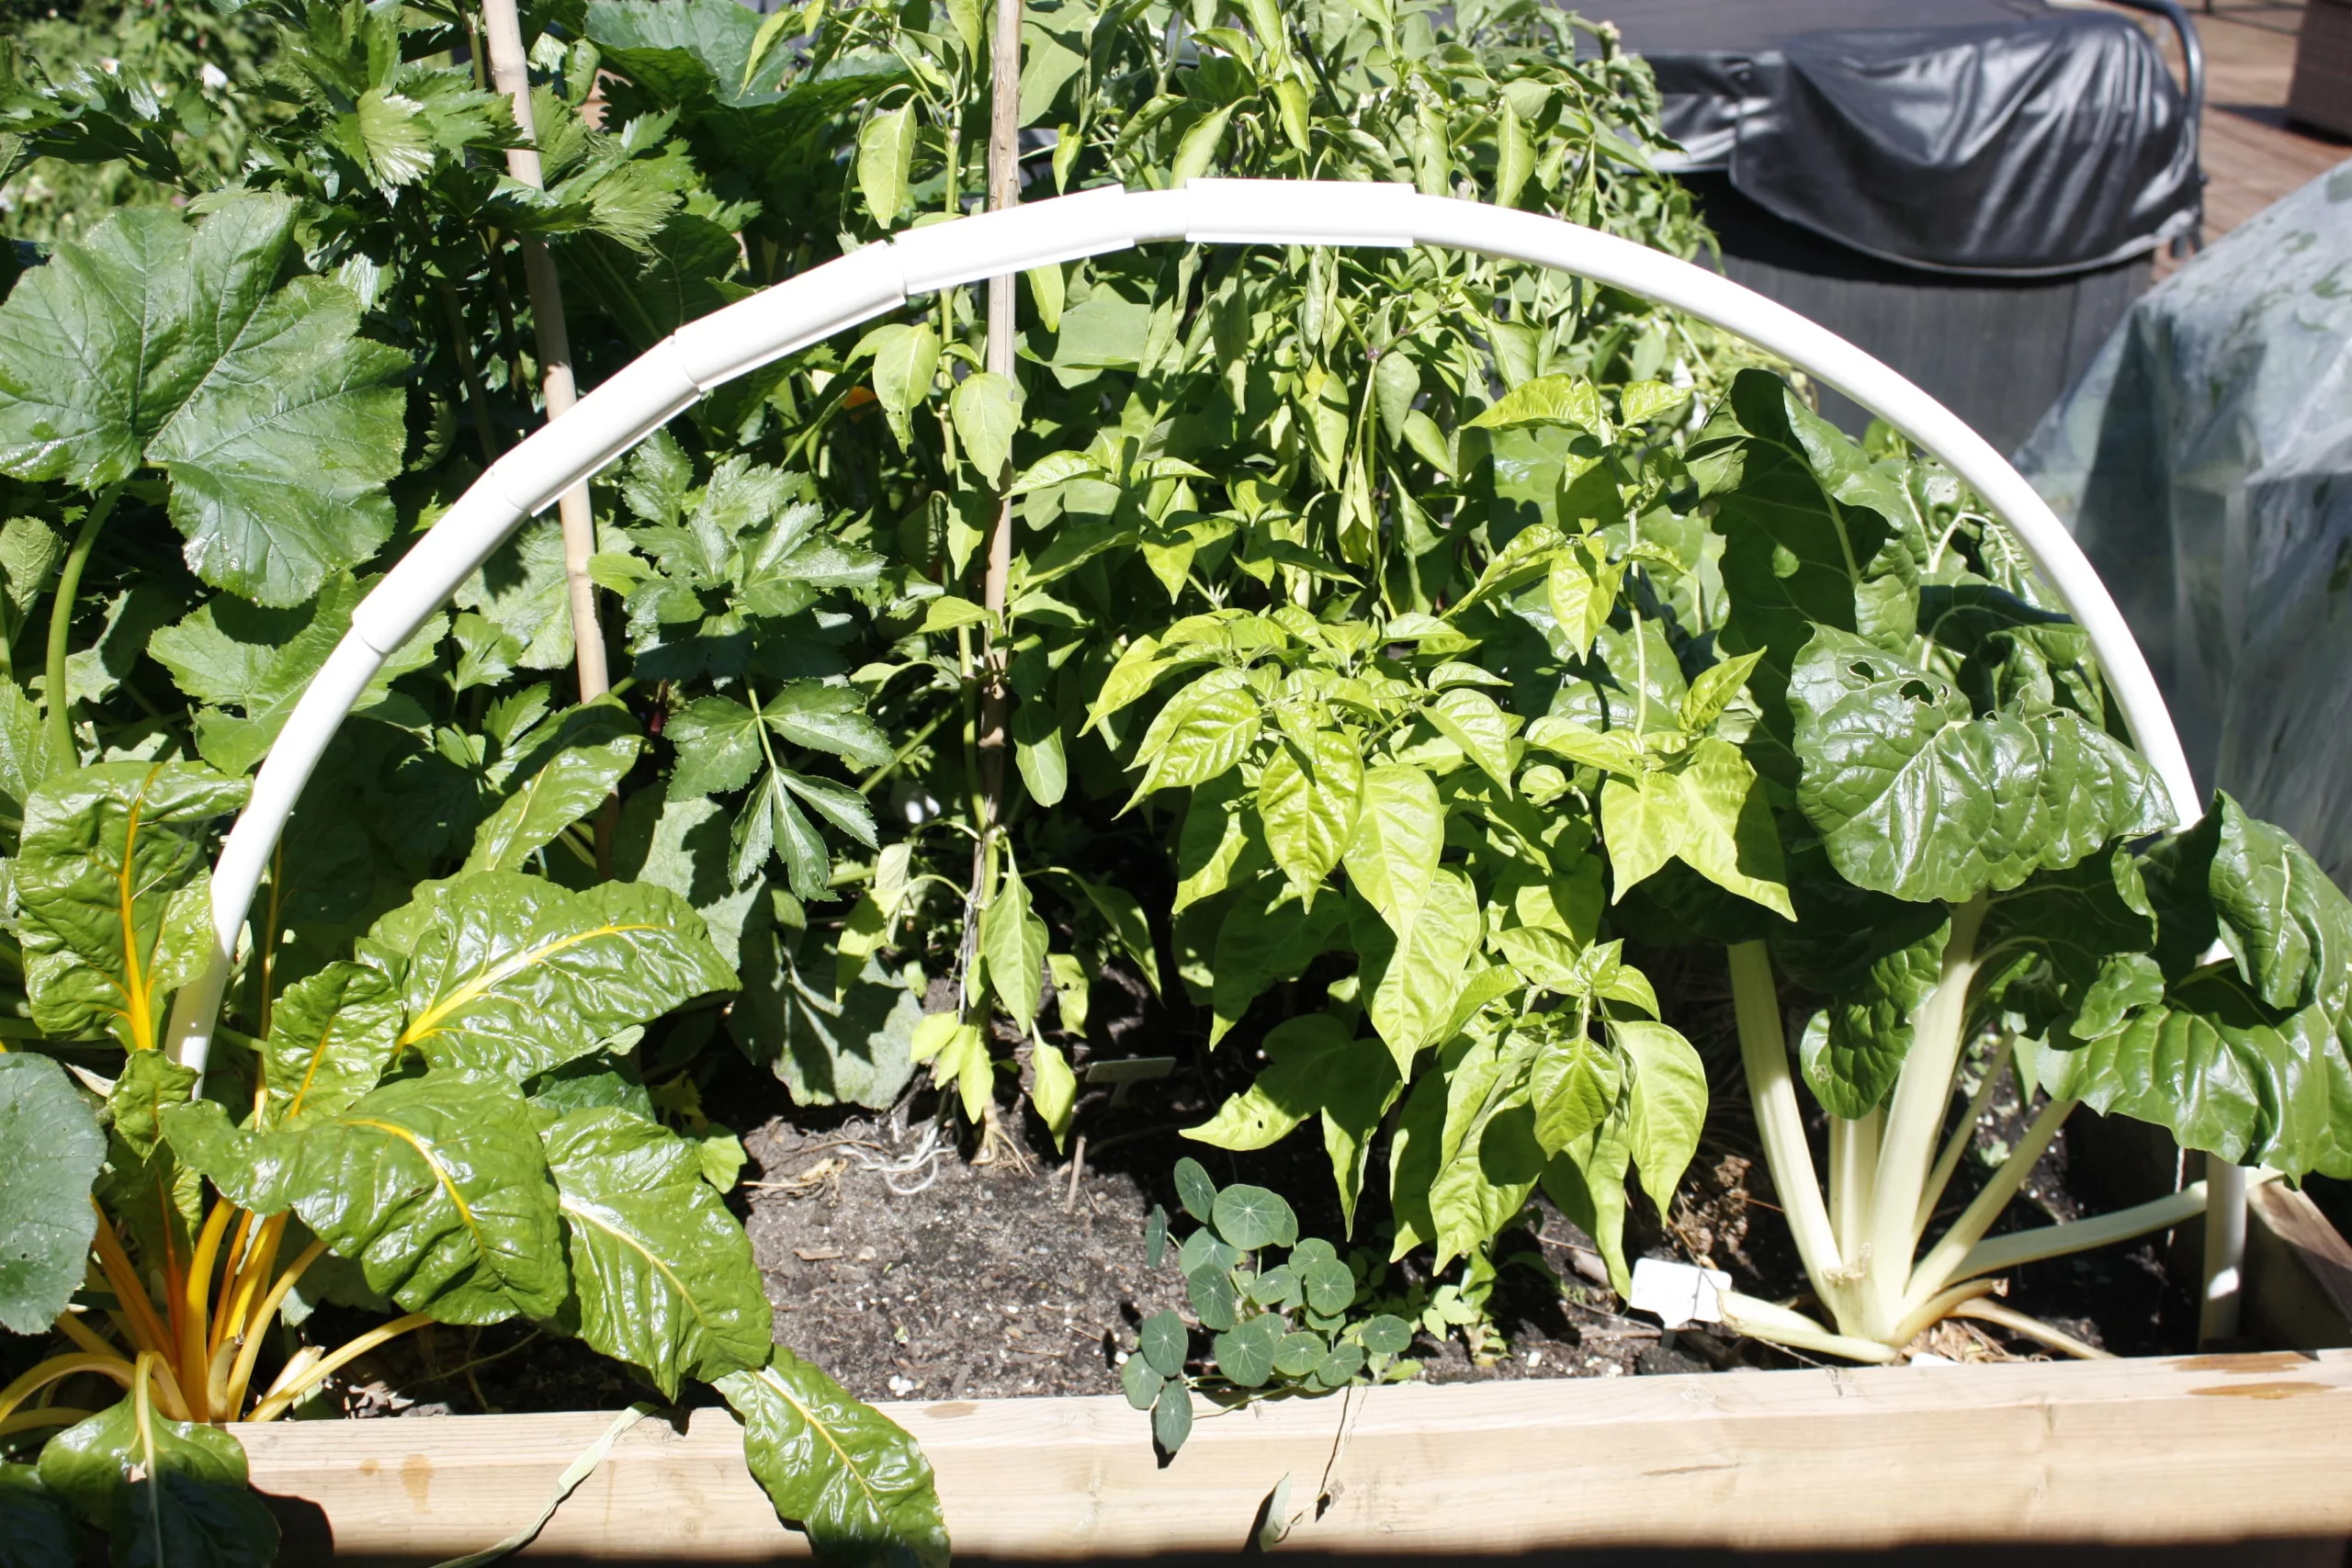
If you’re doing them in the ground and the ground is quite tough, find sticks that fit inside of your hoops, and hammer those into the ground first. Then you can slide the Pex pipe over the sticks to hold them into place. This also adds strength to the hoops as well. The biggest issue with hoops that aren’t in the ground well enough is that they can tip over, so they must be pushed really securely into the ground. From here, make sure that your hoops aren’t spaced too far apart, every few feet is good and this should help keep them up. The other alternative is to use a T fitting and to have a cross piece from one end to the other to help hold them in place (shown in photos above).

If you’re adding them to pots, you can use two pieces of piping and criss cross them over each other to create a dome, and then you can add the poly, insect netting or shade cloth over top of it. You can secure the cover with clips, butterfly clips or even rocks on the edges of the container.

If you have a raised bed, there are two ways you can connect the hoops. The first is to just stick the pex pipe directly in the soil along the inside edges of the garden, pushing it as deep as you can into the ground. If your raised beds are shallow you can still push the piping in as deep as they can go, but you can add additional strength by securing the pipe to the edges of the garden using pipe straps or pipe clamps. This will require you to drill holes in your garden. If you grow in wood beds this is a simple task, however if you grow in metal raised beds it isn’t quite as easy.
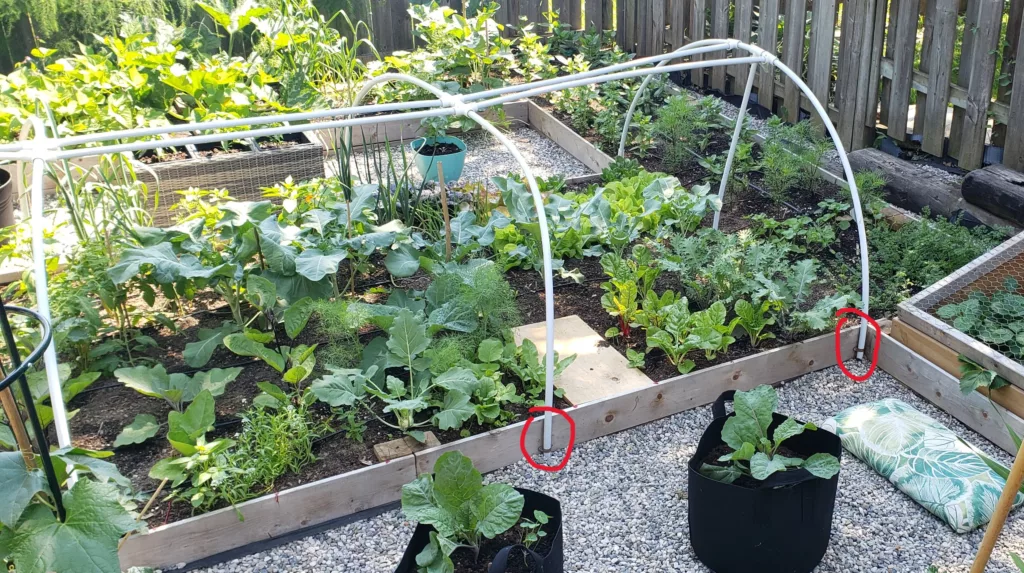
The second option is to skip burying the pipe and go directly to using pipe clamps or straps to hold your piping in place. You can either have the pipe on the outside of the garden or on the inside. I personally don’t do it this way anymore because I don’t think it’s necessary to hold the hoops in place when you can just insert them in the garden, but in the case above it made sense since the gardens were so shallow. The other reason I don’t do it anymore is because I have quite a few metal raised beds and I don’t like the idea of drilling holes in them because it’s a permanent change to an expensive garden.
Now obviously there are other ways you might build your hoop houses, such as running a piece of wood along the edges of your garden, drilling holes in the wood and inserting the pipes into it to hold in place, or some other way you can creatively imagine, but these are just the ways that we do it around here.

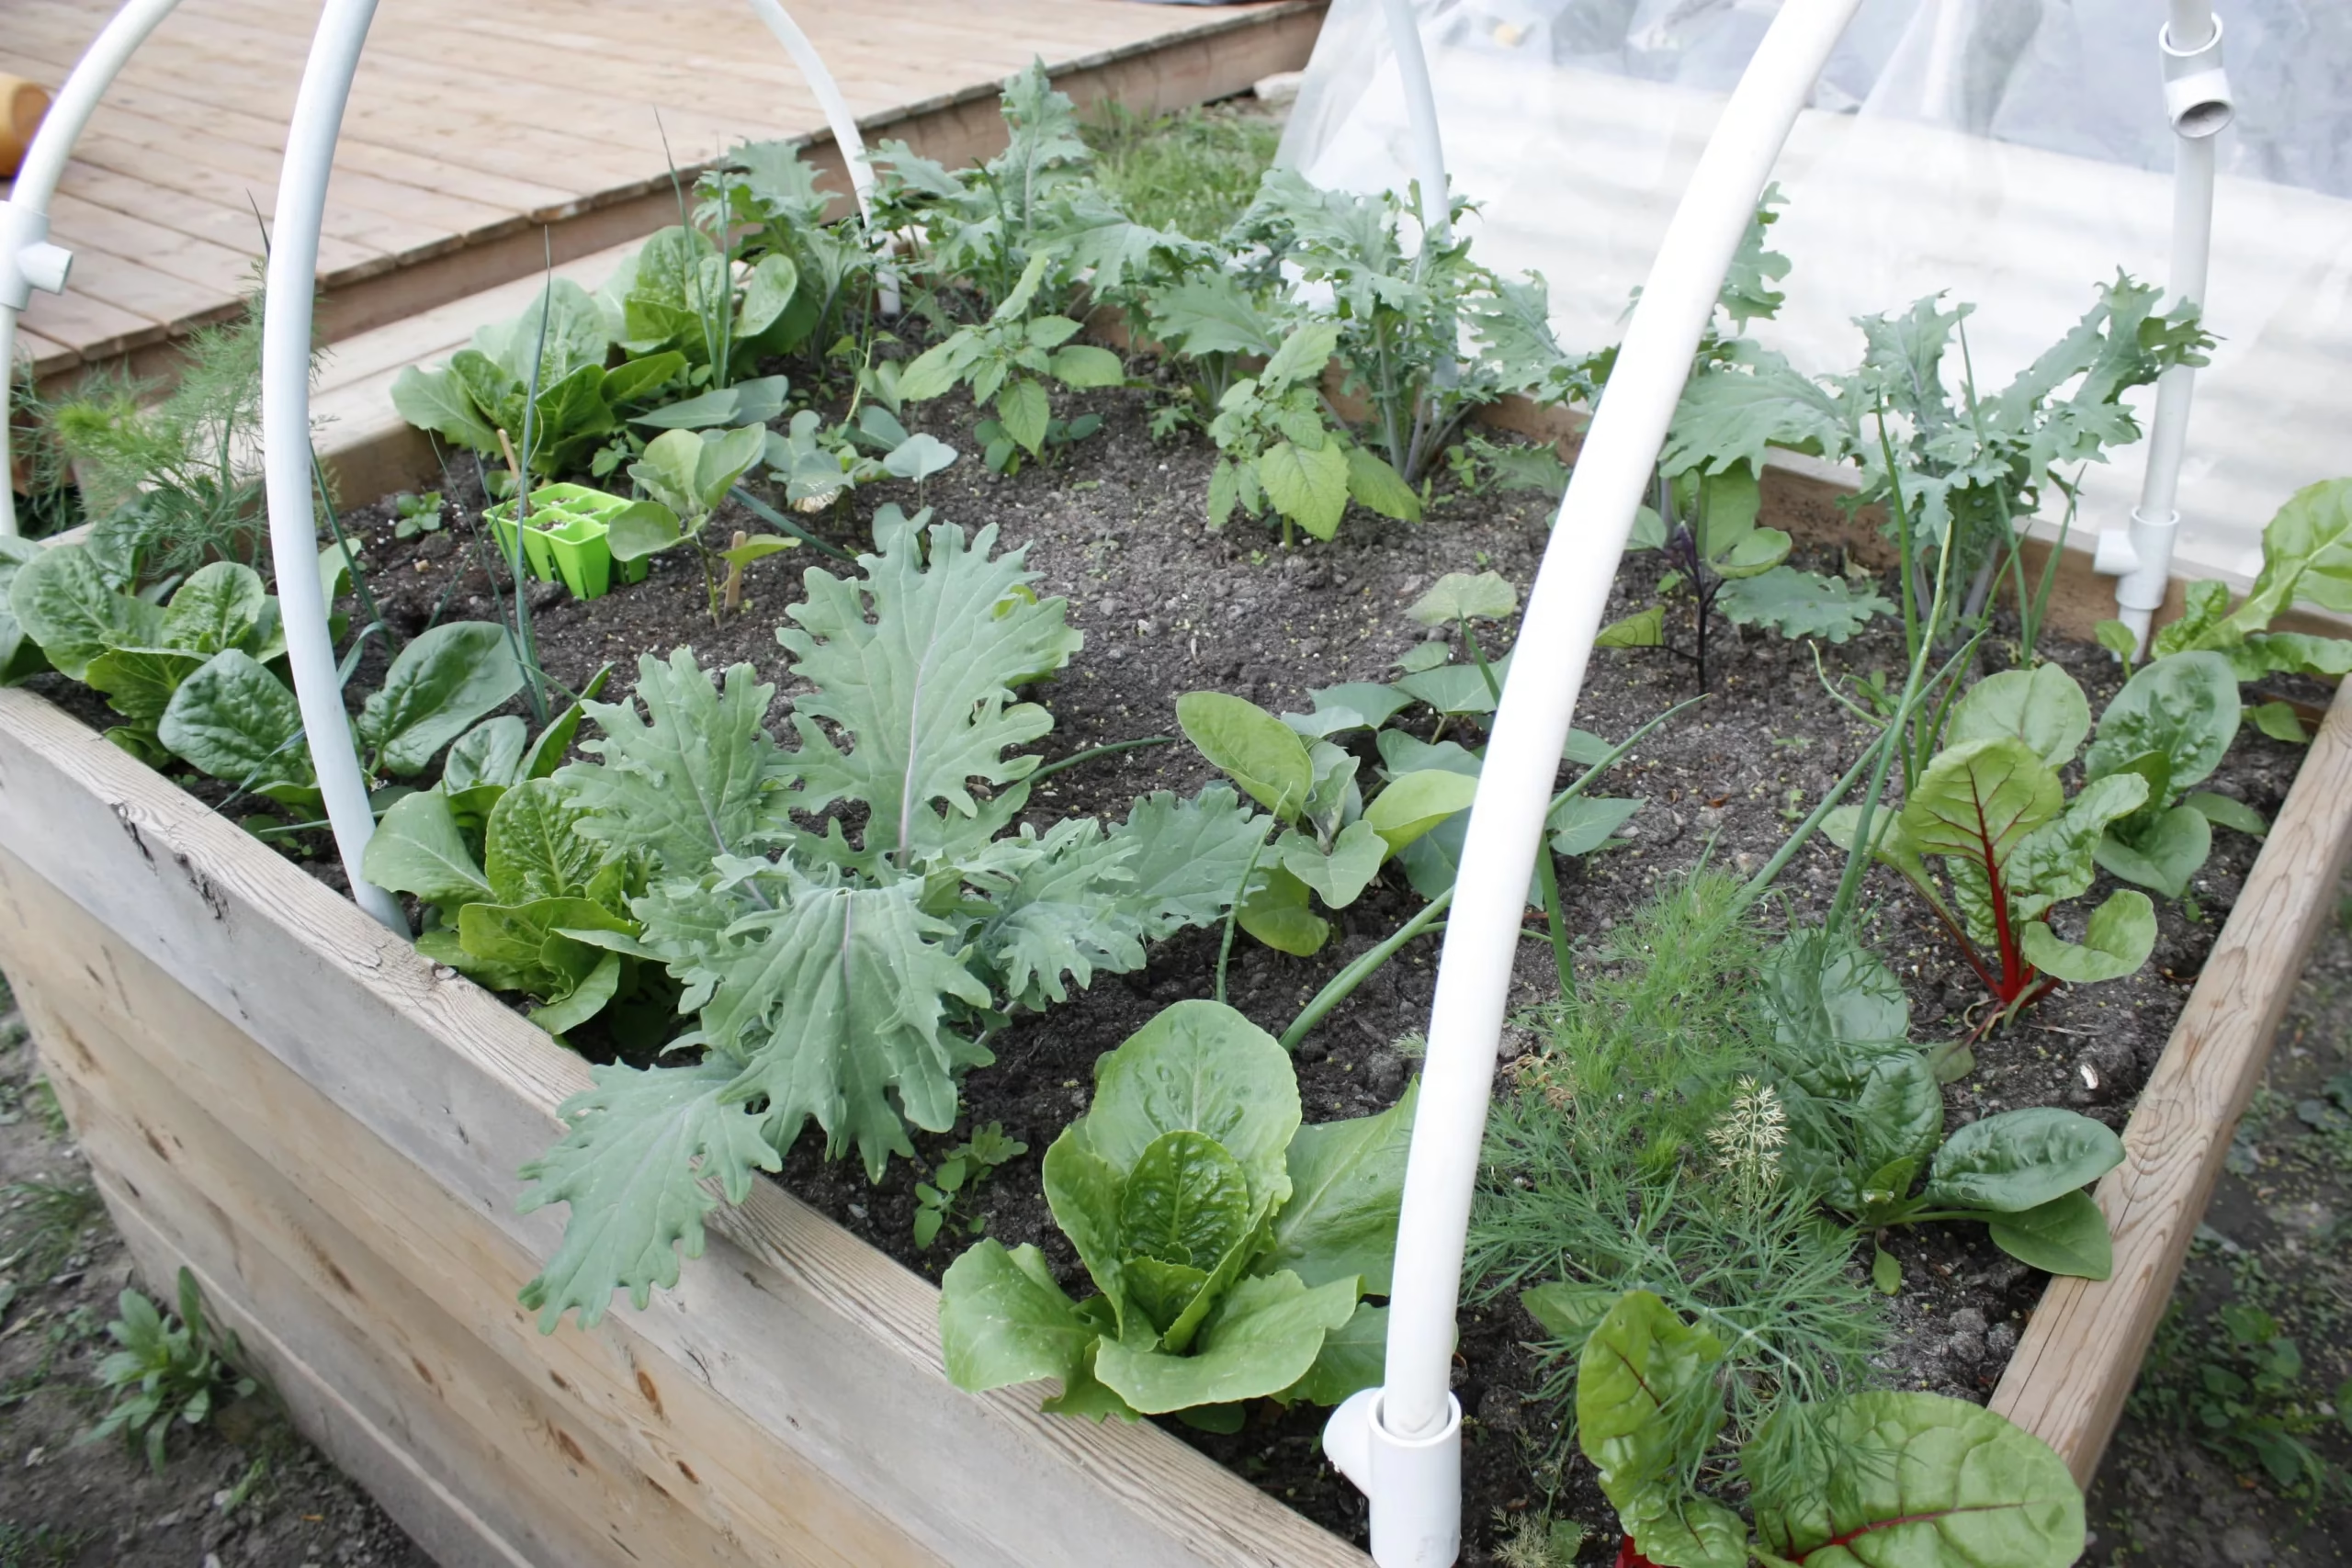
Now let’s talk about the do’s, don’ts and considerations when using plastic piping. The first is the height of your hoops. Because you’re making them out of flexible plastic, they are limited in height. I tried to make some hoop houses that were 4-5 feet tall in hopes I could kind of “Walk” into them but they didn’t have the strength for that height and would easily blow over. The second thing with height is that if you want to use them all summer long for insect netting or shade cloth, you need to plan for the height of the plants as they grow during the season. Common plants that need insect netting are broccoli, cauliflower, cabbage and kale so planning for their max height will help you know how big to make your hoops. Common plants that need shade are lettuces and other greens which means the hoops can be a lot lower, so it makes it easier for those plants.
Because you only get one shot at cutting the plastic (or else it goes to waste), it’s important to know the measurement you need to cut your hoops to. You could turn to math for this, but who wants to do that. The easiest way to measure what length you need is to push the cut end of the Pex pipe into your soil and then move the rest of the piping over your garden to see the distance and the right height that you need. It’s always safer to cut it a bit longer, once you see how much you need.
Next, it’s important to make sure you have enough hoops for your space. If you space them out too far, they’ll collapse under wind, heavy rain or a snowfall during the shoulder season. It’s always better to have less space in between rather than more.
In a perfect world, I would much rather have hoops built out of metal, but it’s hard to find products here in Canada and they come here so much slower than they do in America. I do want to try and buy some conduit or rebar at some point and build a jig to bend it, but I just haven’t had the time to research it and try it yet. But if I ever do, I’ll make sure to share that with you. So with that, let’s talk about the problems that plastic pex pipe has.
The first is an obvious one and that is that it’s plastic so it’s not great for the environment at all. It is going to outlive us for a looooong time. And when you do cut the pieces to length it creates a ton of microplastics, so make sure you cut it over cardboard or an item that makes it easier to clean up the shreds rather than the pieces flying into the environment.
The second is that it comes in a roll so it’s insanely awkward to work with and keeps rolling up on itself (see the hilarious photo above). It definitely is a 2 person job to straighten it out to use it. And even then it’s still going to want to revert back to it’s rolled up shape.
Another problem is because it’s flexible, it easily collapses under the weight of snow since it’s meant to bend. Same goes for super heavy rains if you have poly on your hoops and you get a heavy rainfall. And finally, they love to tip over, so we’ve spent forever coming up with ways to keep them from falling in on themselves – like building a top bar which I usually put a bamboo stake in to keep it straight and more sturdy.
But, if you intend to use it for insect netting or shade cloth, you don’t have to worry about it collapsing because it’s so much lighter and both wind and rain can get through it.
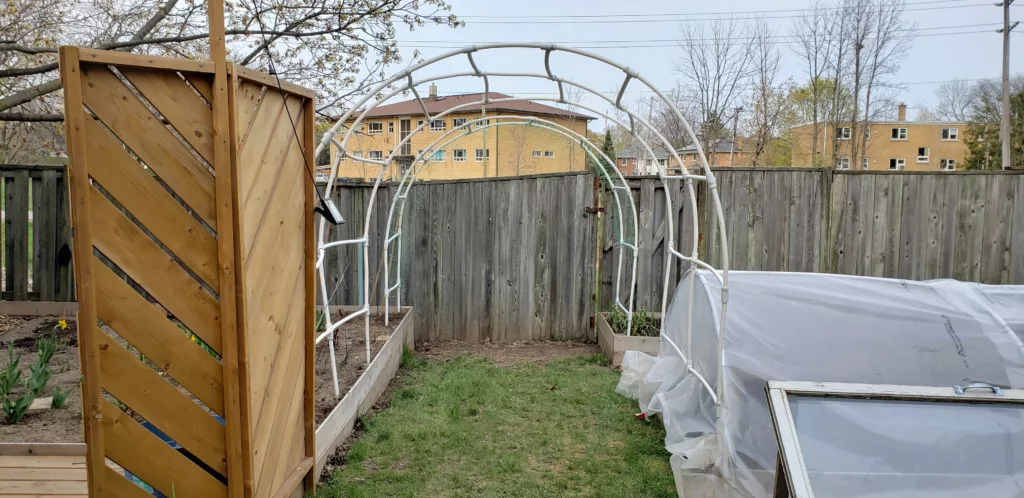
And finally, I wanted to just share the random things we’ve tried to build with it – just so you can learn from our failures hah! The first was a giant hoop house that I was hoping I could walk into. I have dreams of having a greenhouse so I thought I might be able to build one like this and enjoy it in the edge season, but it never held up well and the curvy hoops made the shape weird and twisted.
The second thing that we tried to make was arbours or trellises. I saw all the amazing cattle panel trellises but you couldnt get those cattle panels in my area when I was hoping to make them, and even if I did find them I had no idea how to get 16 foot panels to my house because I certainly don’t have a giant trailer. We did have them for one year but with the weight of the plants on them it slowly pulled them down until you couldn’t really walk under them anymore, so they had to come down.
In the end we just stuck with having lower, basic hoops and I use them in all of my gardens because they’re so versatile. I make sure to always have them up because the poly, insect netting and shade cloth are important all season long. By adding these to your garden you can extend your growing season by a few weeks on either side of your frost dates, while also protecting your garden from heat and insects. It’s a win-win-win!